
Sign on Posts Mounting Guide
Our handy visual guide to help you install your new sign on redwood posts. Contact us if you need help.
Before You Start
Ensure you have the necessary tools and parts to properly install your wooden posted house sign. Postcrete and loose gravel not included with our orders.


Section 1 of 2
Mounting the Sign onto the Posts
Once you have all the required equipment, it's time to start. The average time to install a house sign onto our redwood posts aproximately 15 minutes.

Step 1 of 5
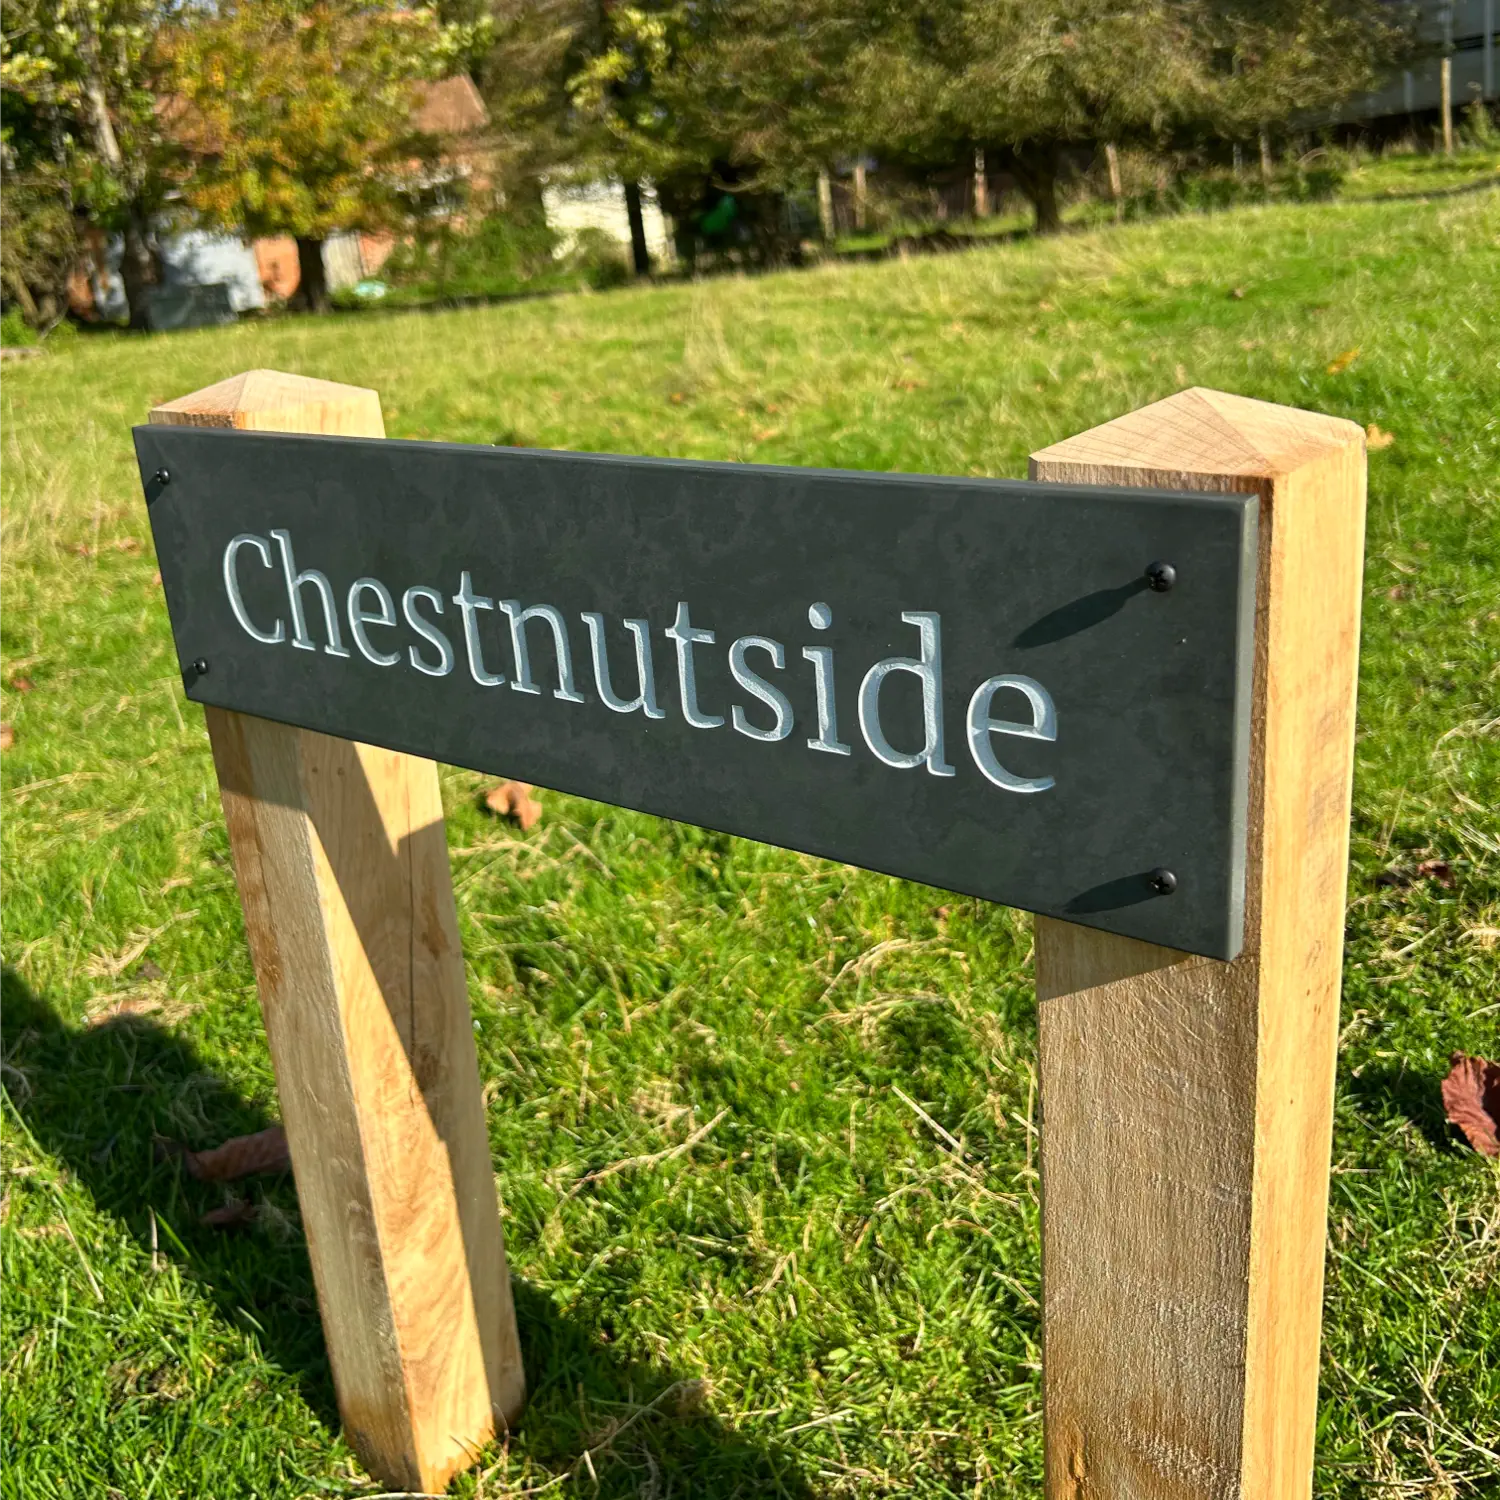
Position the Sign on the Posts
We suggest mounting the sign slightly inset from the edges of the posts to help protect the slate or granite corners from accidental knocks. That said, you’re free to position it wherever you prefer on the posts.

Step 2 of 5
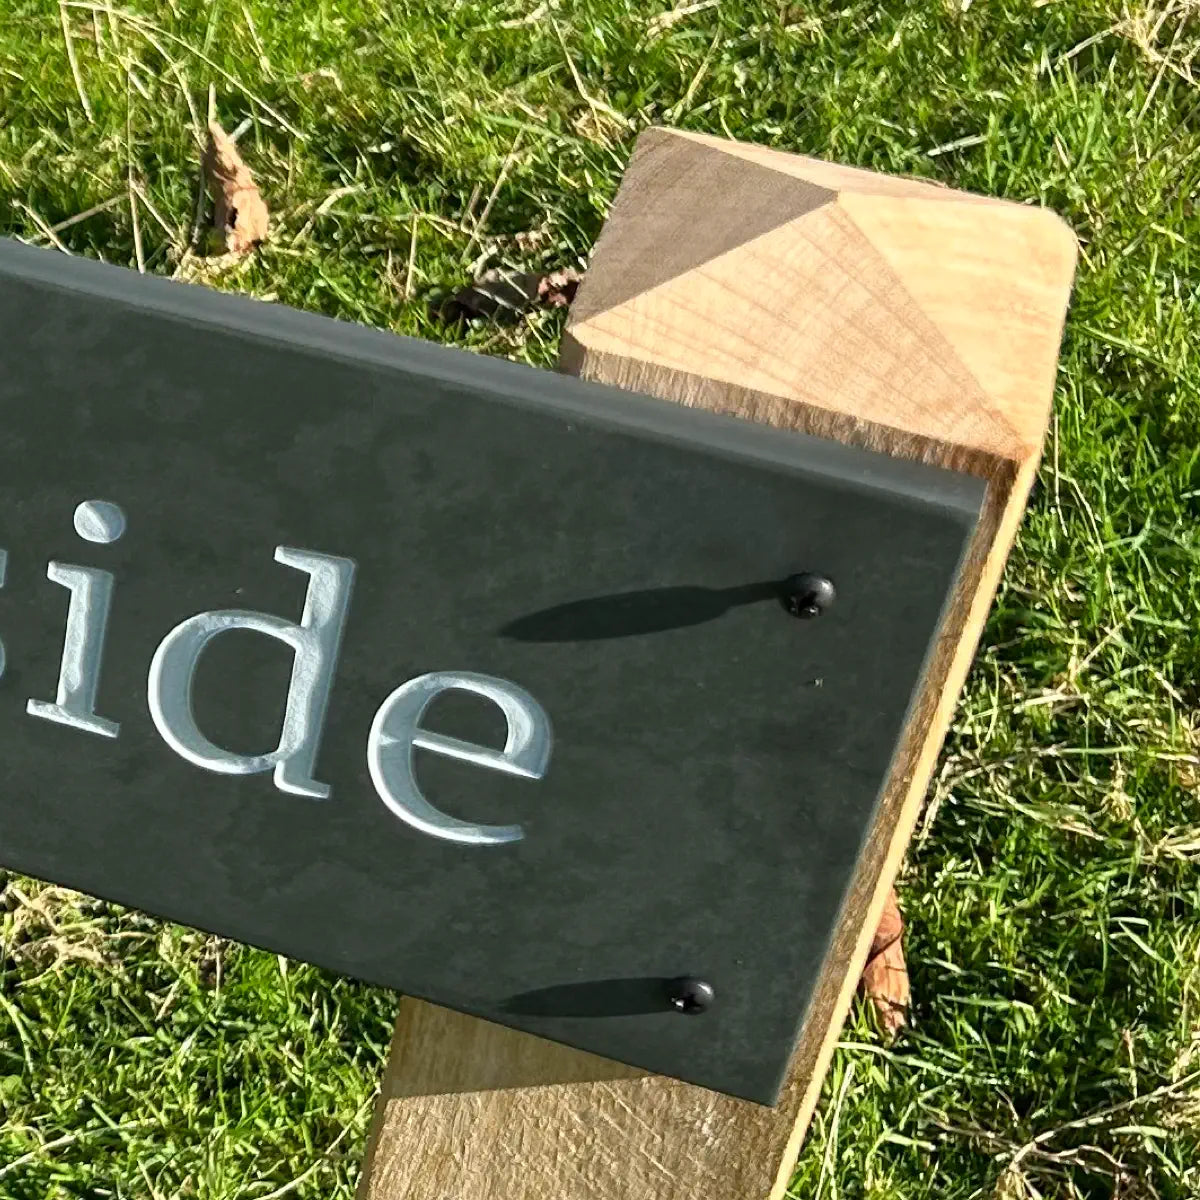
Screw the Sign onto the Posts
Your house sign and posts will arrive with fixings (style depends on your selection). Simply use a PZ2 screwdriver to secure the screws through the sign’s pre-drilled holes.
Section 2 of 2
Installing the Posts into the Ground
Once you have all the required equipment, it's time to start. The average time to install a house sign onto our redwood posts aproximately 15 minutes.
Step 3 of 5
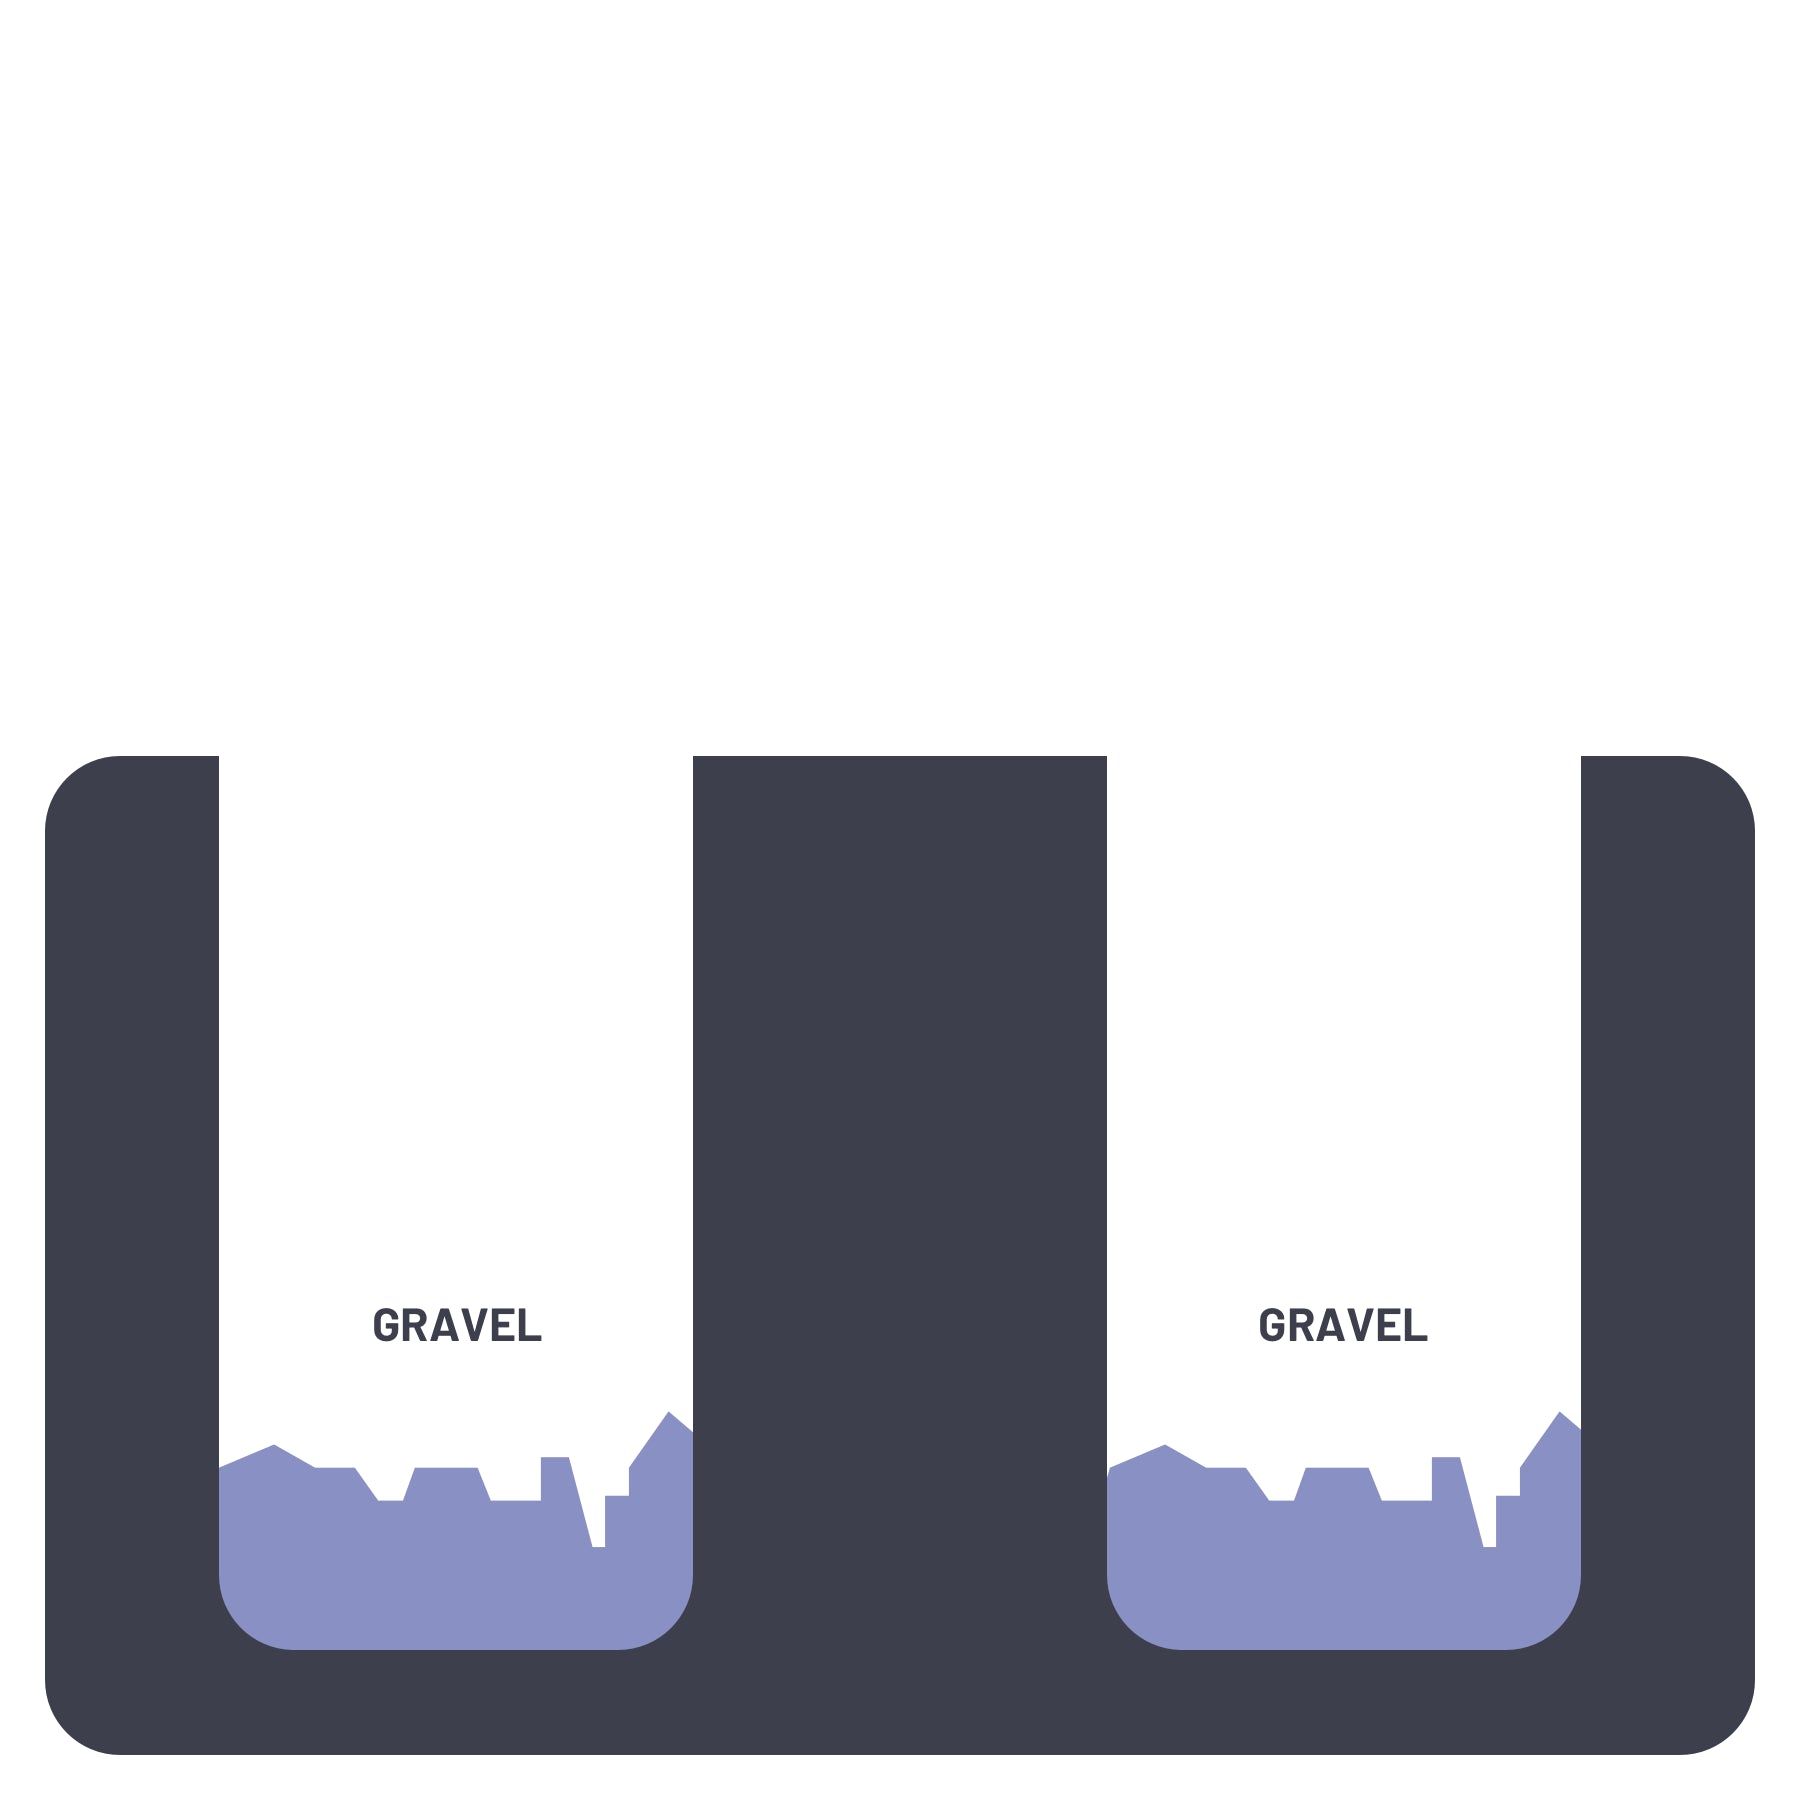
Dig 2 Holes in the Ground
Ensure the holes are at least 1ft deep. Add loose gravel to fill about a third of each hole - this helps prevent the posts from sitting in water when it rains.
Mix up some postcrete (follow the instructions on postcrete bag) ready for the next step.

Step 4 of 5
Position the Posts in the Holes
Make sure the signpost is perfectly level and positioned exactly how and where you want it before proceeding to the next step.
Step 4 of 5
Add the Postcrete
Hold the signpost firmly in place (ask someone to help if needed) and fill the holes completely with postcrete. It sets quickly, so after 3–4 minutes, the post should be stable enough to stand on its own.
Learning Before Ordering?
We admire the dedication! Now it’s time to get creative. Browse our most popular house sign designs and start customising.


Find Your Perfect Sign
Answer 3 simple questions and we'll recommend the best house sign for you.