
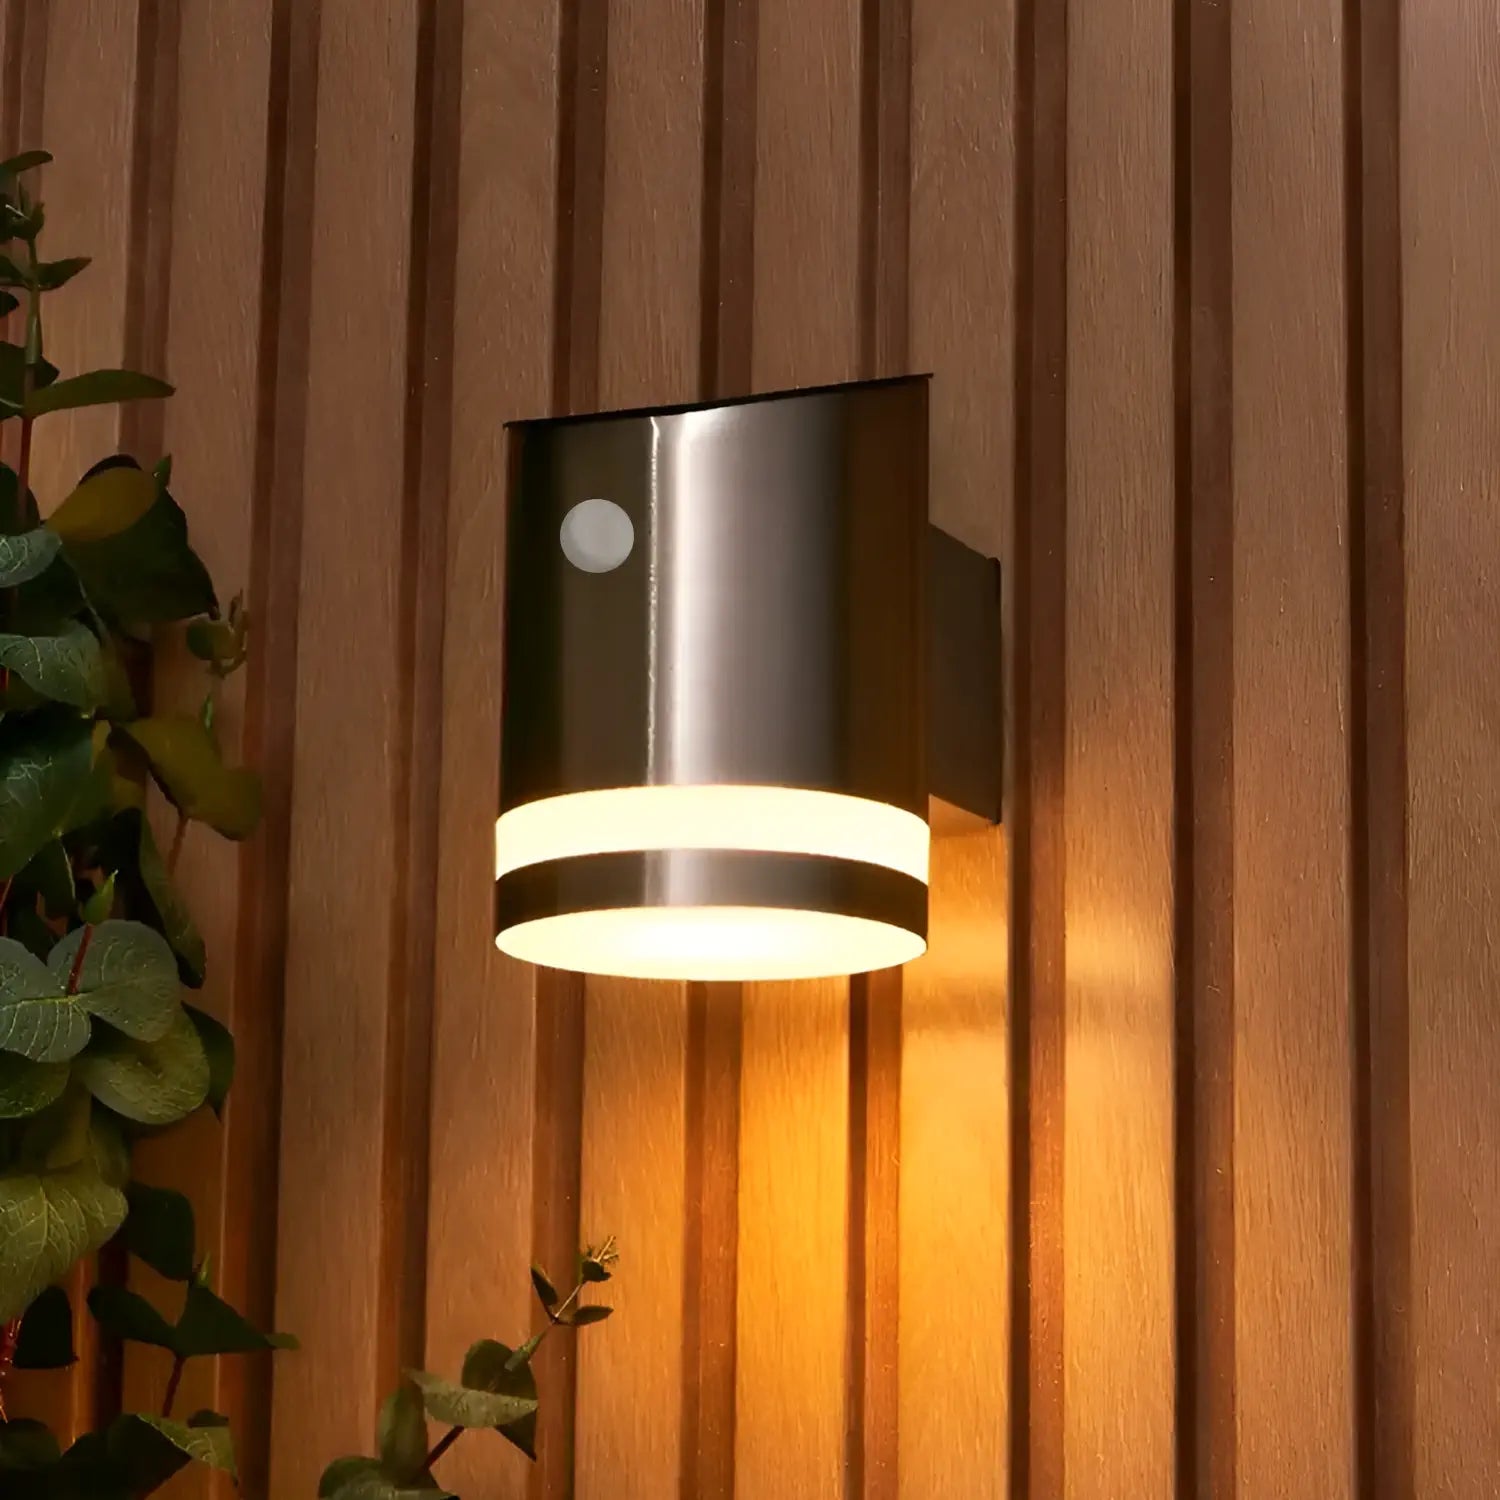
For Both Sensored & Non-Sensored Lights
Solar Light Installation Guide
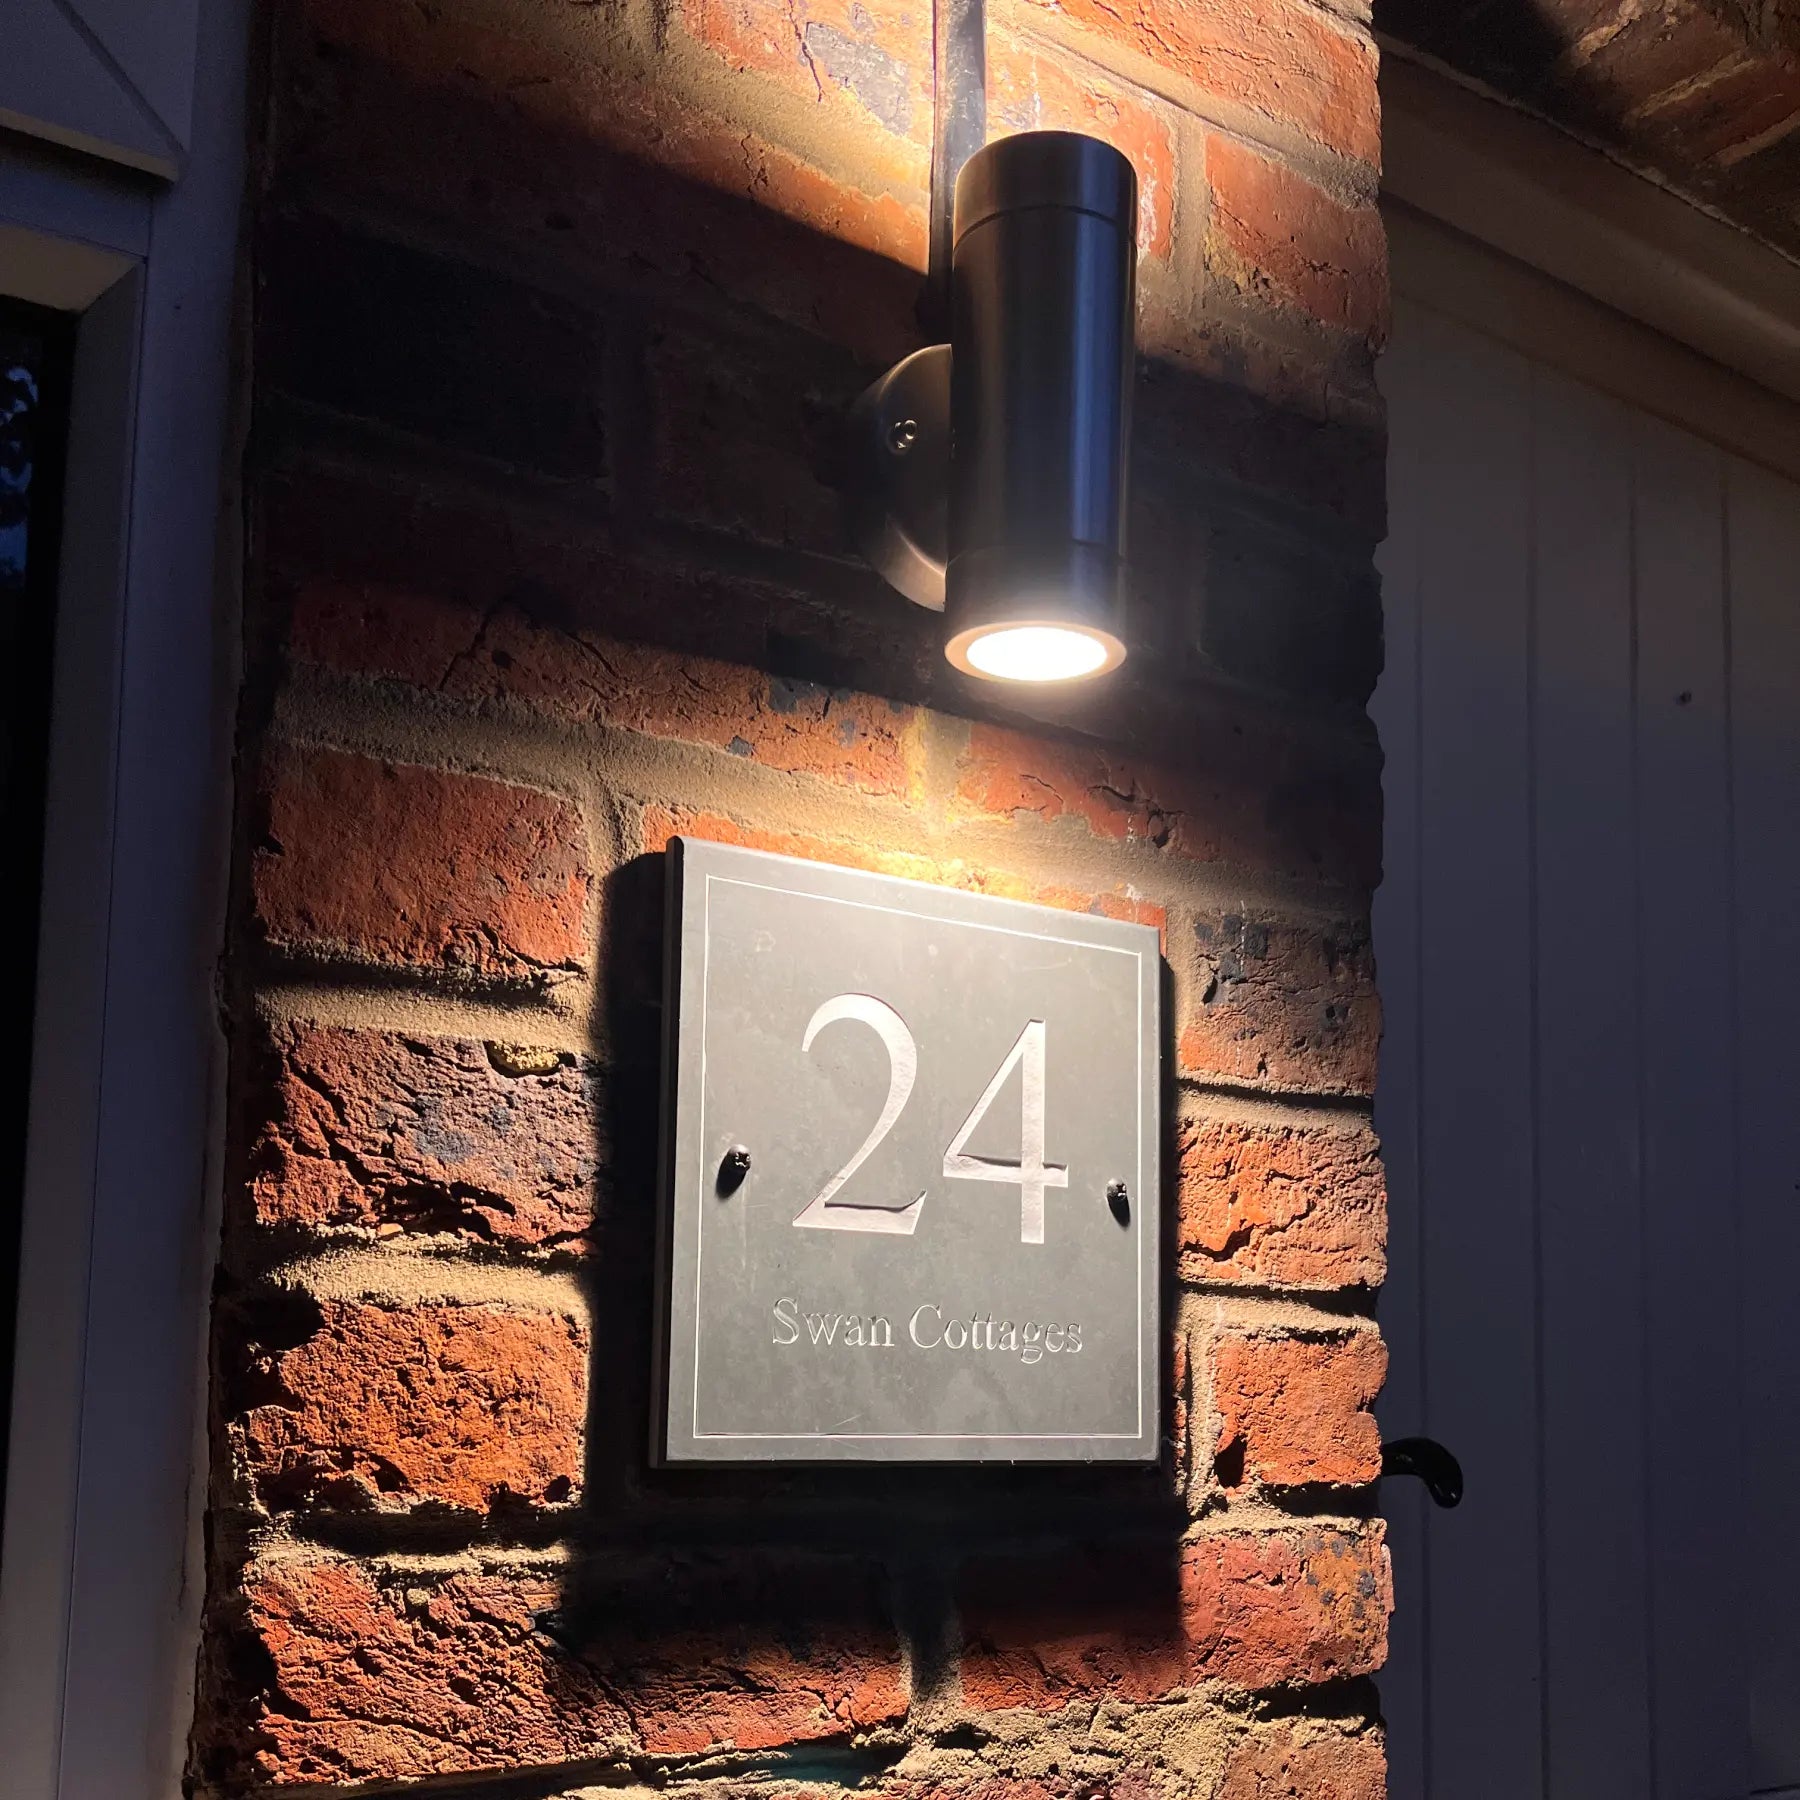
Our handy visual guide to help you install your new solar light. This manual assumes you are installing your sign onto an exterior brick wall. Contact us if you need help installing elsewhere.
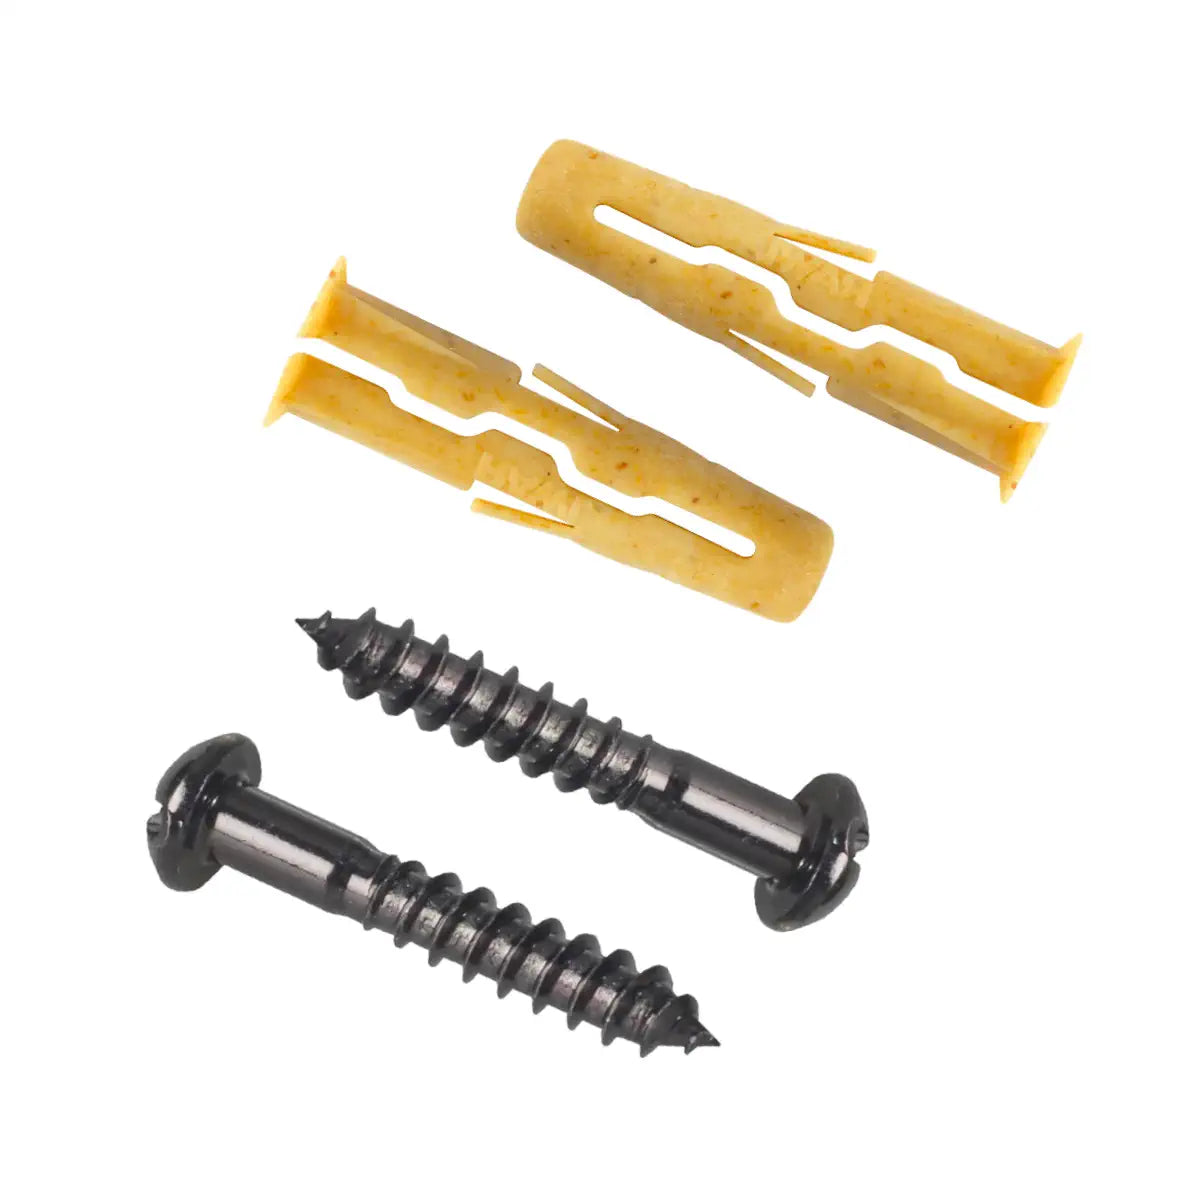
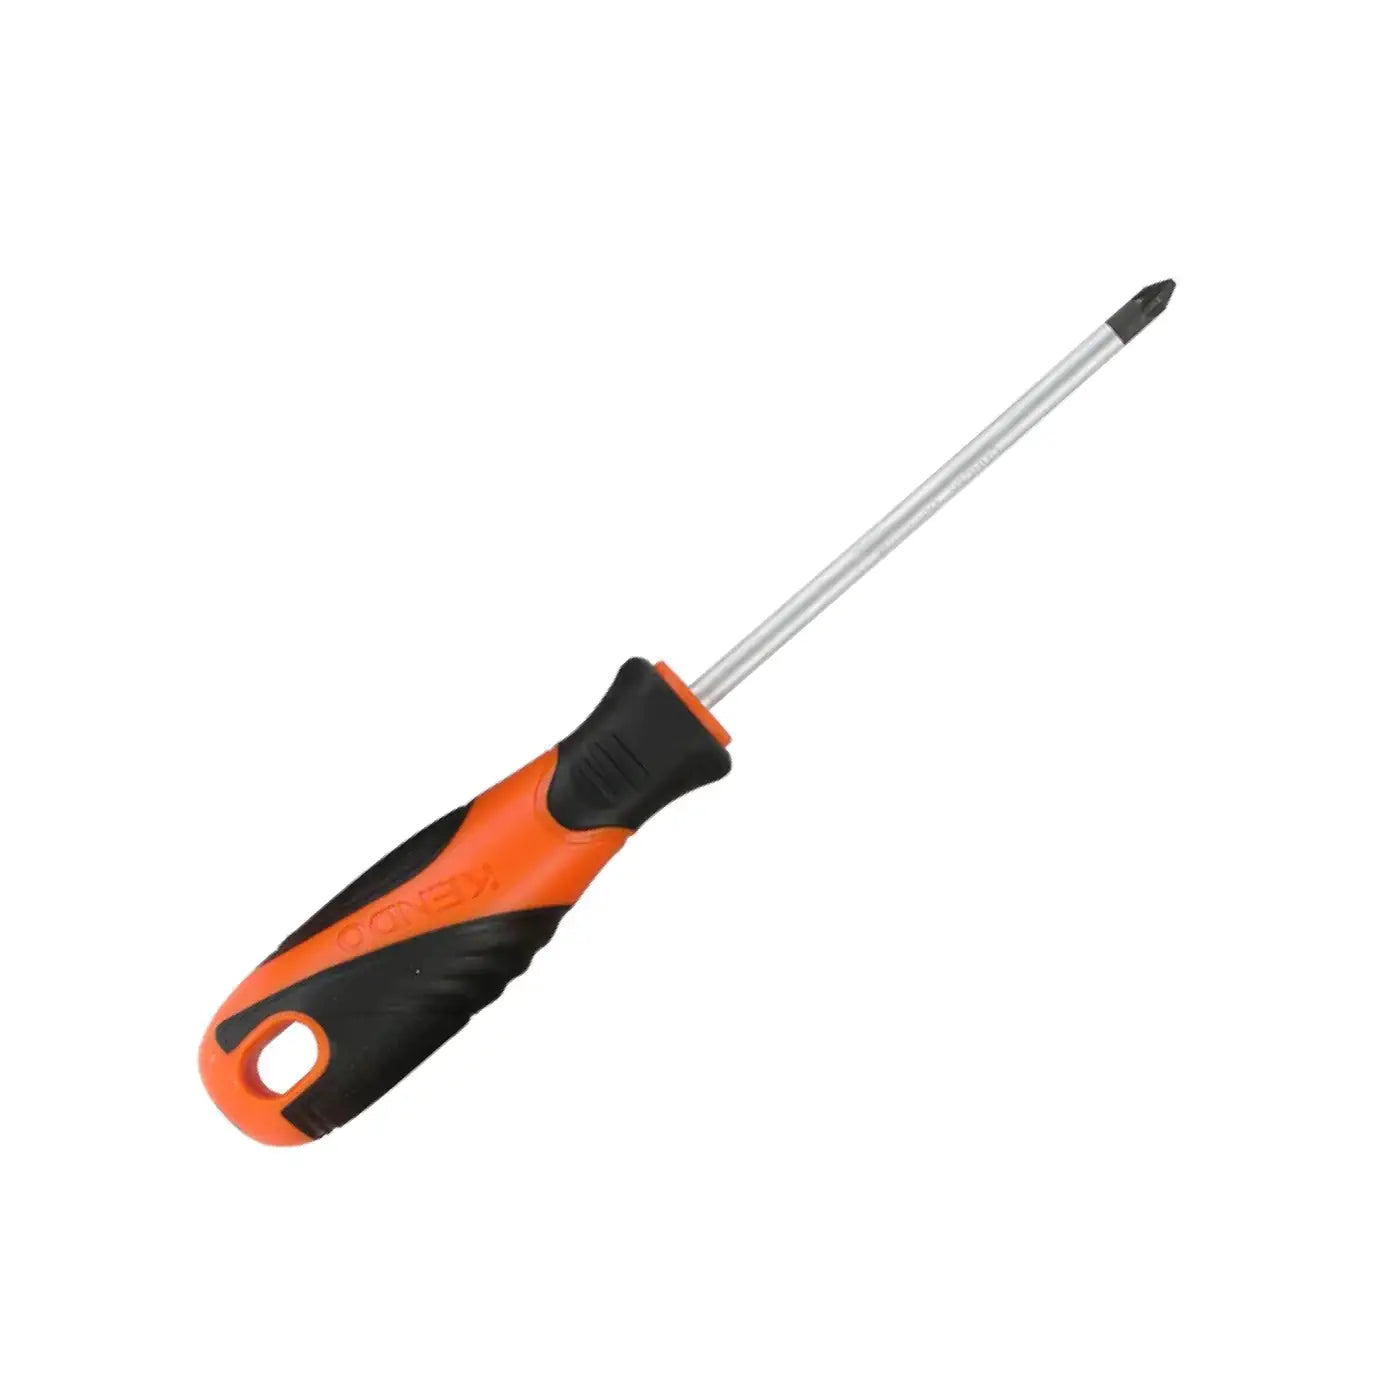
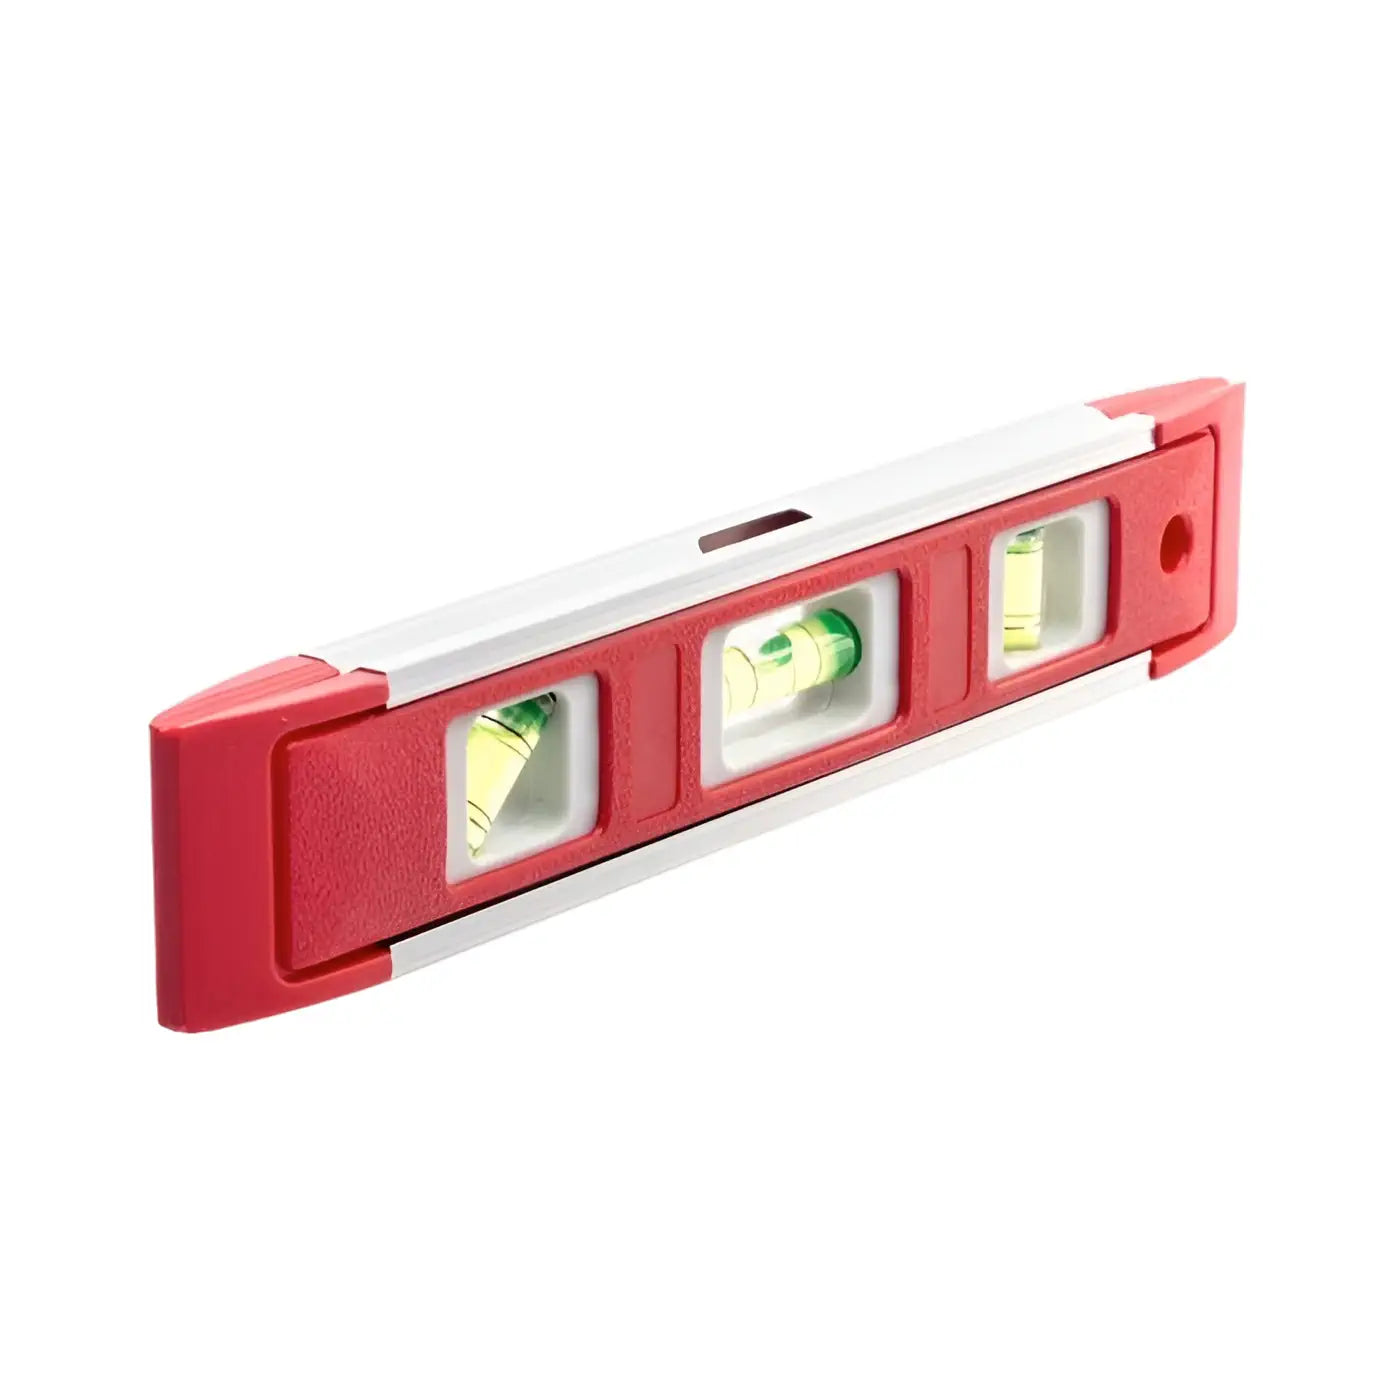
Before You Start
Ensure you have the necessary tools to properly install your light with screw fixings provided. If you’re missing any, you can purchase them from us below (excluding the electric drill).


Section 1 of 2
Installing the Light
Before installation, switch the solar light on. Once activated, it will reach its maximum brightness after 3–5 days of outdoor exposure.

Step 1
Prepare the Wall Bracket
- Hold the wall bracket against the wall
- Use a pencil to mark the screw holes
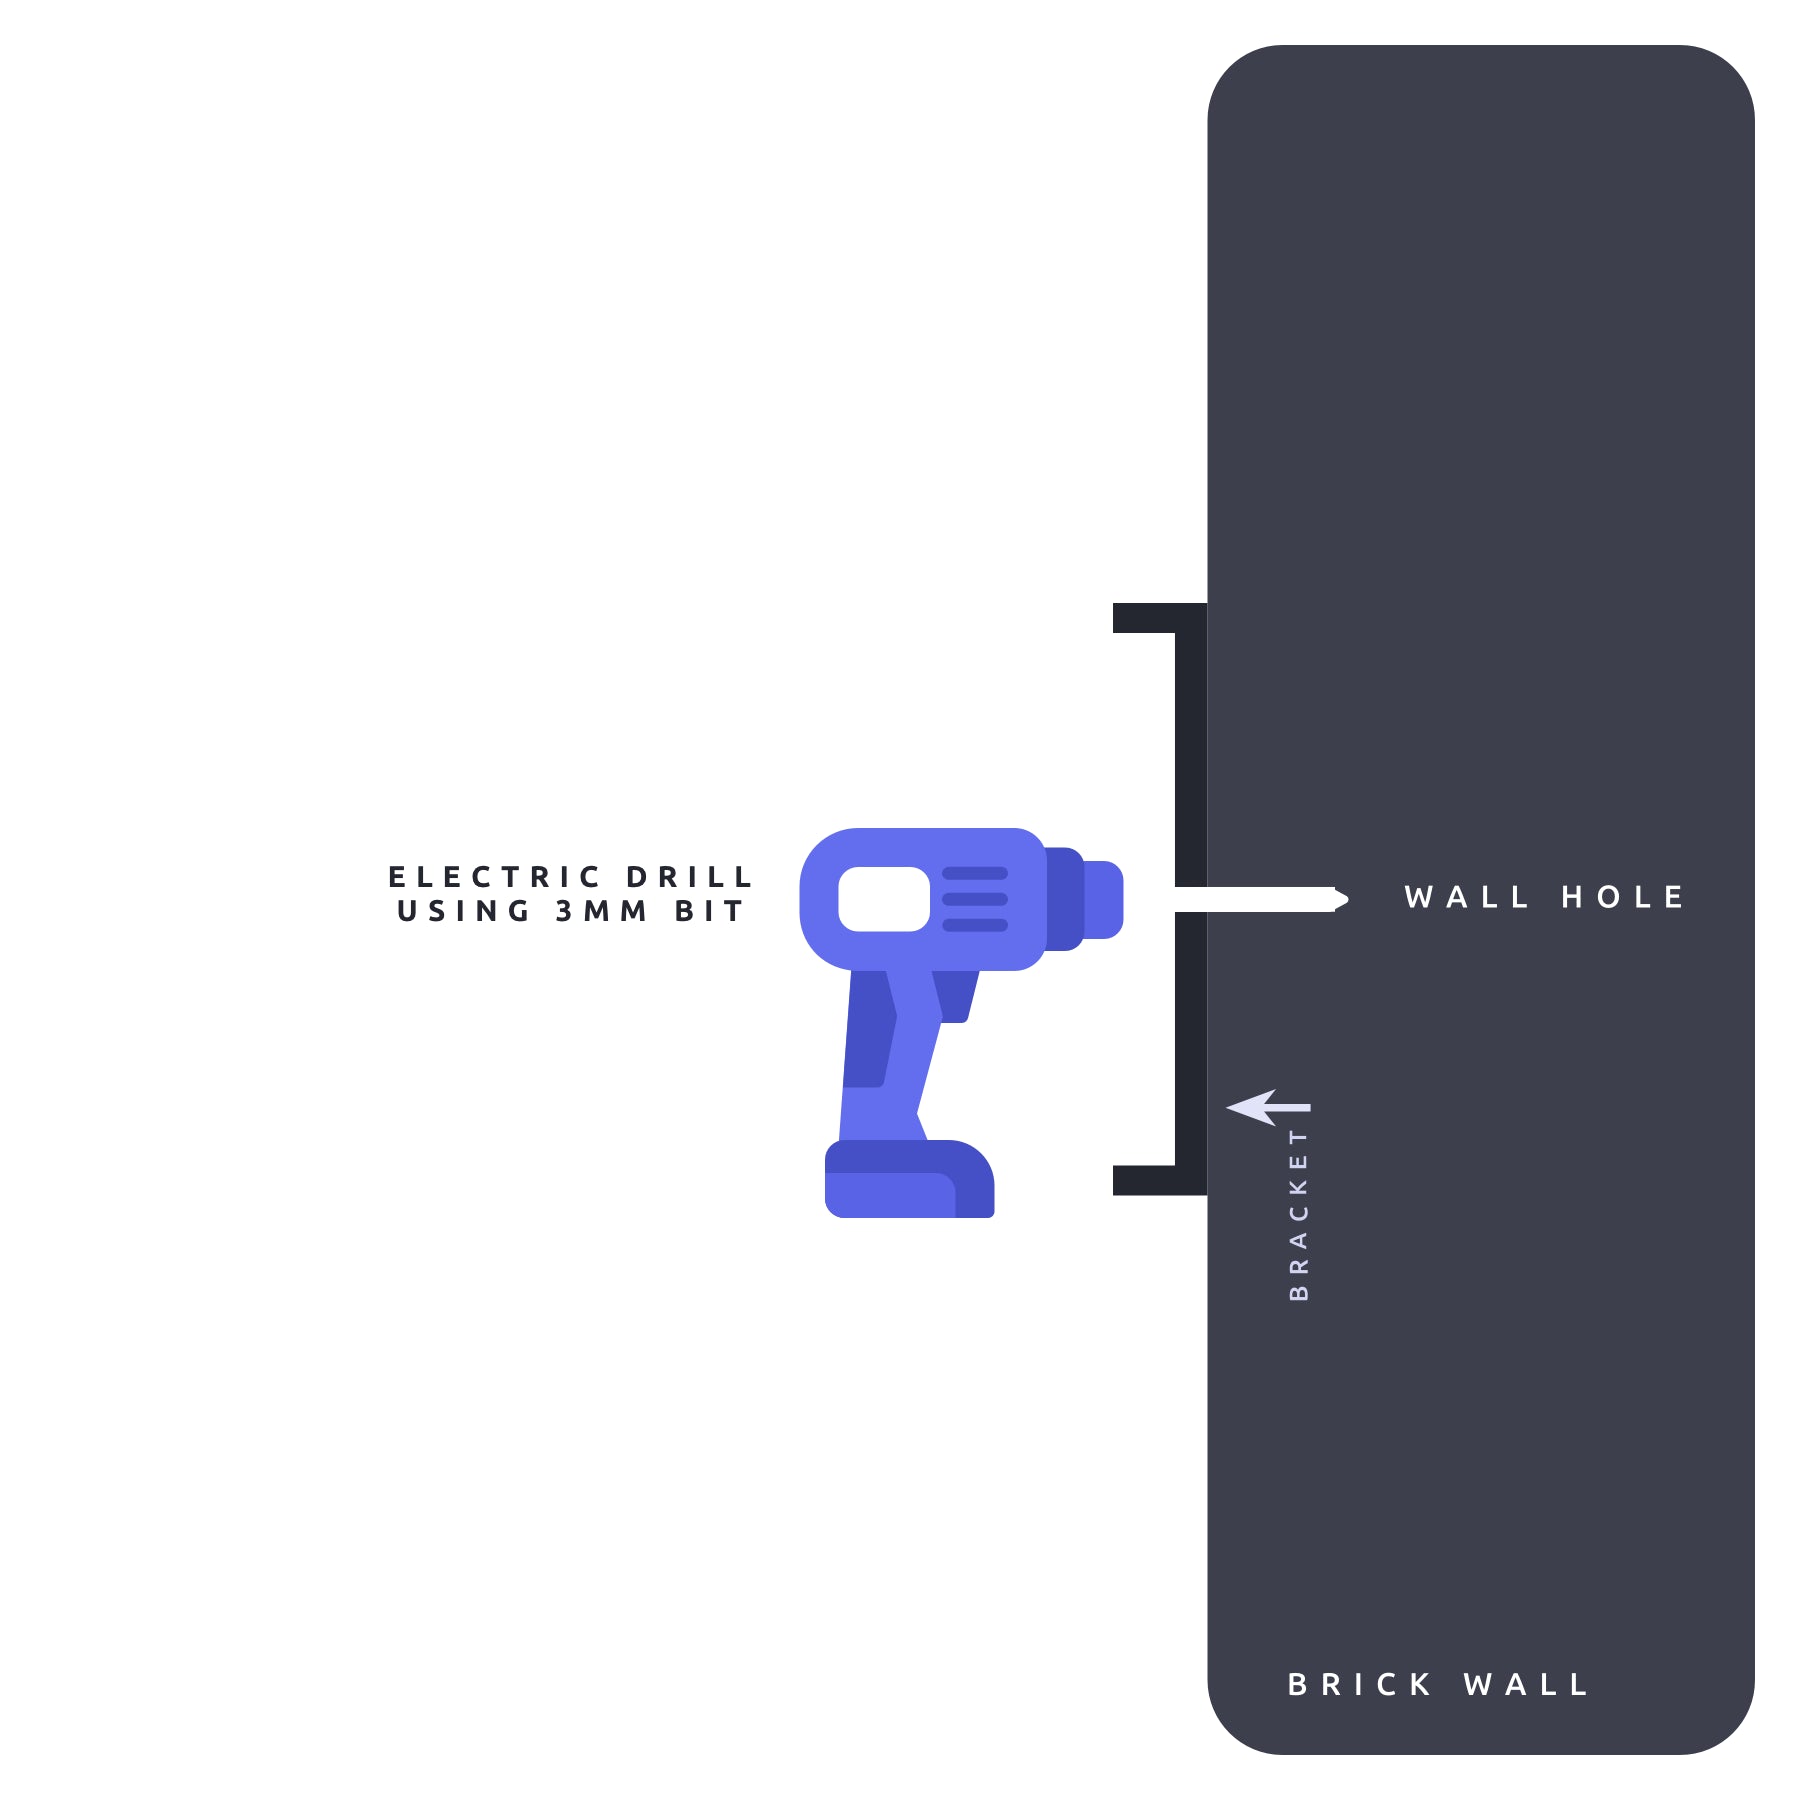
Step 2
Install the Wall Bracket
- Drill the holes
- Insert wall plugs
- Screw the bracket firmly into place
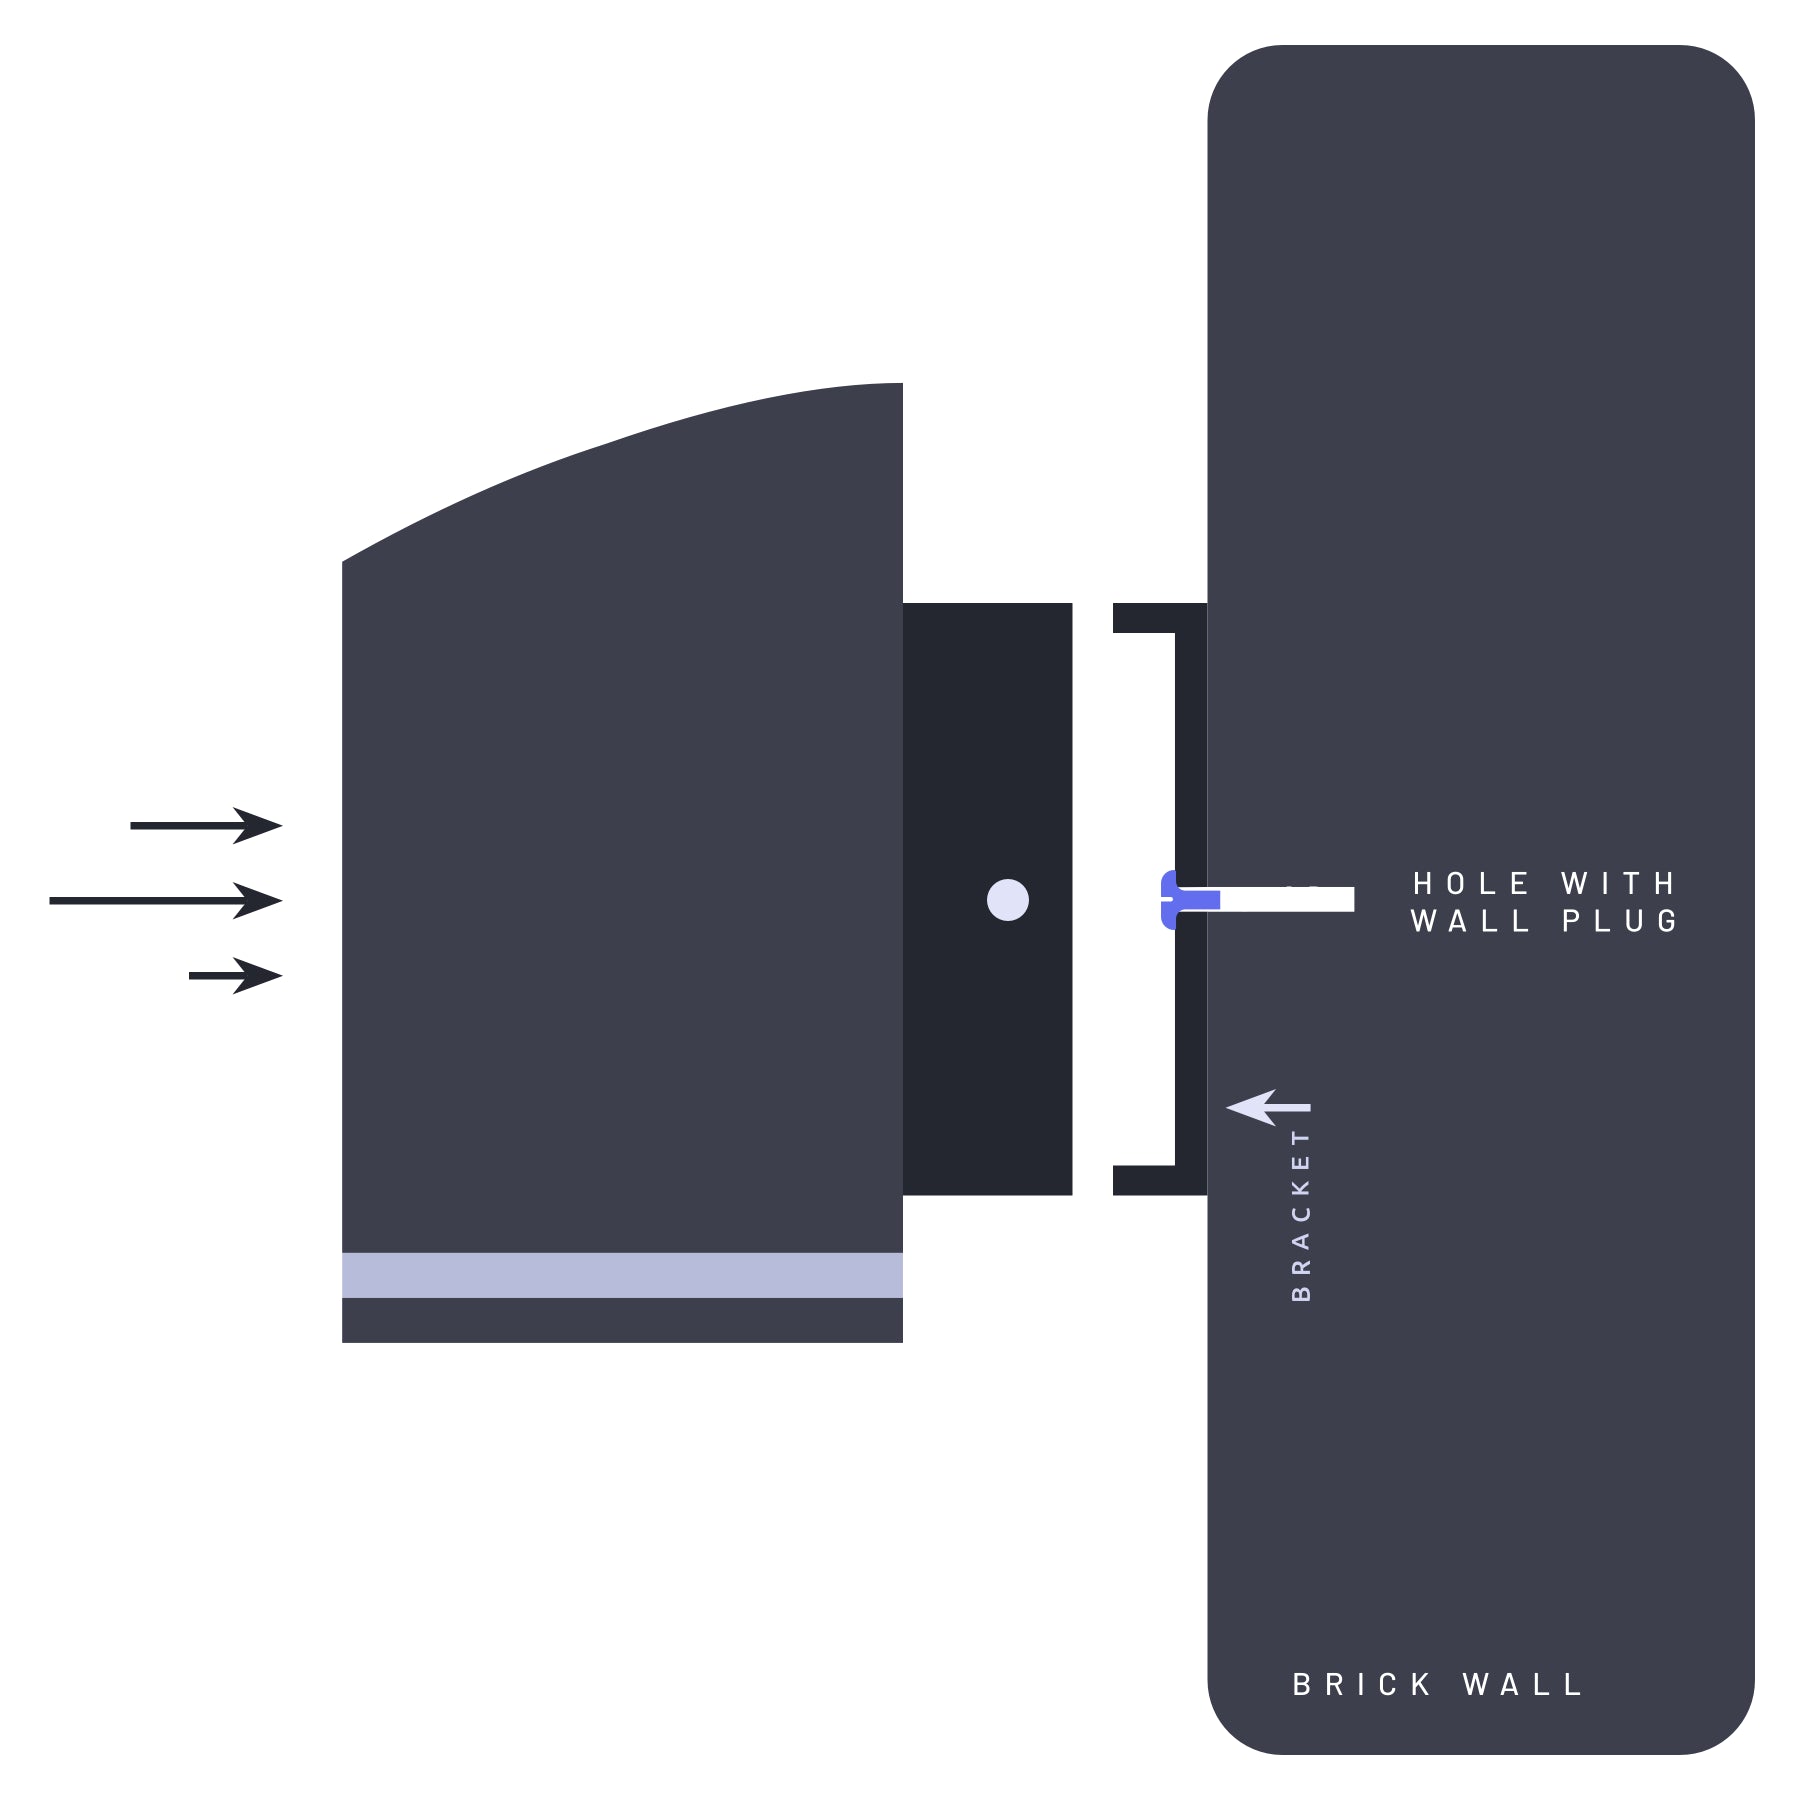
Step 3
Attach the Light Body
- Slide the light onto the wall bracket

Step 4
Secure in Place
- Use the 2 small fixing nut/bolt to secure the light body to the bracket on each side.
Section 2 of 2
Turning the Light On
After installation, keep the solar light switched off for 3-5 days so it can fully charge. Once charged, the light can be turned on. See how the light is turned on by following these steps.
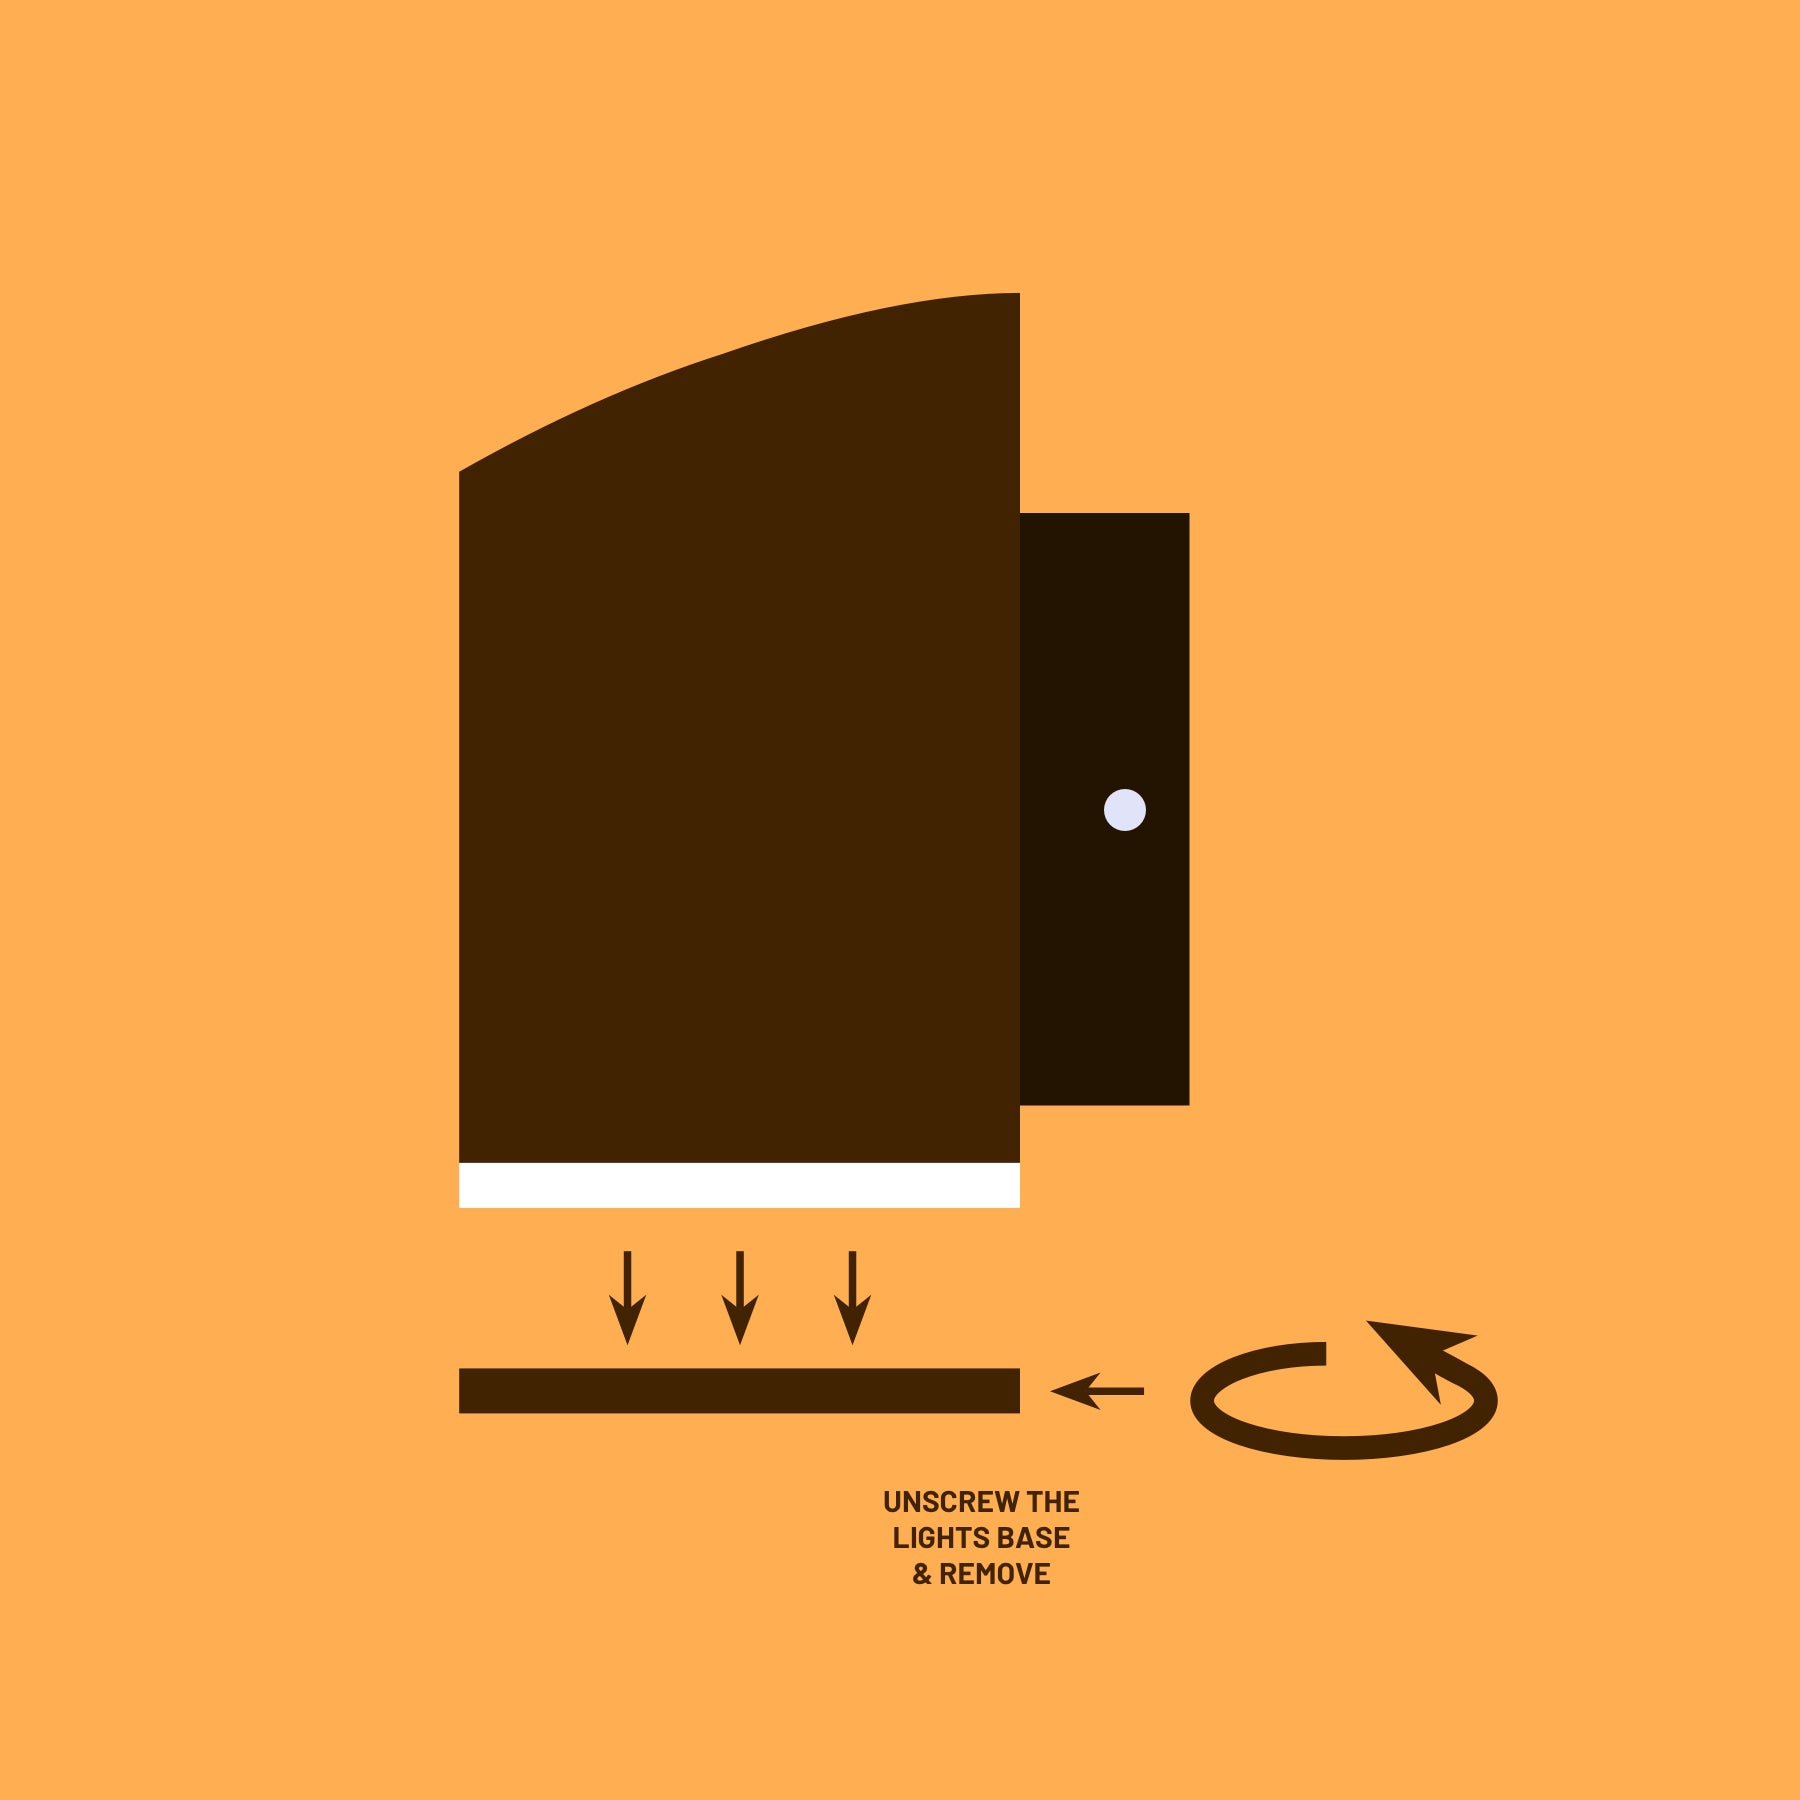
Step 1
Unscrew the Base Cap
- The light doesn't need to be uninstalled from the wall to do this. Twist the base cap anti-clockwise to remove.
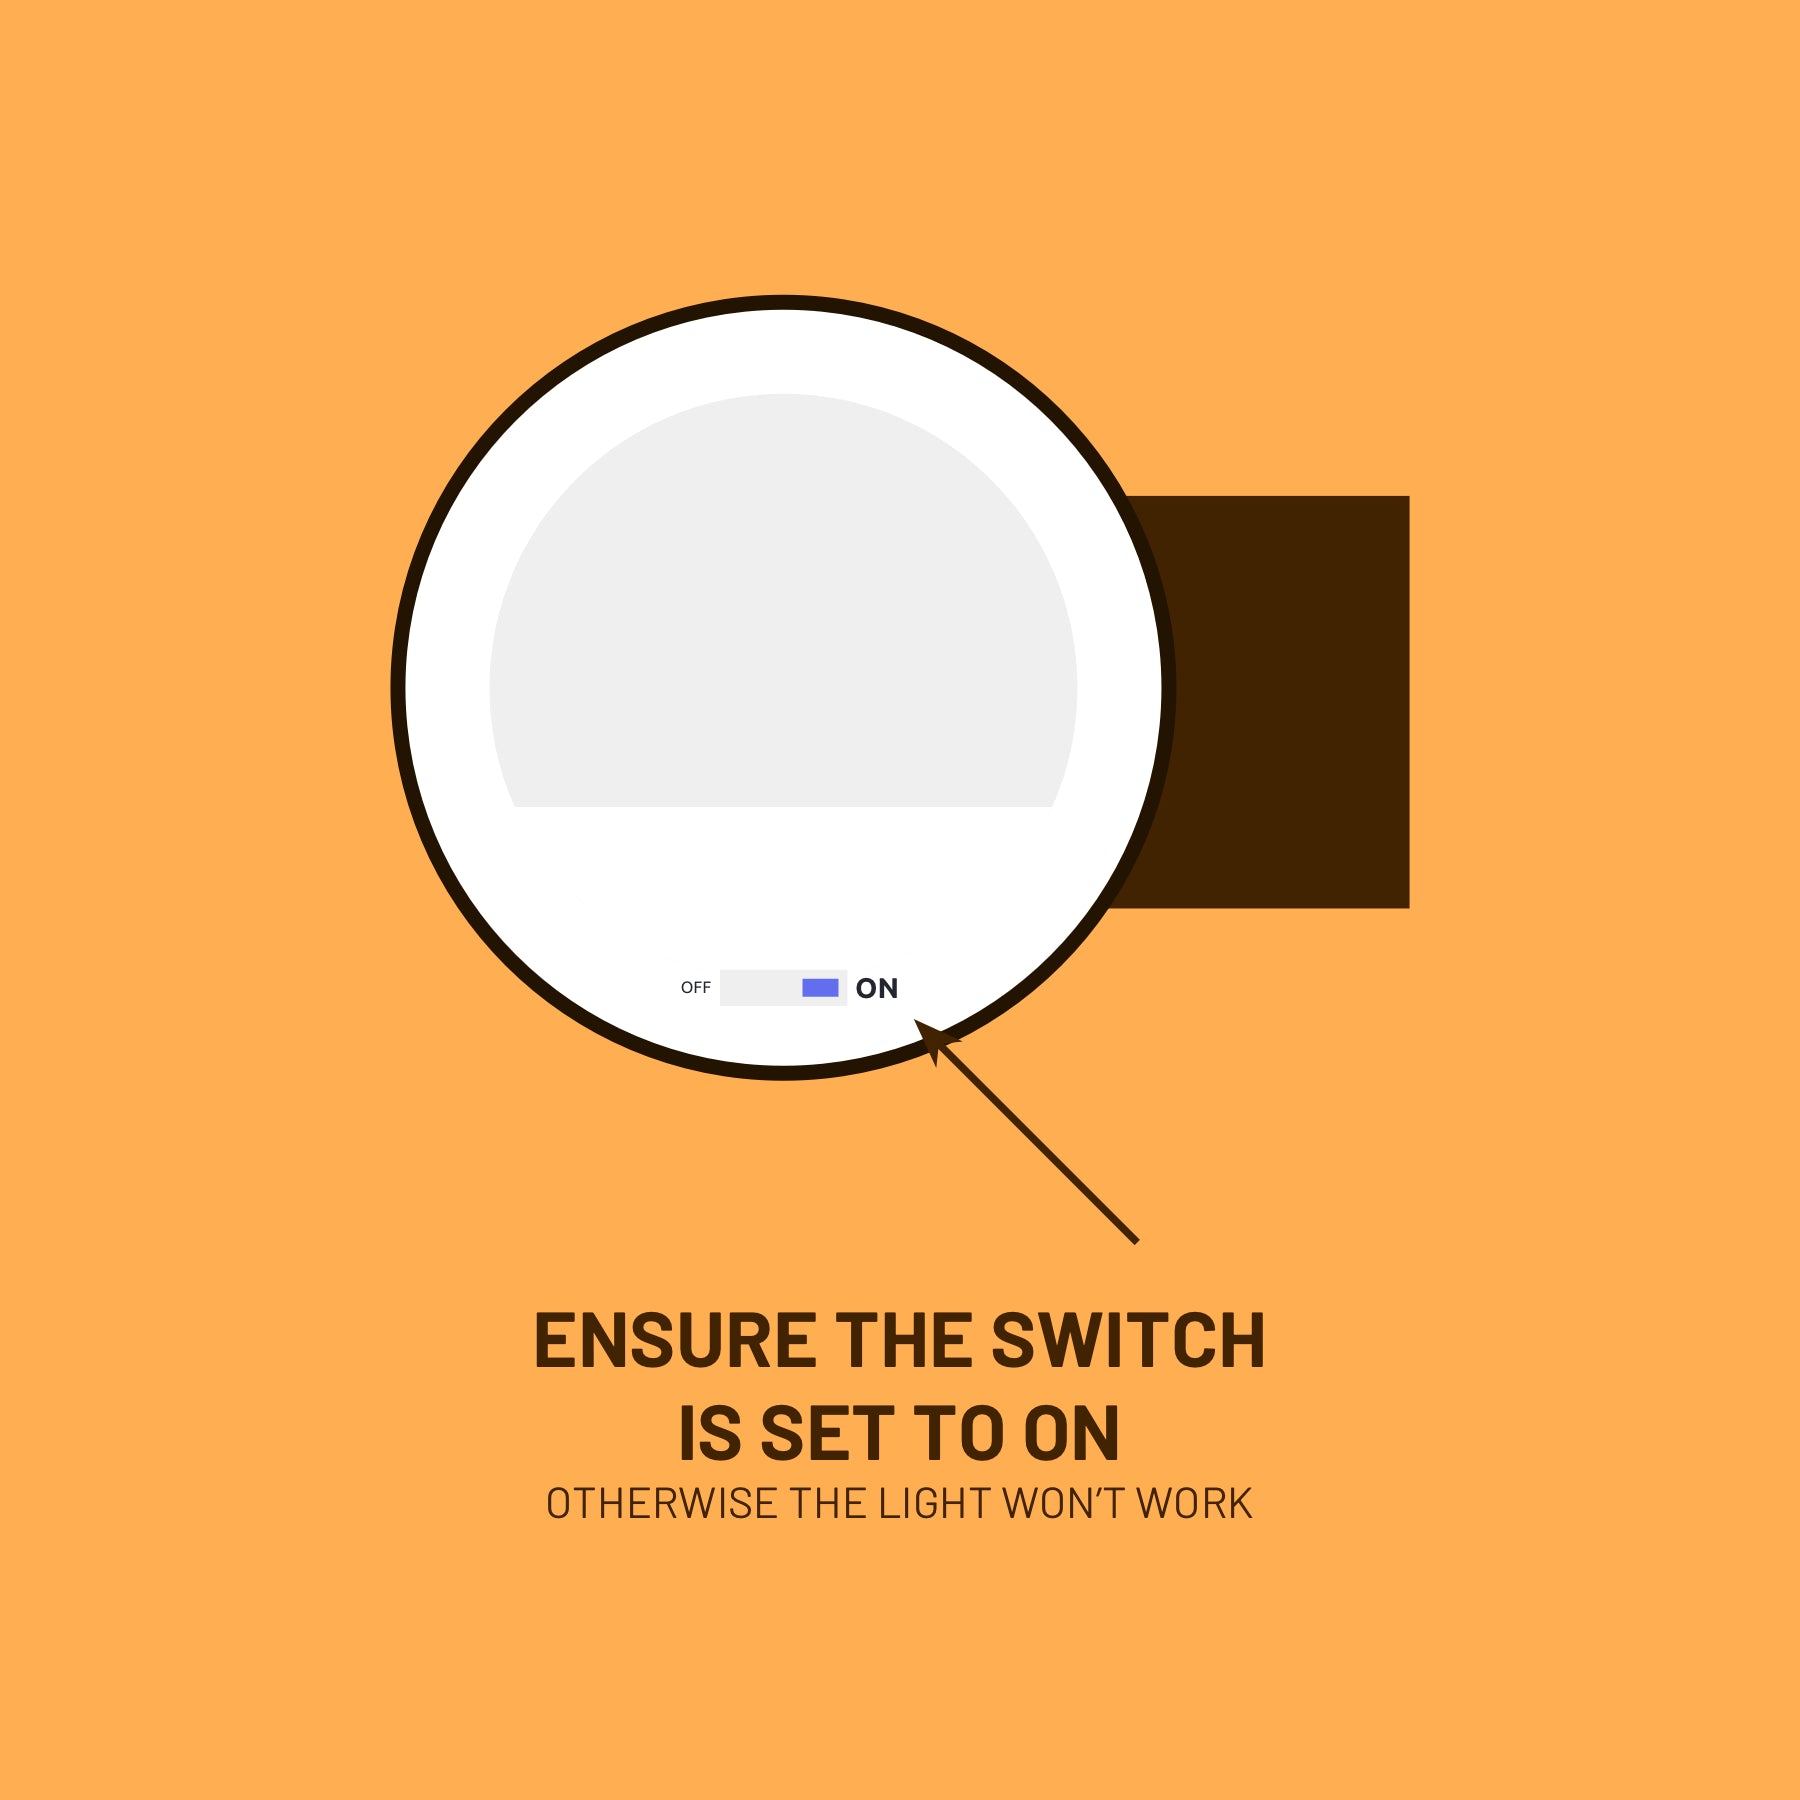
Step 2
Turn the Light On or Off
Inside the base of the light is a switch with 3 modes:
- ON: switches the light on. The light automatically turn on when it's dark and off when it's daytime.
- OFF (middle): this turns the light completely off.
- P or S: labelled differently depending on the model of your light. This toggle is 'Powersaving Mode' and can be enabled in the winter when daylight hours are reduced.
Learning Before Ordering?
We admire the dedication! Browse all our outdoor lighting below.


Seen in:

Find Your Perfect Sign
Answer 3 simple questions and we'll recommend the best house sign for you.