
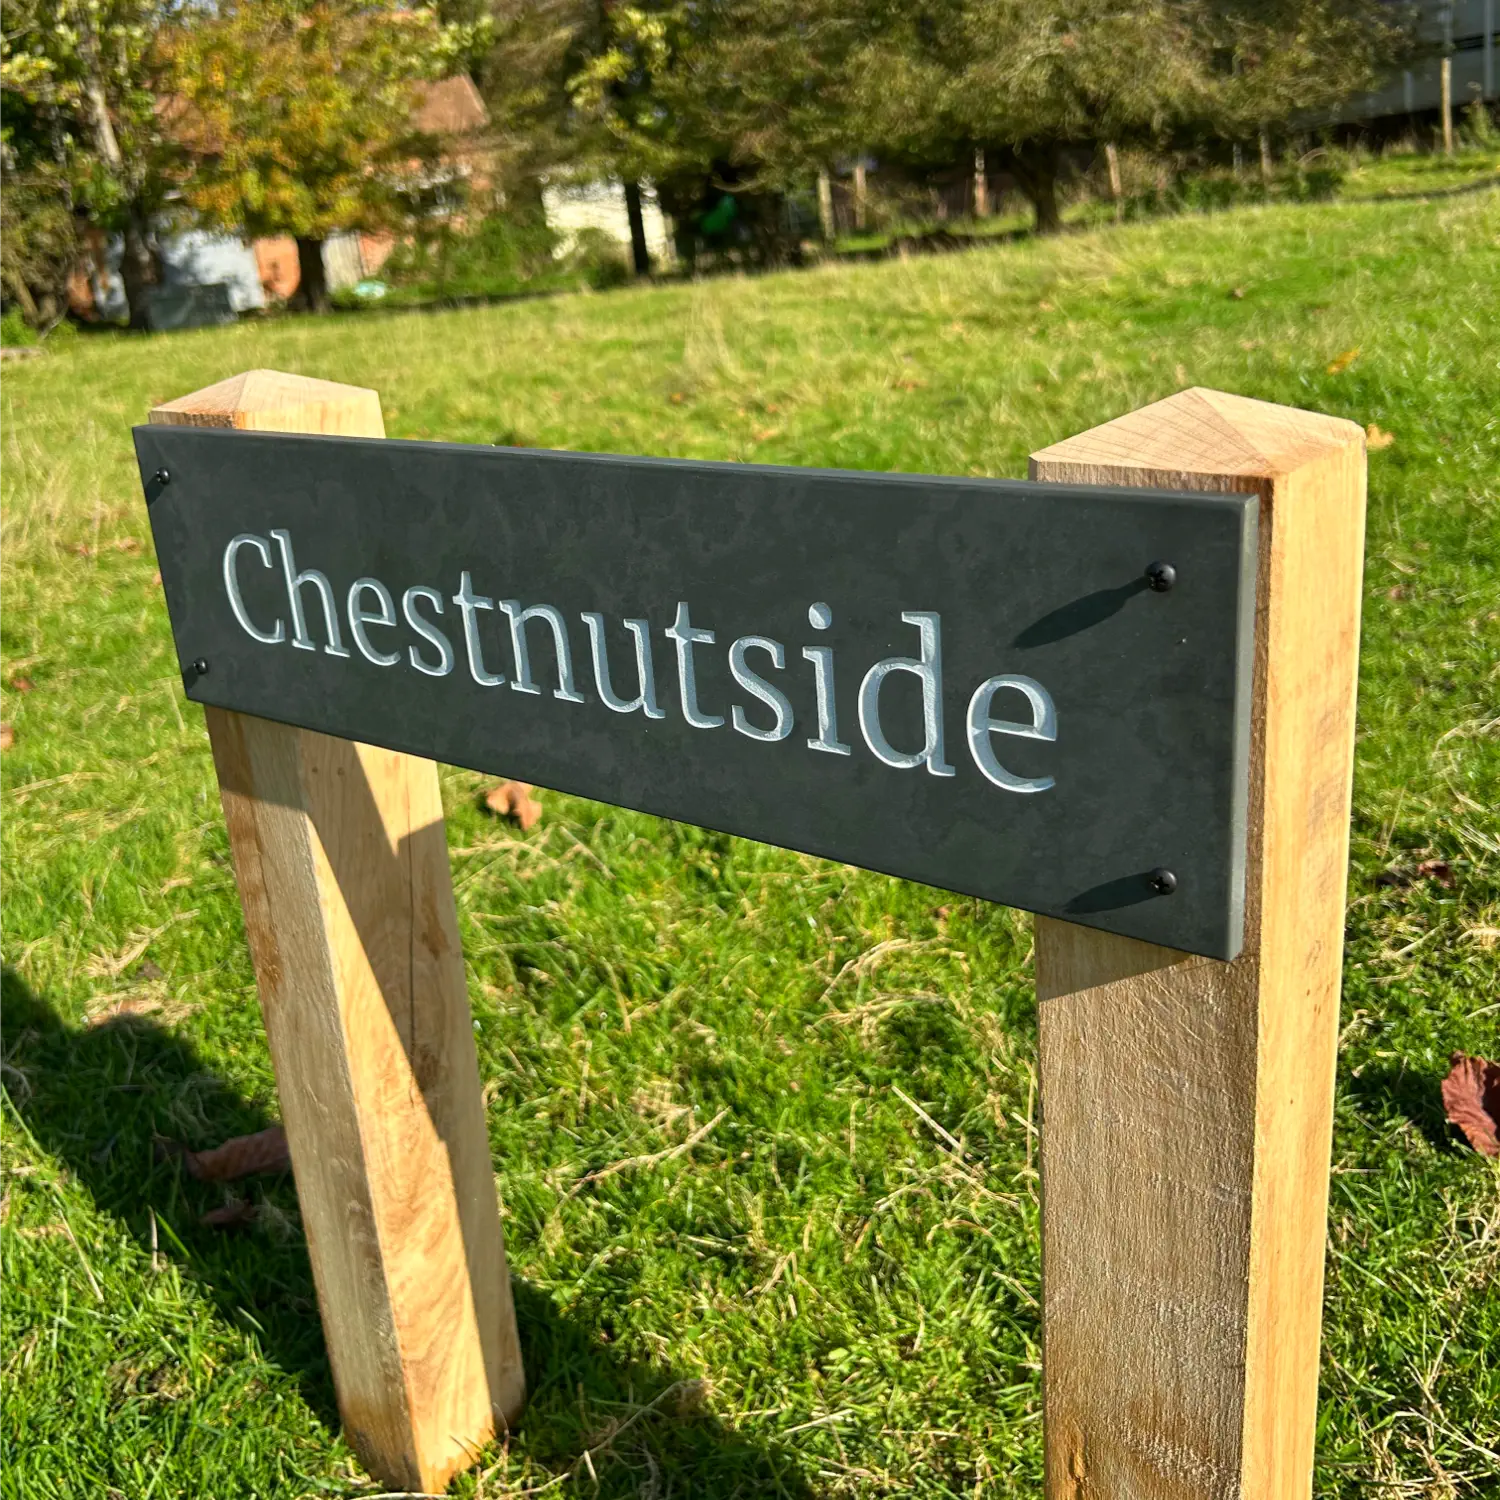
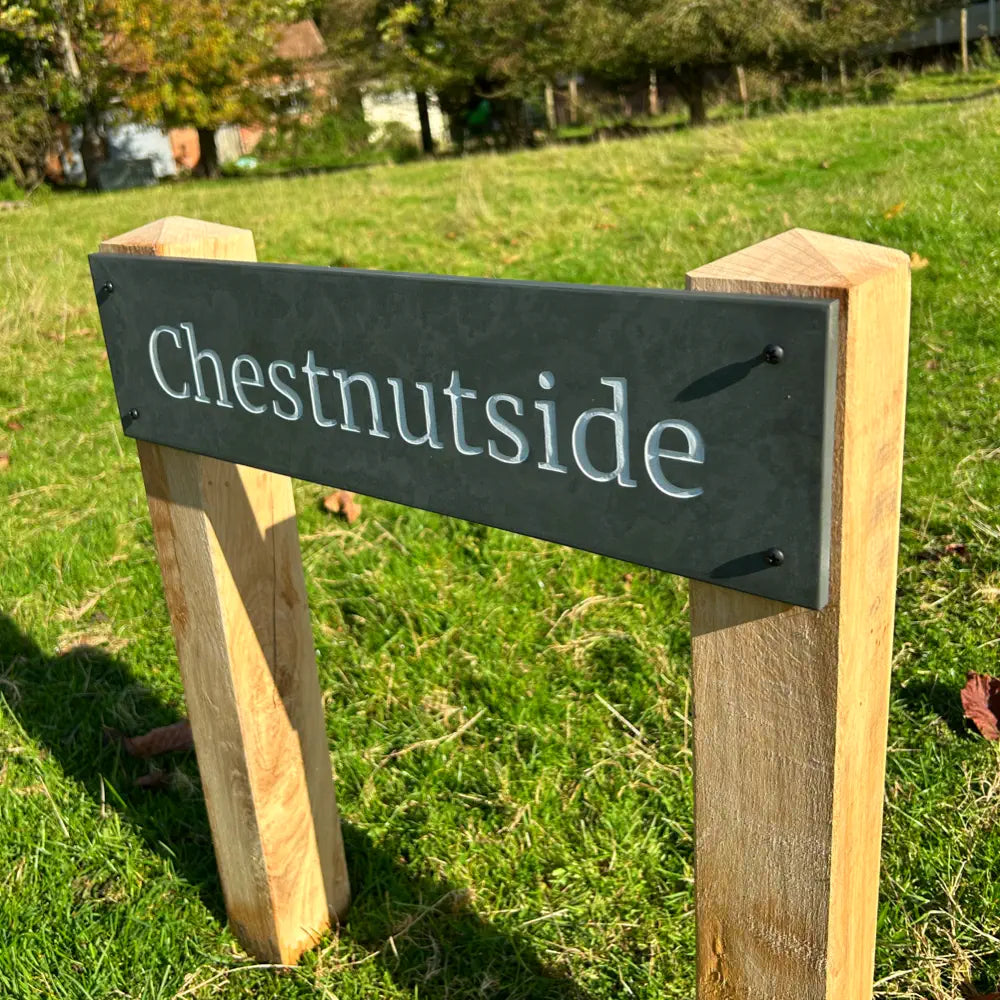
Post Mounted House Signs
Looking for an alternative to wall signs? Our treated redwood posts offer a strong, stylish way to display your slate sign. Perfect for driveways, gardens, and property entrances, adding both visibility and charm.


How to Install a Sign on Posts
Installing your sign on oak posts is straightforward and hassle-free. Once you’ve selected your sign style, text, and post sizes, The Bespoke Sign House will craft your order to your exact specifications and include everything you need for installation.
DETAILED GUIDE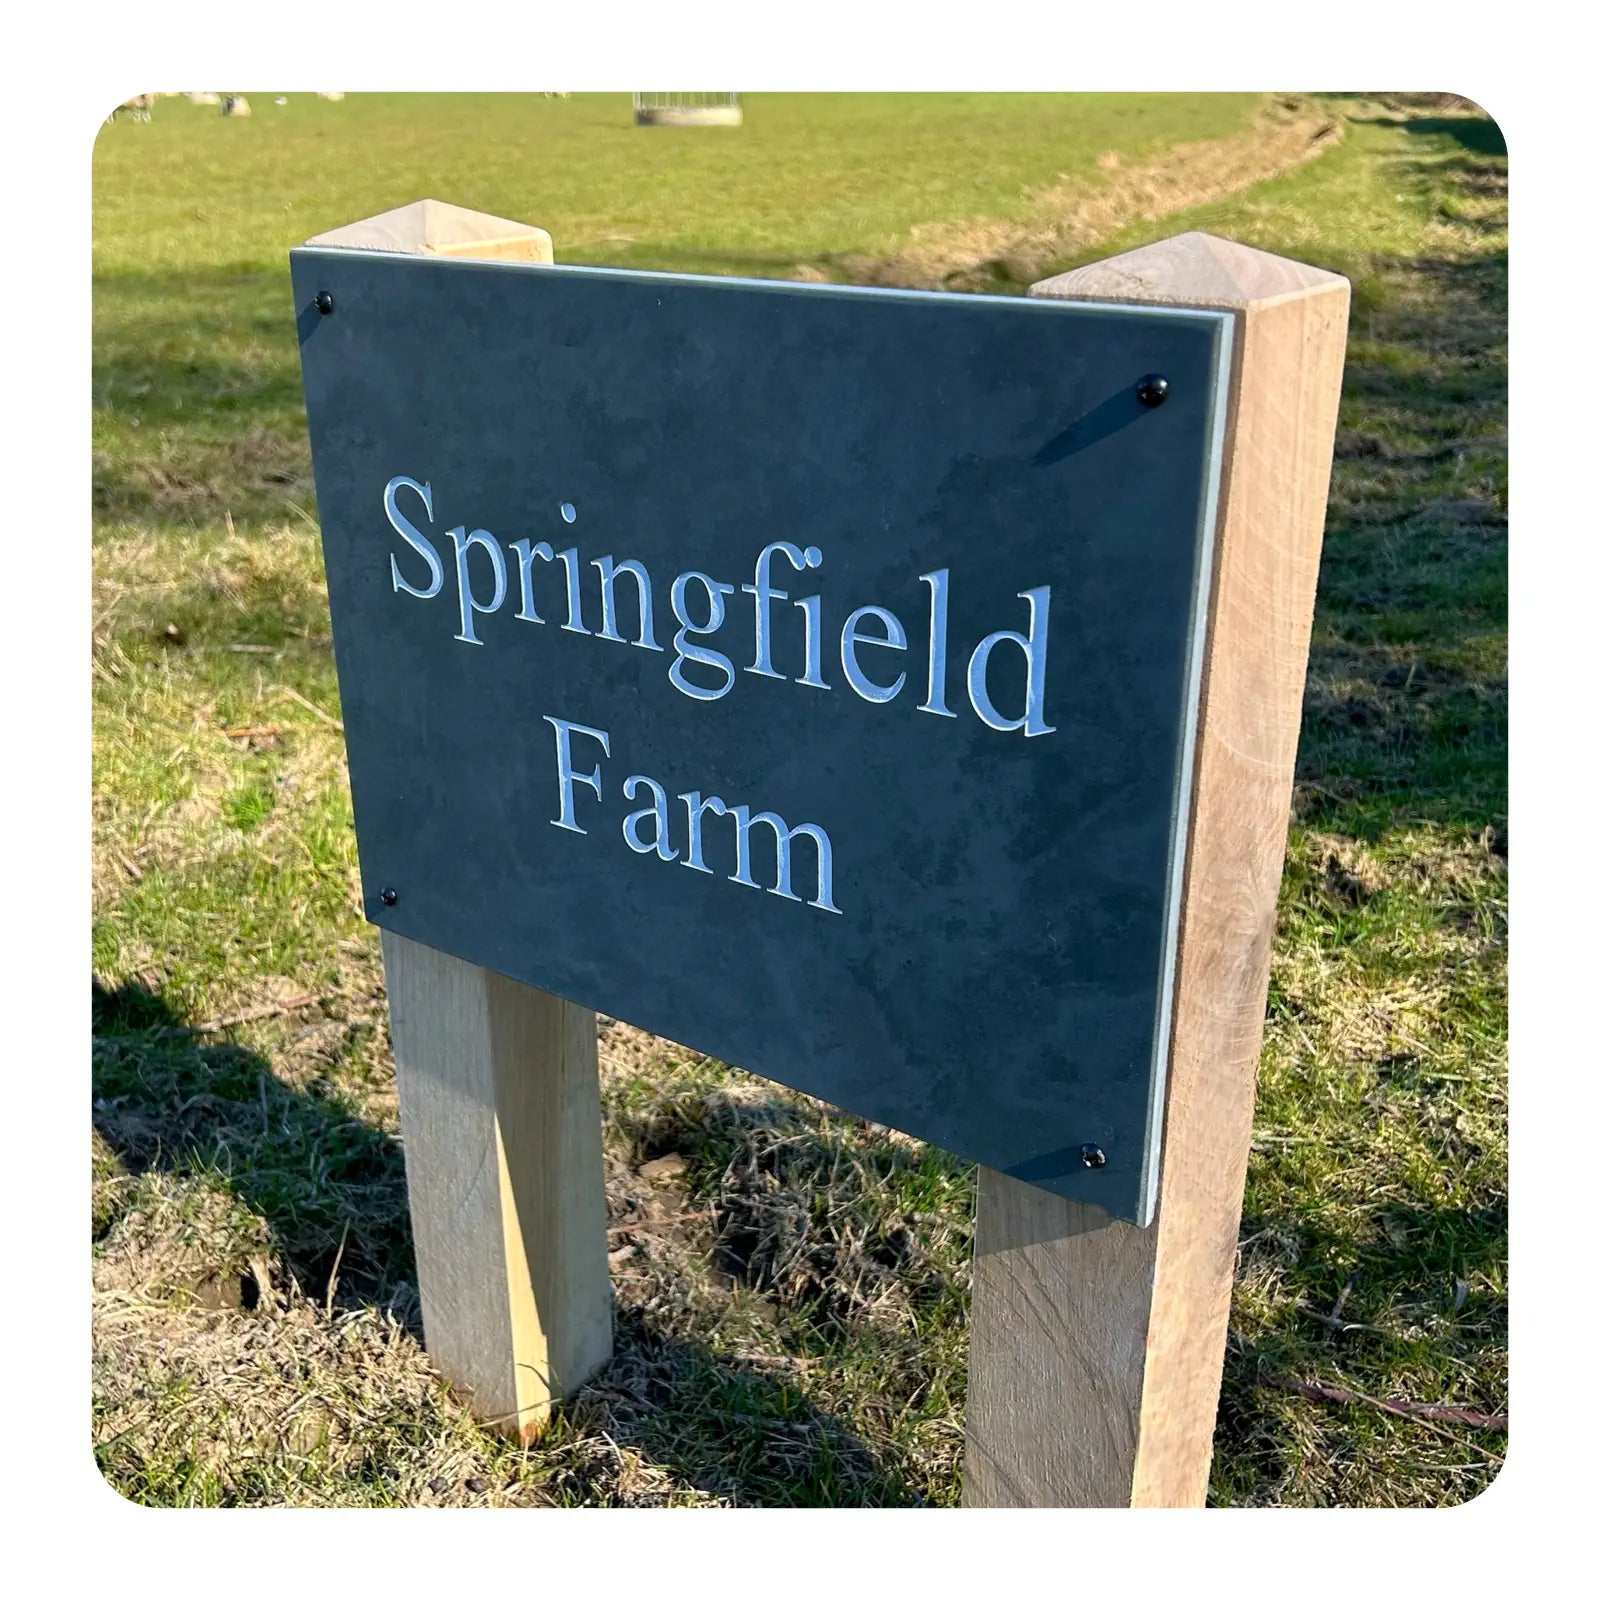
Preparing the Sign & Posts
1 | Choose the Location
Decide where you’d like to position your sign, ensuring it’s visible and balanced within your space.
2 | Attach the Sign to the Posts
Fix your slate sign to the posts using the screws provided. Double-check that it’s aligned and secure.
Digging Holes & Securing
3 | Prepare the Ground
Dig two holes in the ground at the required distance apart for the wooden posts.
4 | Secure the Posts
Place the posts into the holes, ensuring they’re upright and level. Fill the holes with soil or postcrete to secure them firmly in place.
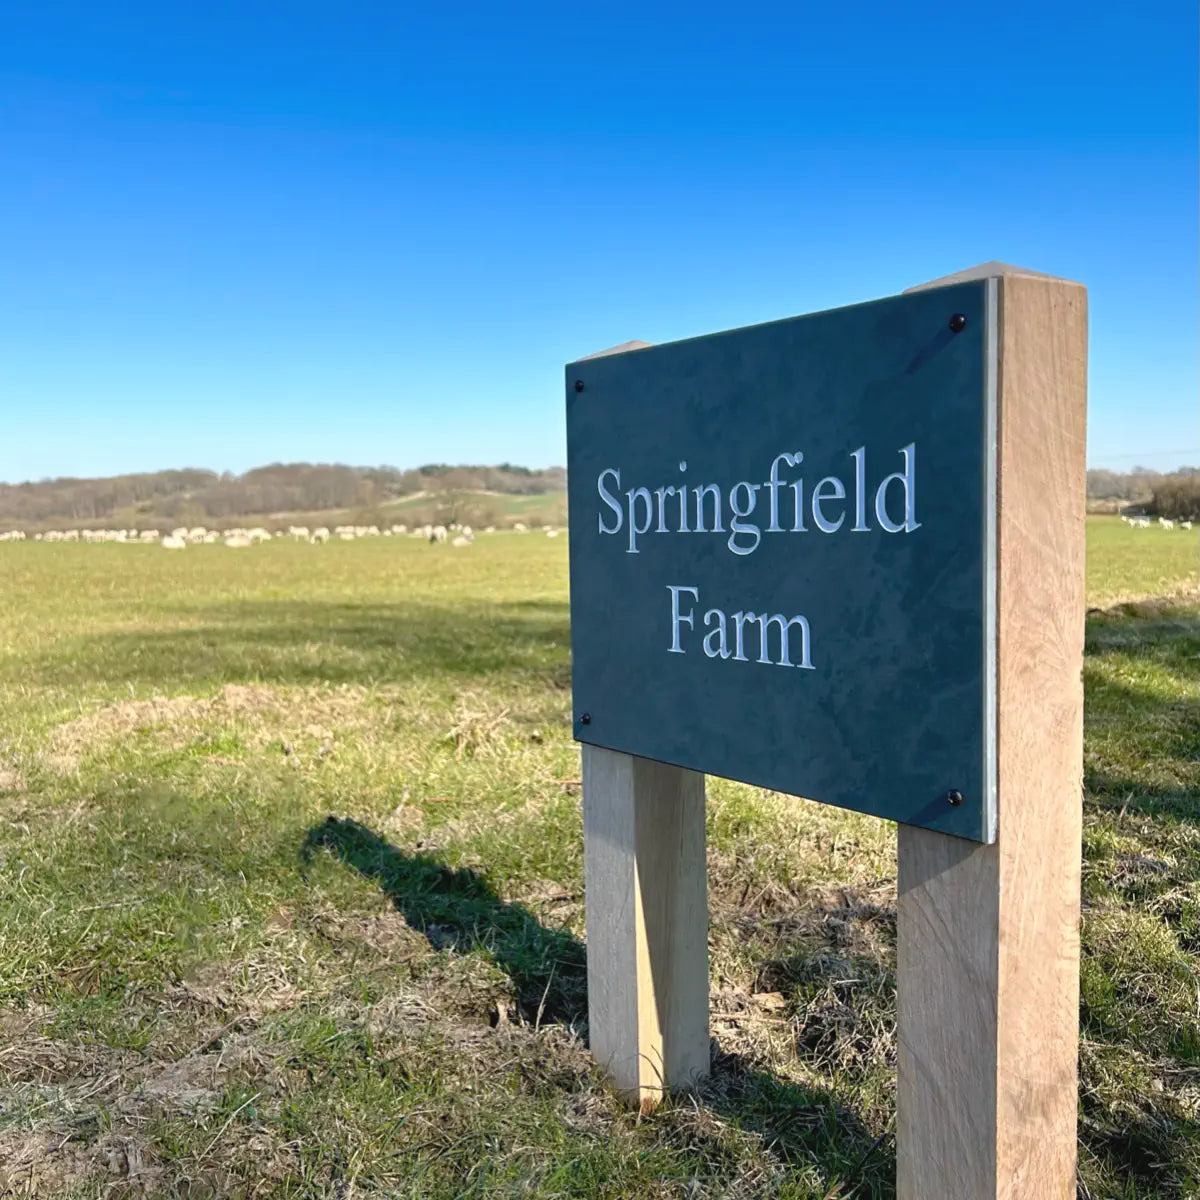
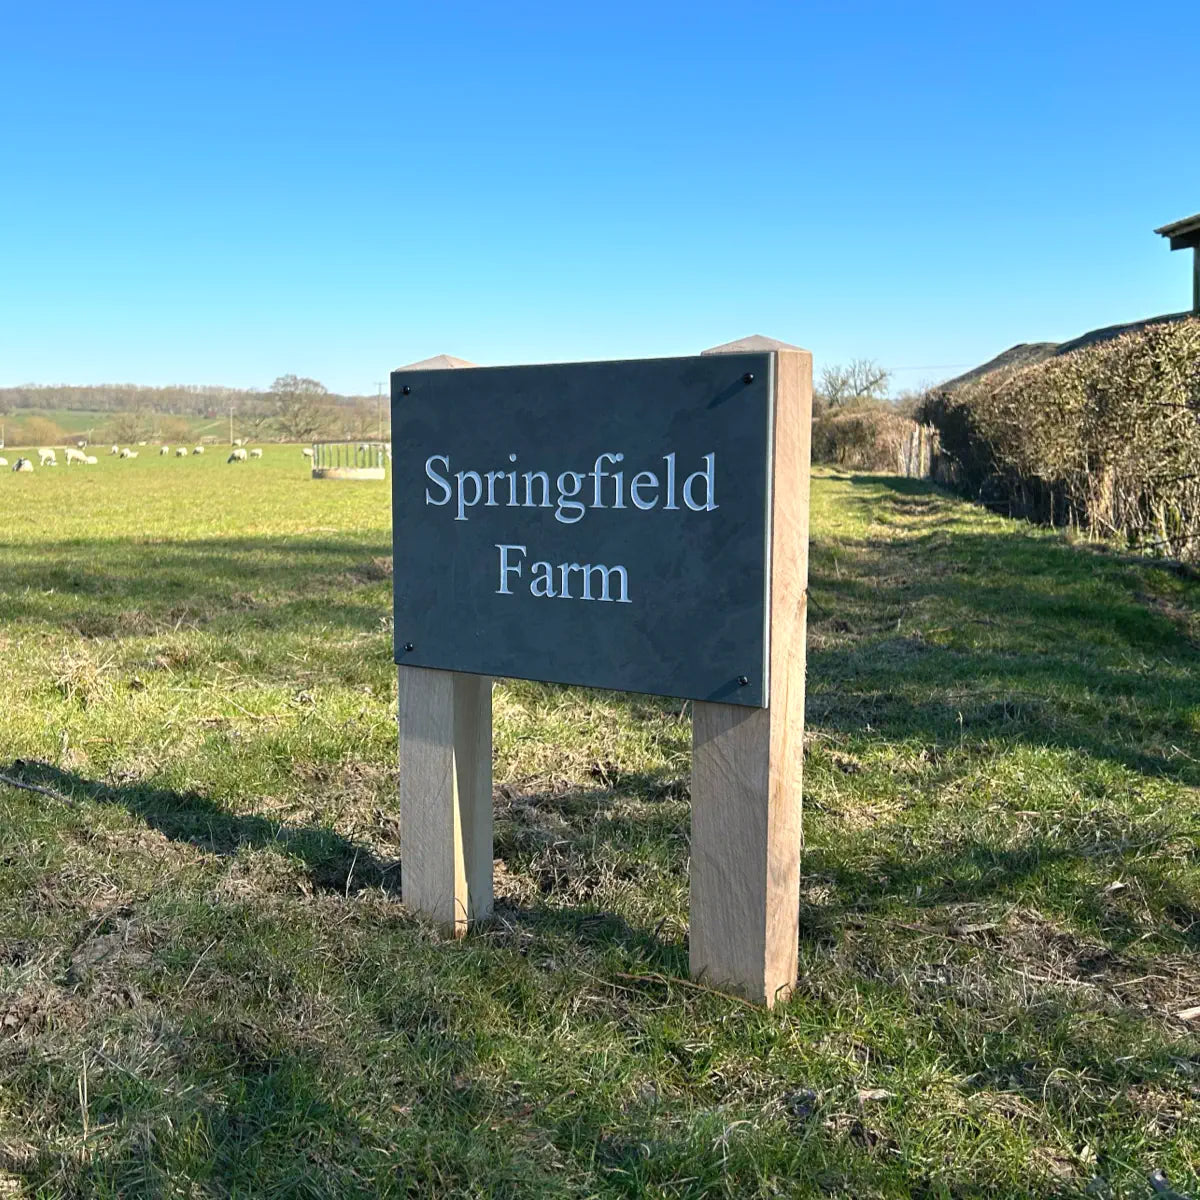
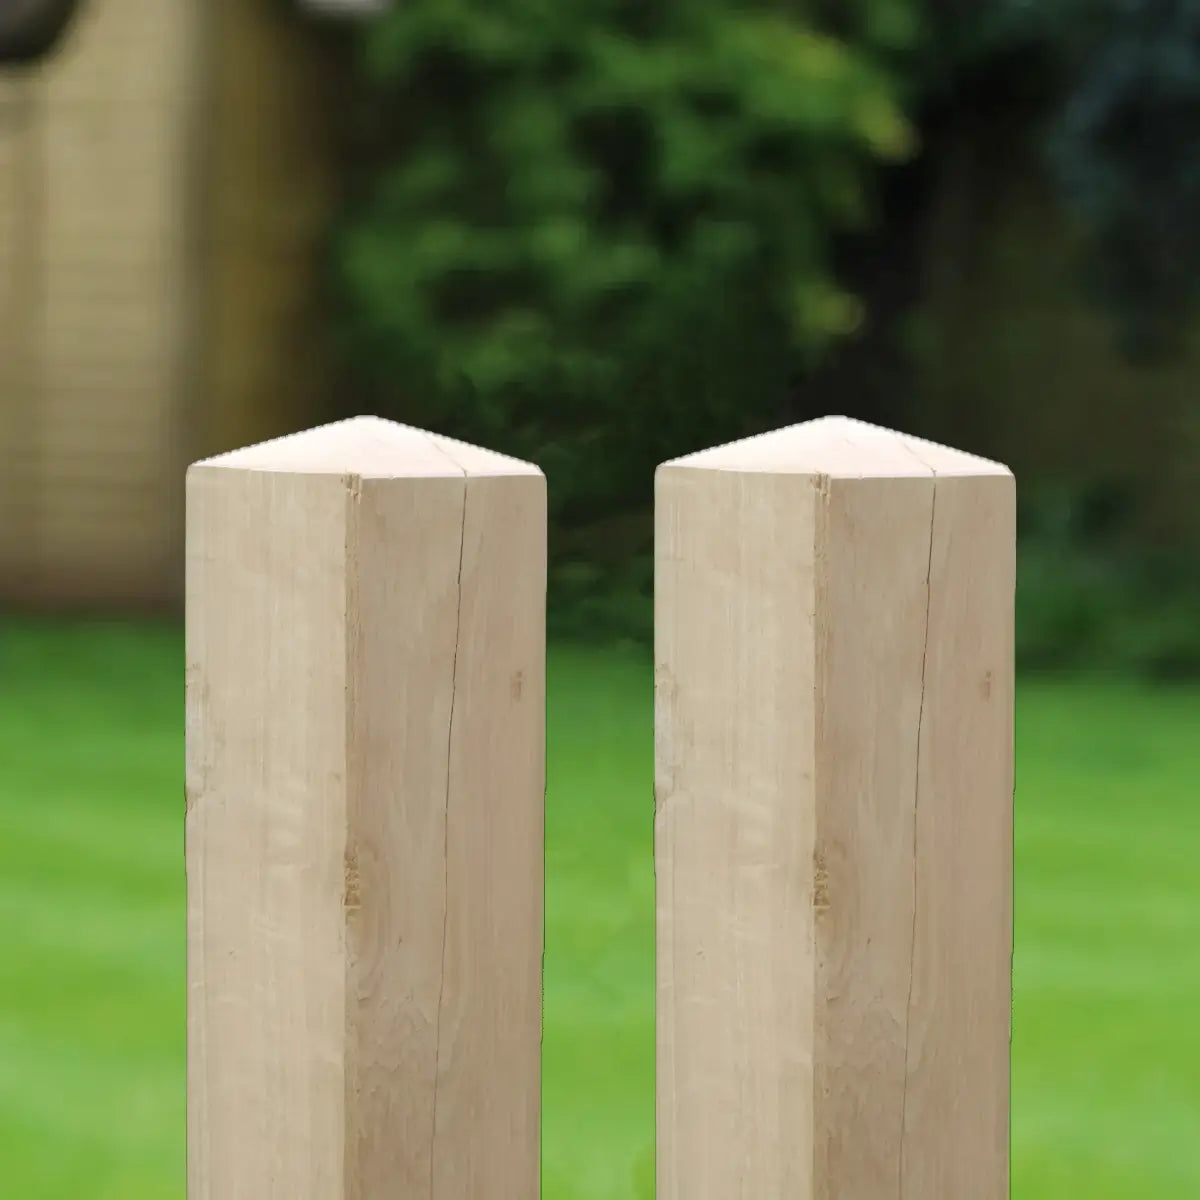
Premium, Durable Redwood Posts with Elegant Pyramid Tops
All our redwood posts are pressure-treated for durability, ensuring they withstand outdoor conditions for years to come. We offer two length options: 2ft and 5ft (subject to availability). Each pair of wooden signposts includes the necessary screw fixings for secure installation, making it easy to mount your sign with confidence.
Our wooden posted signs are crafted from FSC-certified redwood and oak, ideal for driveways, cottages, stables, farms and rural estates. Each post and panel is individually made, engraved and hand-finished for a natural, long-lasting sign with real character.
For the most secure installation, we recommend setting your hardwood posts in the ground using gravel and Postcrete.

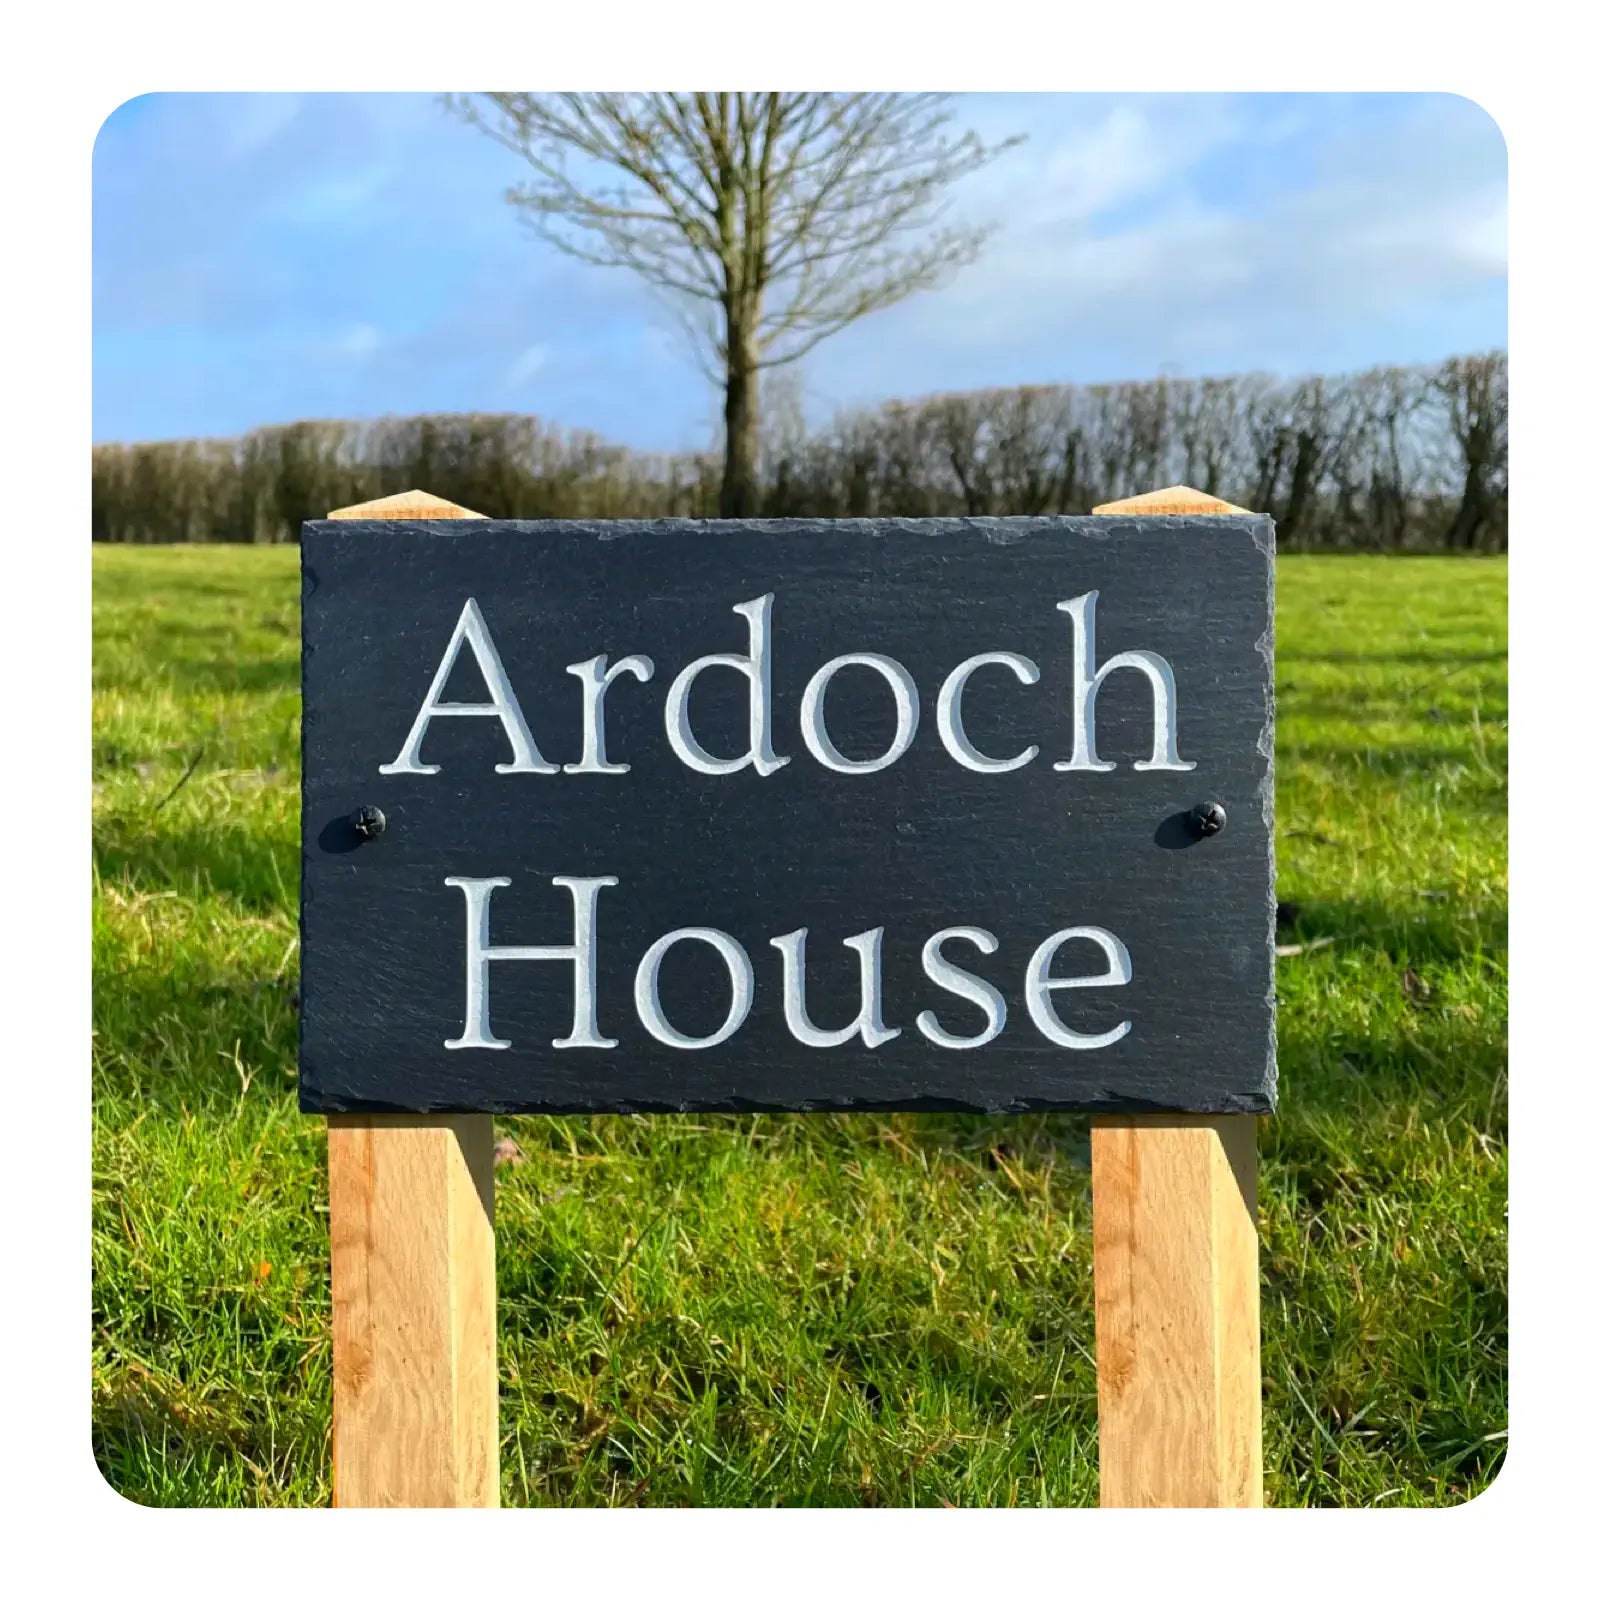
Stylish and Durable

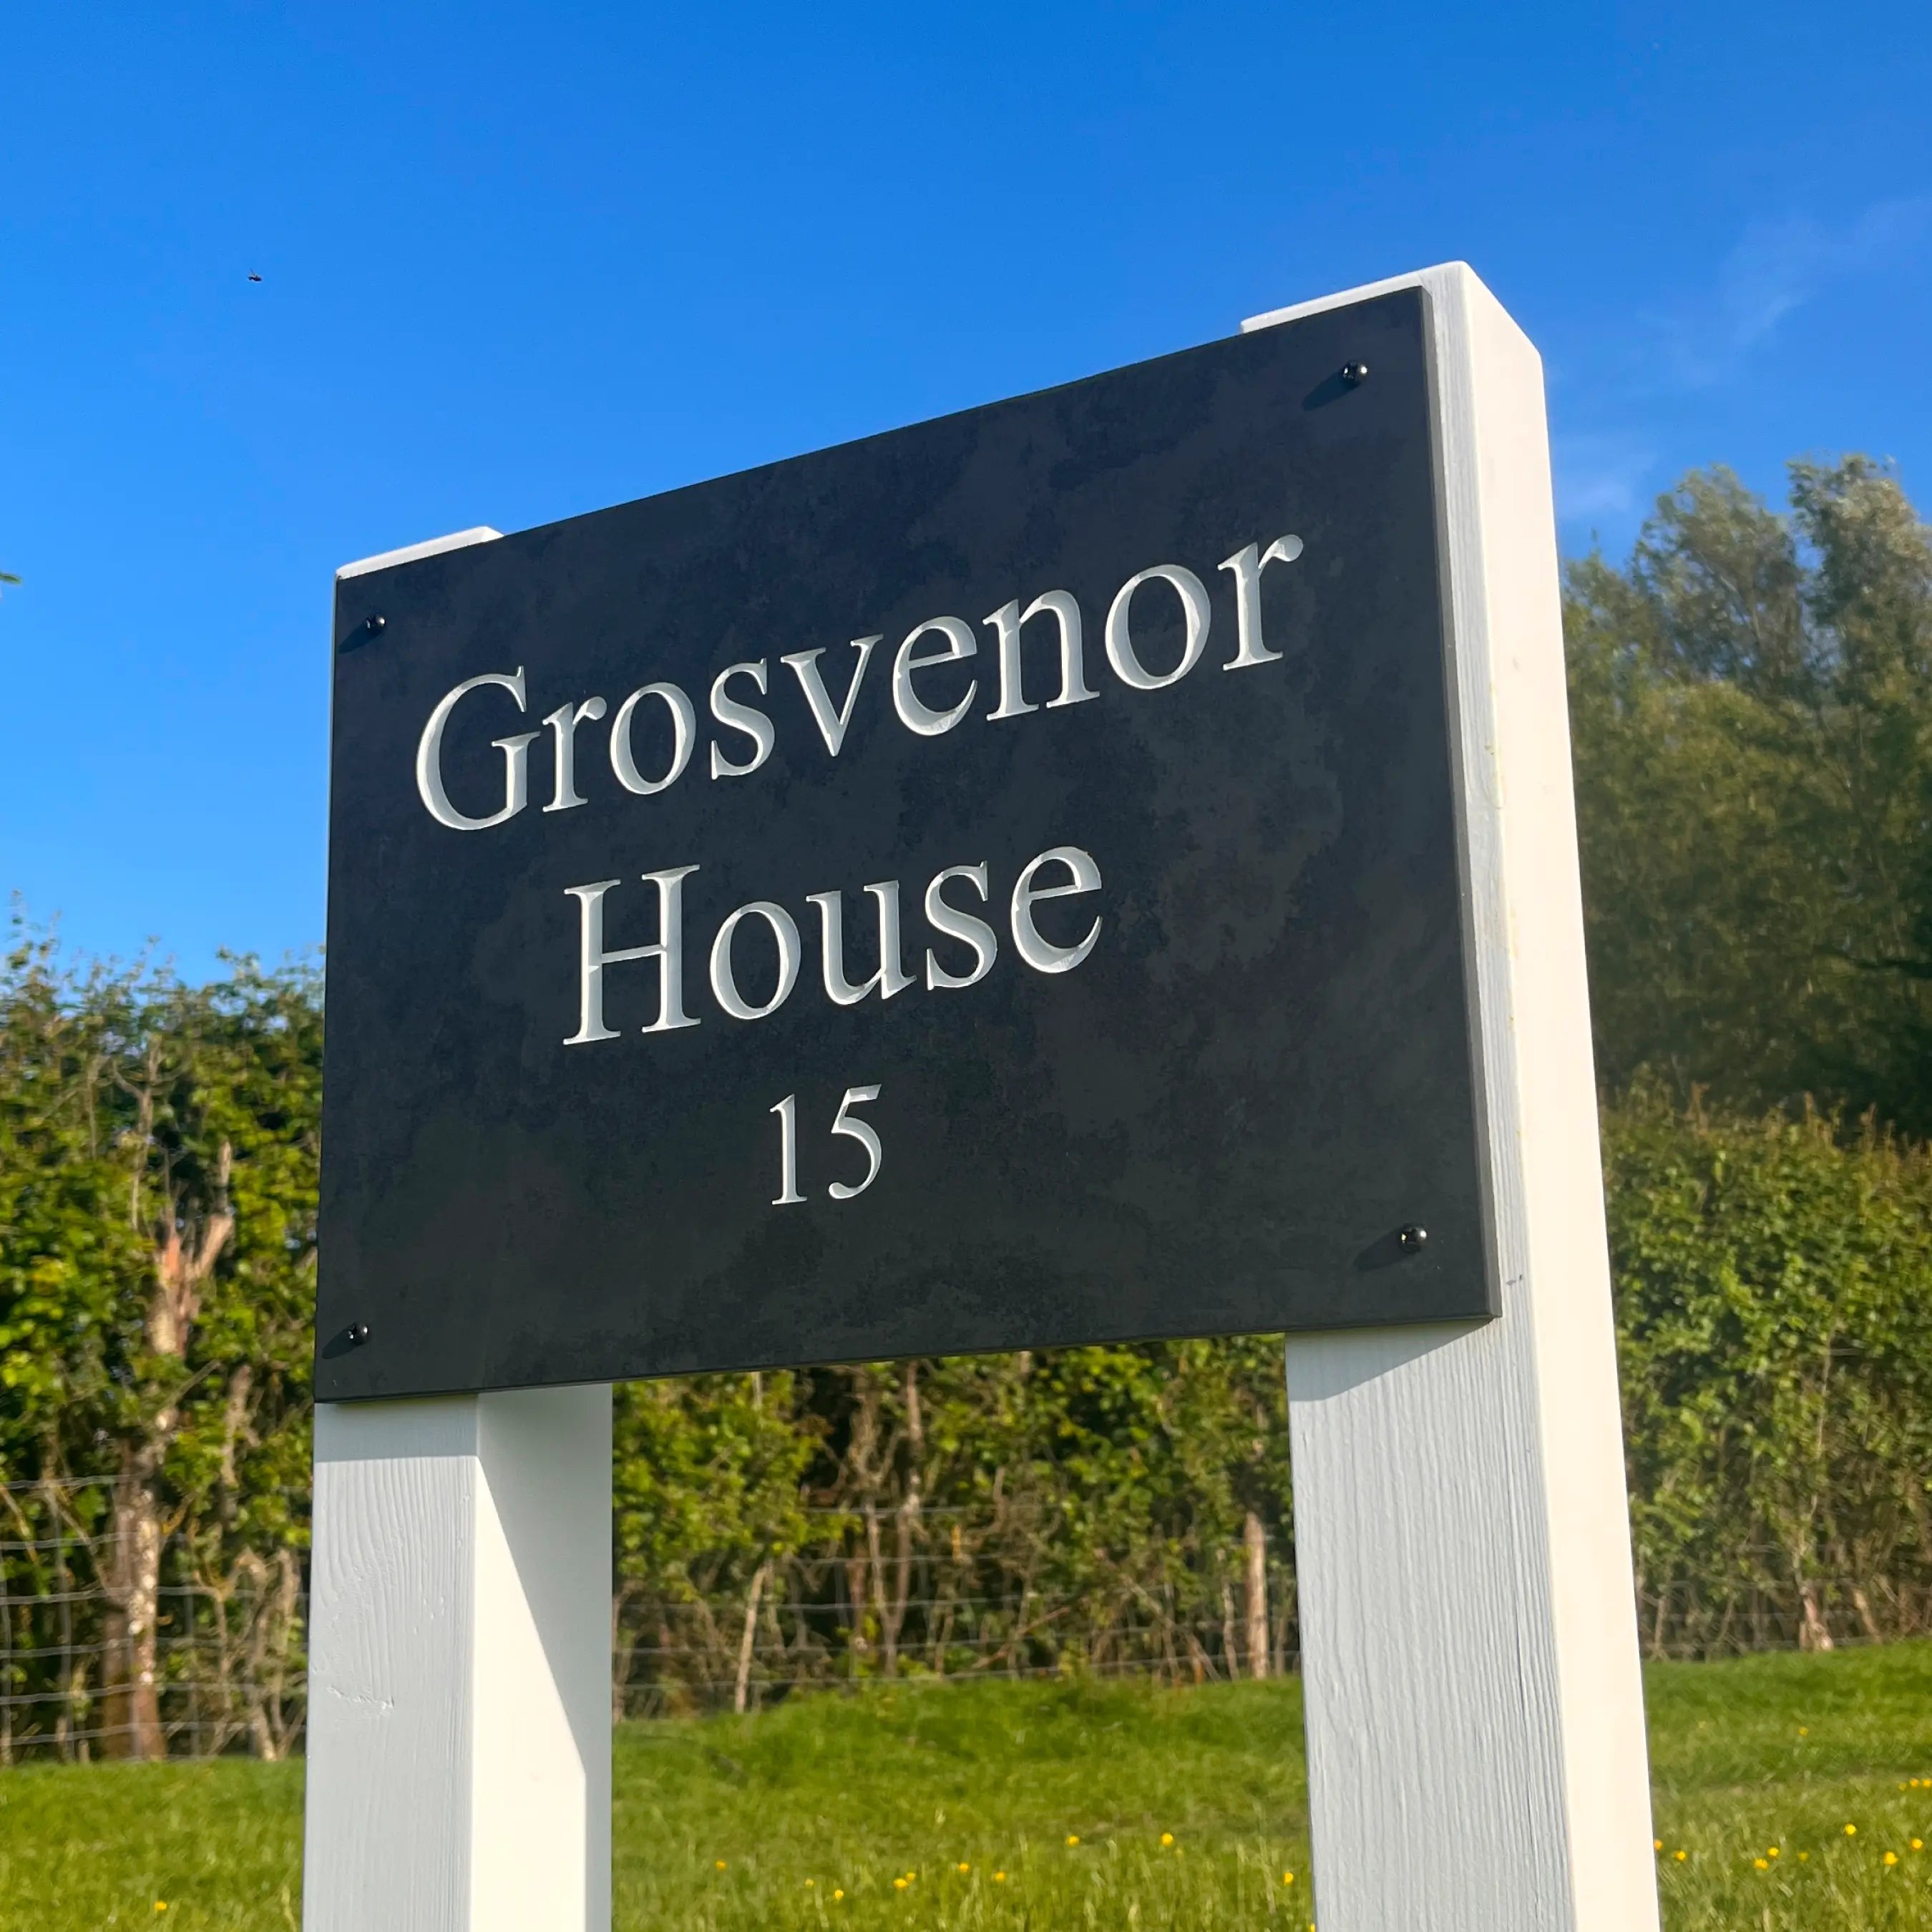
Pyramid Topped Oak
Choosing the Right Wood for Outdoor Sign Posts
Just as we carefully select our slate for clarity and longevity, we apply the same thinking to the timber used for our sign posts. Outdoor posts need to do more than look good — they must withstand weather, ground contact and seasonal movement for years to come.
We use hardwood oak and pressure-treated redwood because they offer the right balance of strength, stability and natural character. Not all timber is suitable for exterior signage, and the quality of the wood directly affects how your sign will perform over time.
Redwood Posts
For customers looking for a lighter or more cost-effective option, we also offer FSC-certified redwood posts that have been pressure treated for exterior use.
The treatment process protects the timber against moisture, decay and insect damage, making it suitable for outdoor conditions. Redwood has a clean, straight grain and provides a neat, understated frame for slate signage.
When properly installed, pressure-treated redwood offers reliable performance while maintaining a natural timber aesthetic.
Why we use treated redwood:
- FSC-certified timber
- Pressure-treated for outdoor longevity
- Stable and structurally sound
- Clean, simple appearance

Natural Grain & Character
As with slate, no two pieces of timber are identical. The grain patterns, colour variation and subtle knots are part of what make each sign installation unique.
We embrace these natural features while selecting timber that meets our standards for strength and stability. The result is a posted house sign that feels considered, balanced and built for its setting.
Wood We Don't Use
Not all timber is suitable for sign posts. For long-lasting exterior sign posts, certain materials simply aren’t suitable.
We avoid:
Untreated softwoods
These are prone to moisture absorption and early rot, particularly when placed in the ground.
Lightweight, fast-grown timber
Rapid growth can result in weaker grain structure, increasing the risk of twisting or warping.
Hollow or decorative-only posts
Some posts are designed purely for appearance and lack the structural integrity required for supporting slate signage outdoors.
Green or poorly seasoned timber
Excess moisture content can lead to cracking, movement and instability over time.
By carefully selecting properly treated redwood, we ensure that our posted signs are built to last, not just to look good on delivery day.
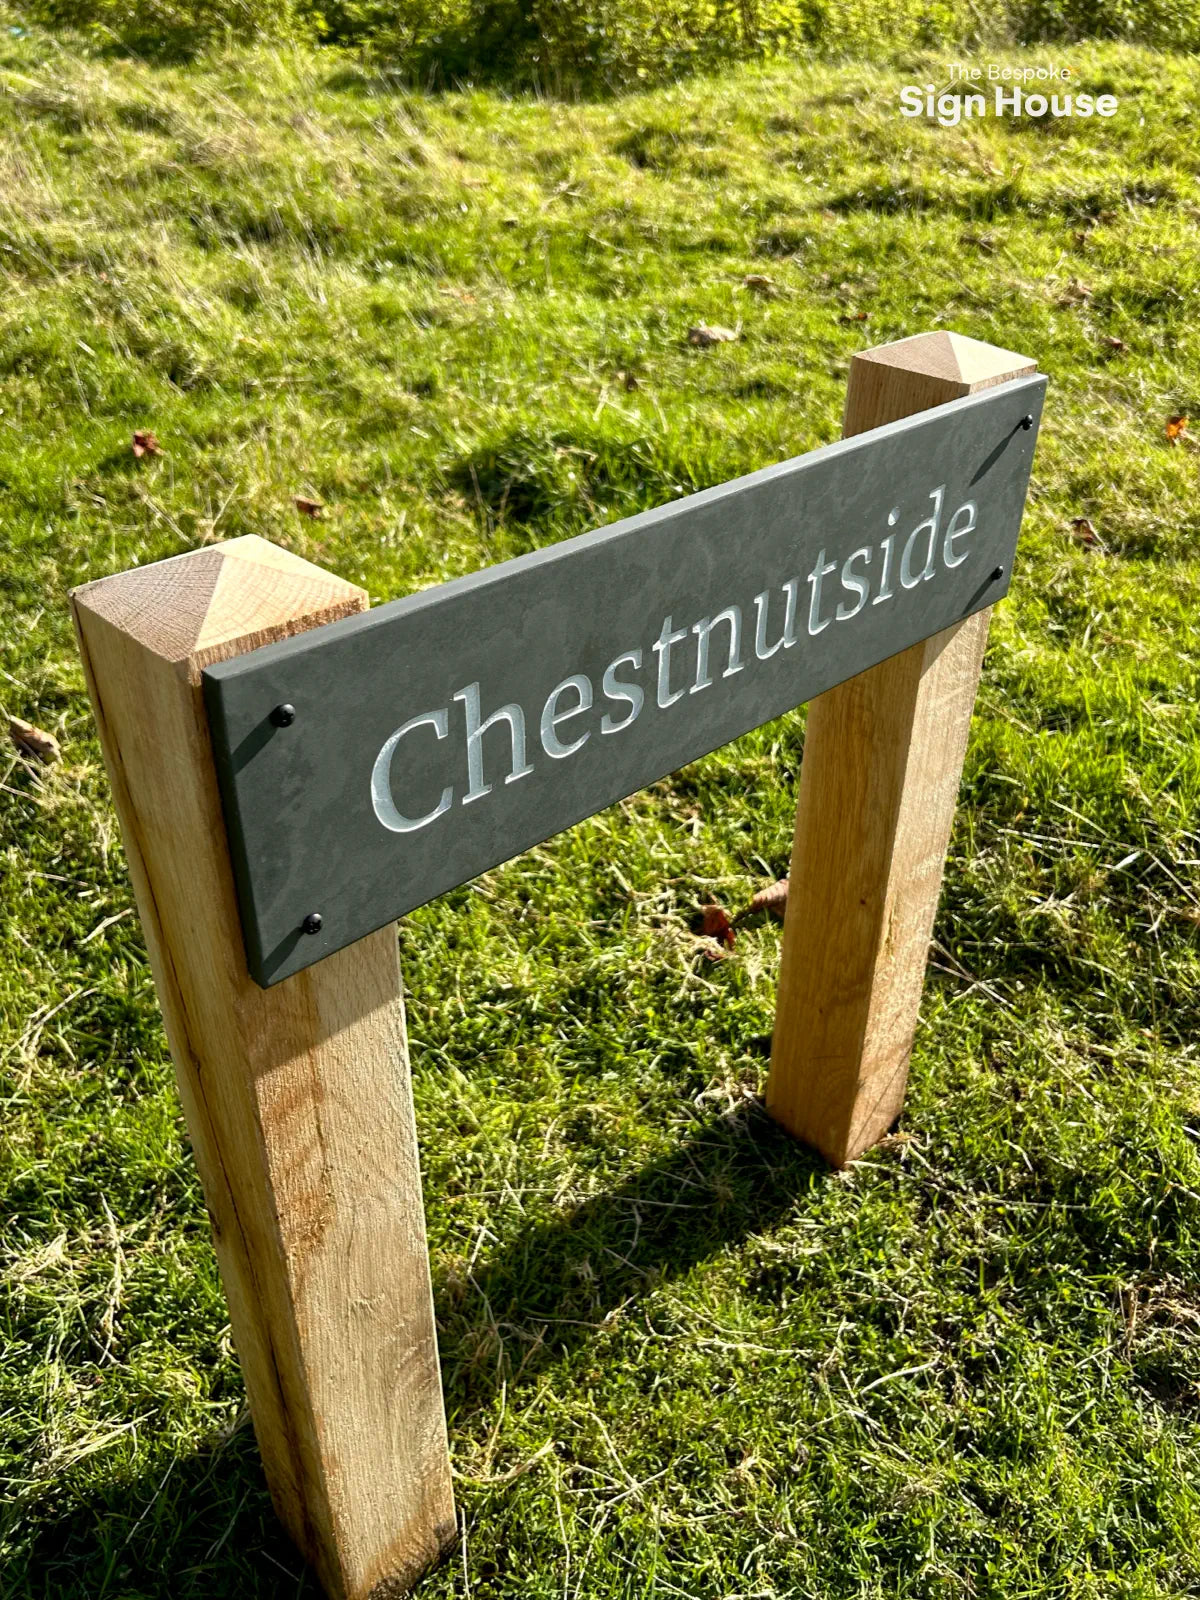
How to Order Any Sign with Oak Posts
All our signs look great mounted on our pyramid-top oak posts. Here's how to order a sign as well as the oak posts at the same time.
Step 1: Choose Any Sign Design On Our Website
Start by exploring our full range of house sign designs to find the perfect style for your house name and address. For signs with oak posts, we recommend choosing a larger size for the best fit.
Step 2: Personalise a Sign and Choose "Oak Posts" as the Fixing Style
Select ‘Oak Posts’ as the fixing option in the second-to-last personalisation step. Each pair of posts includes the necessary screws for securely attaching your sign to the posts.
Step 3: Add Your Sign to Cart and Proceed to Checkout
Finally, once you've filled out the personaliser with all your custom choice, add the sign to your cart and proceed to checkout!
Seen in:

Find Your Perfect Sign
Answer 3 simple questions and we'll recommend the best house sign for you.