What's Required
Click an image below to order any missing items before continuing.


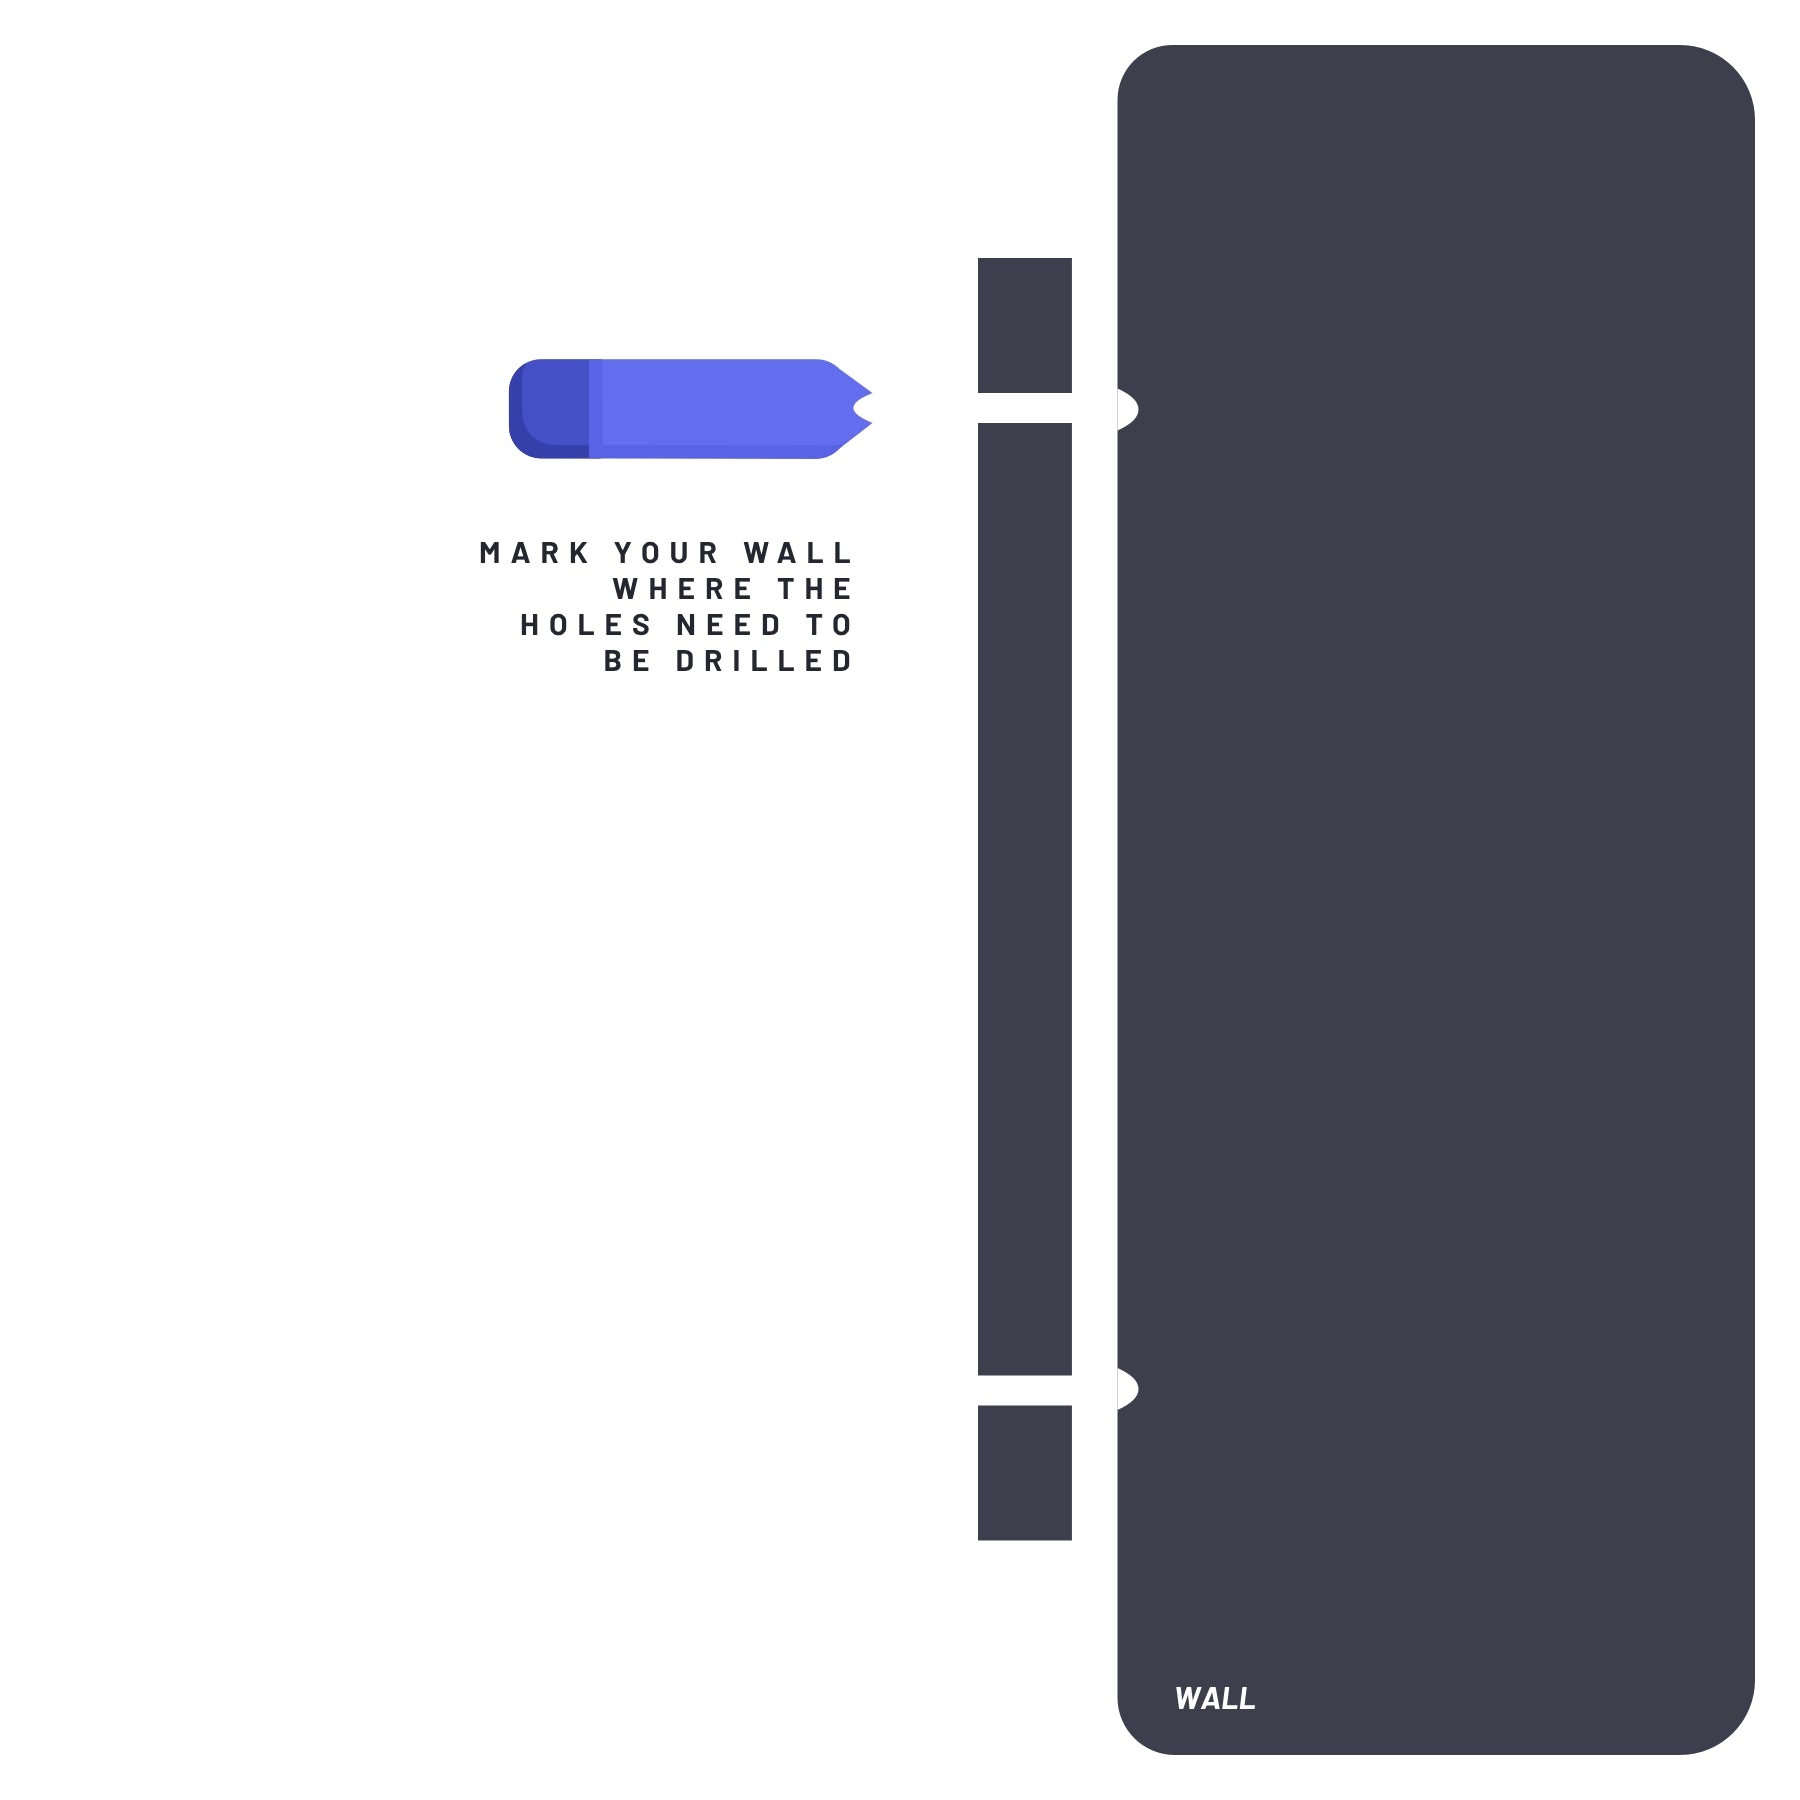
Step one
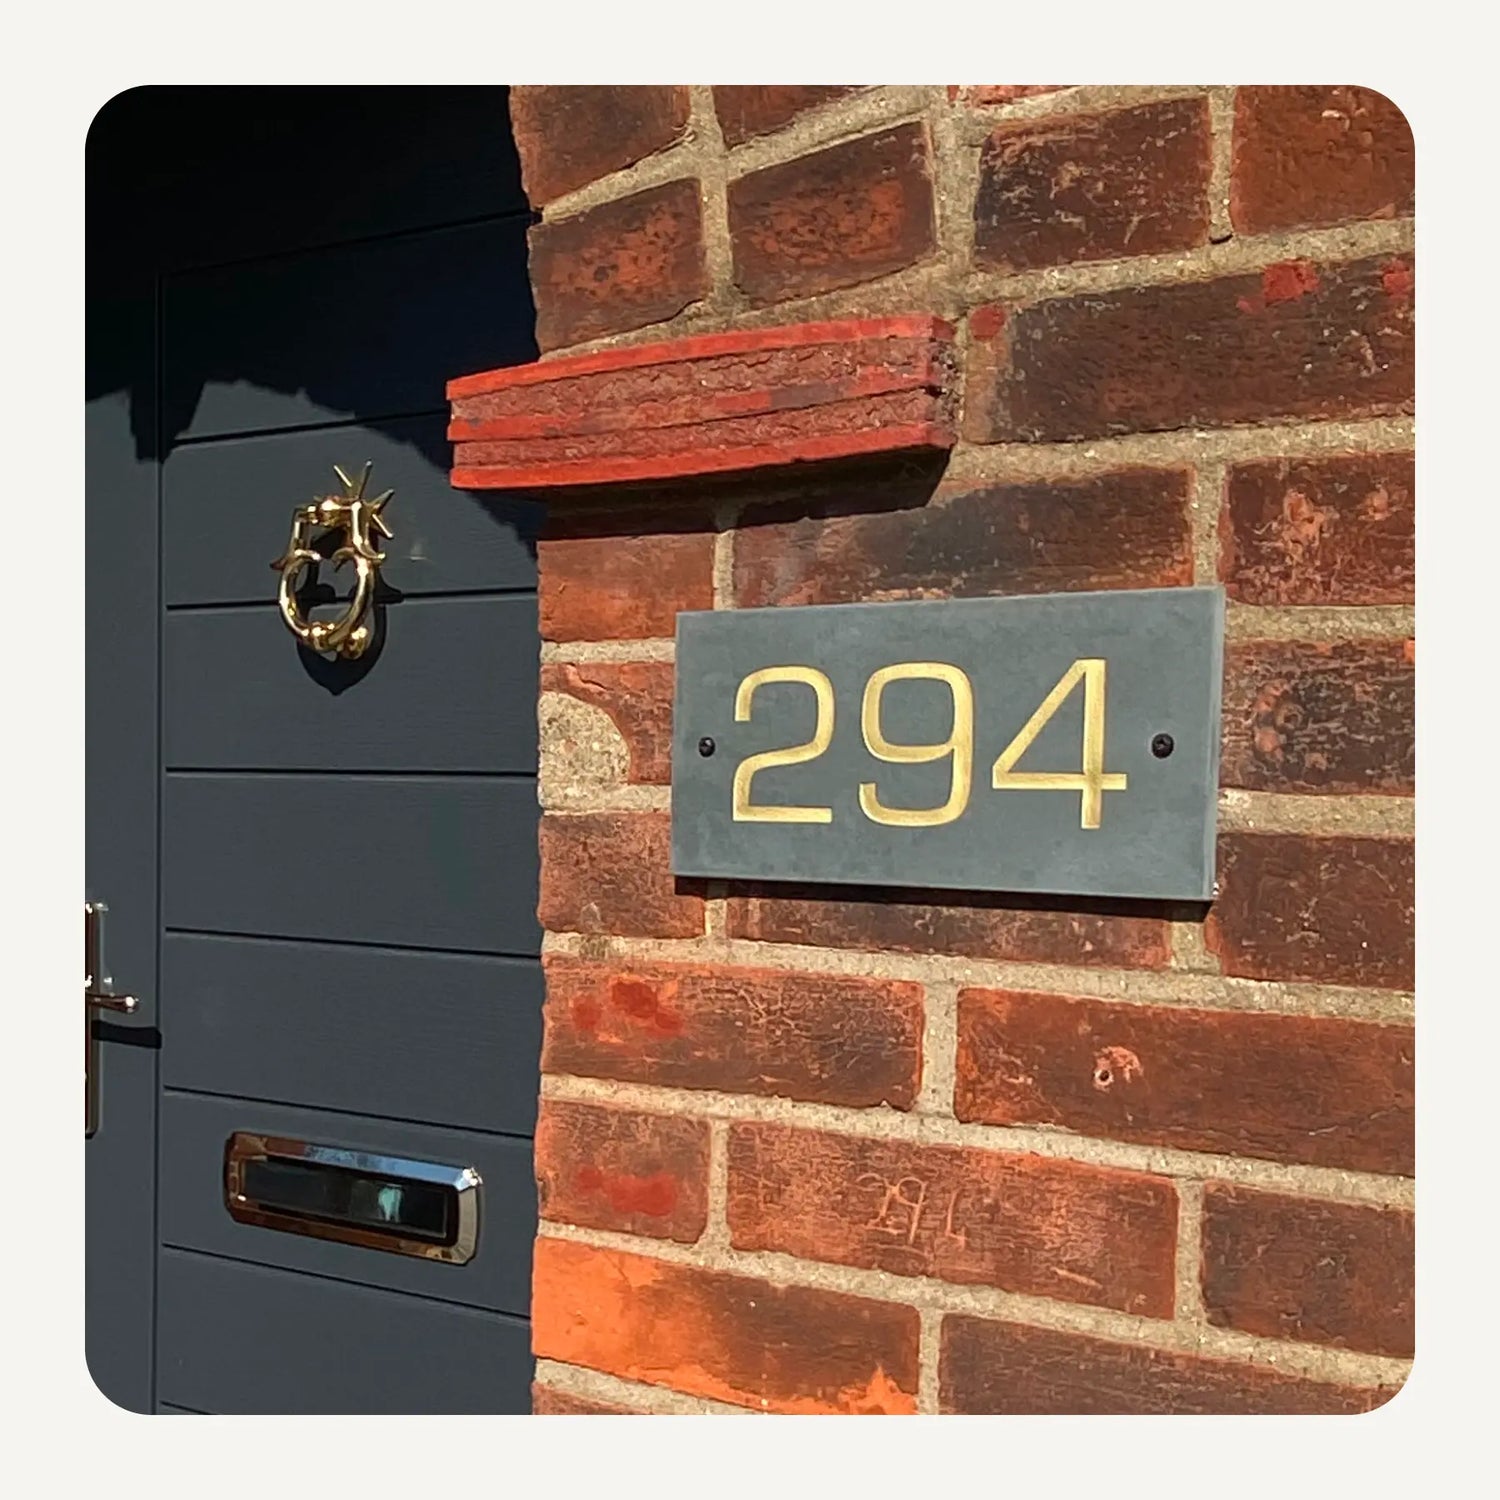
Decide Where You Want the Sign to Go
Your sign can go pretty much anywhere. If you've chosen screws and wall plugs for your sign, you can install your sign into a brick/stone wall, a wooden gate or fence or even onto a door (we recommend not doing this unless your door is old).
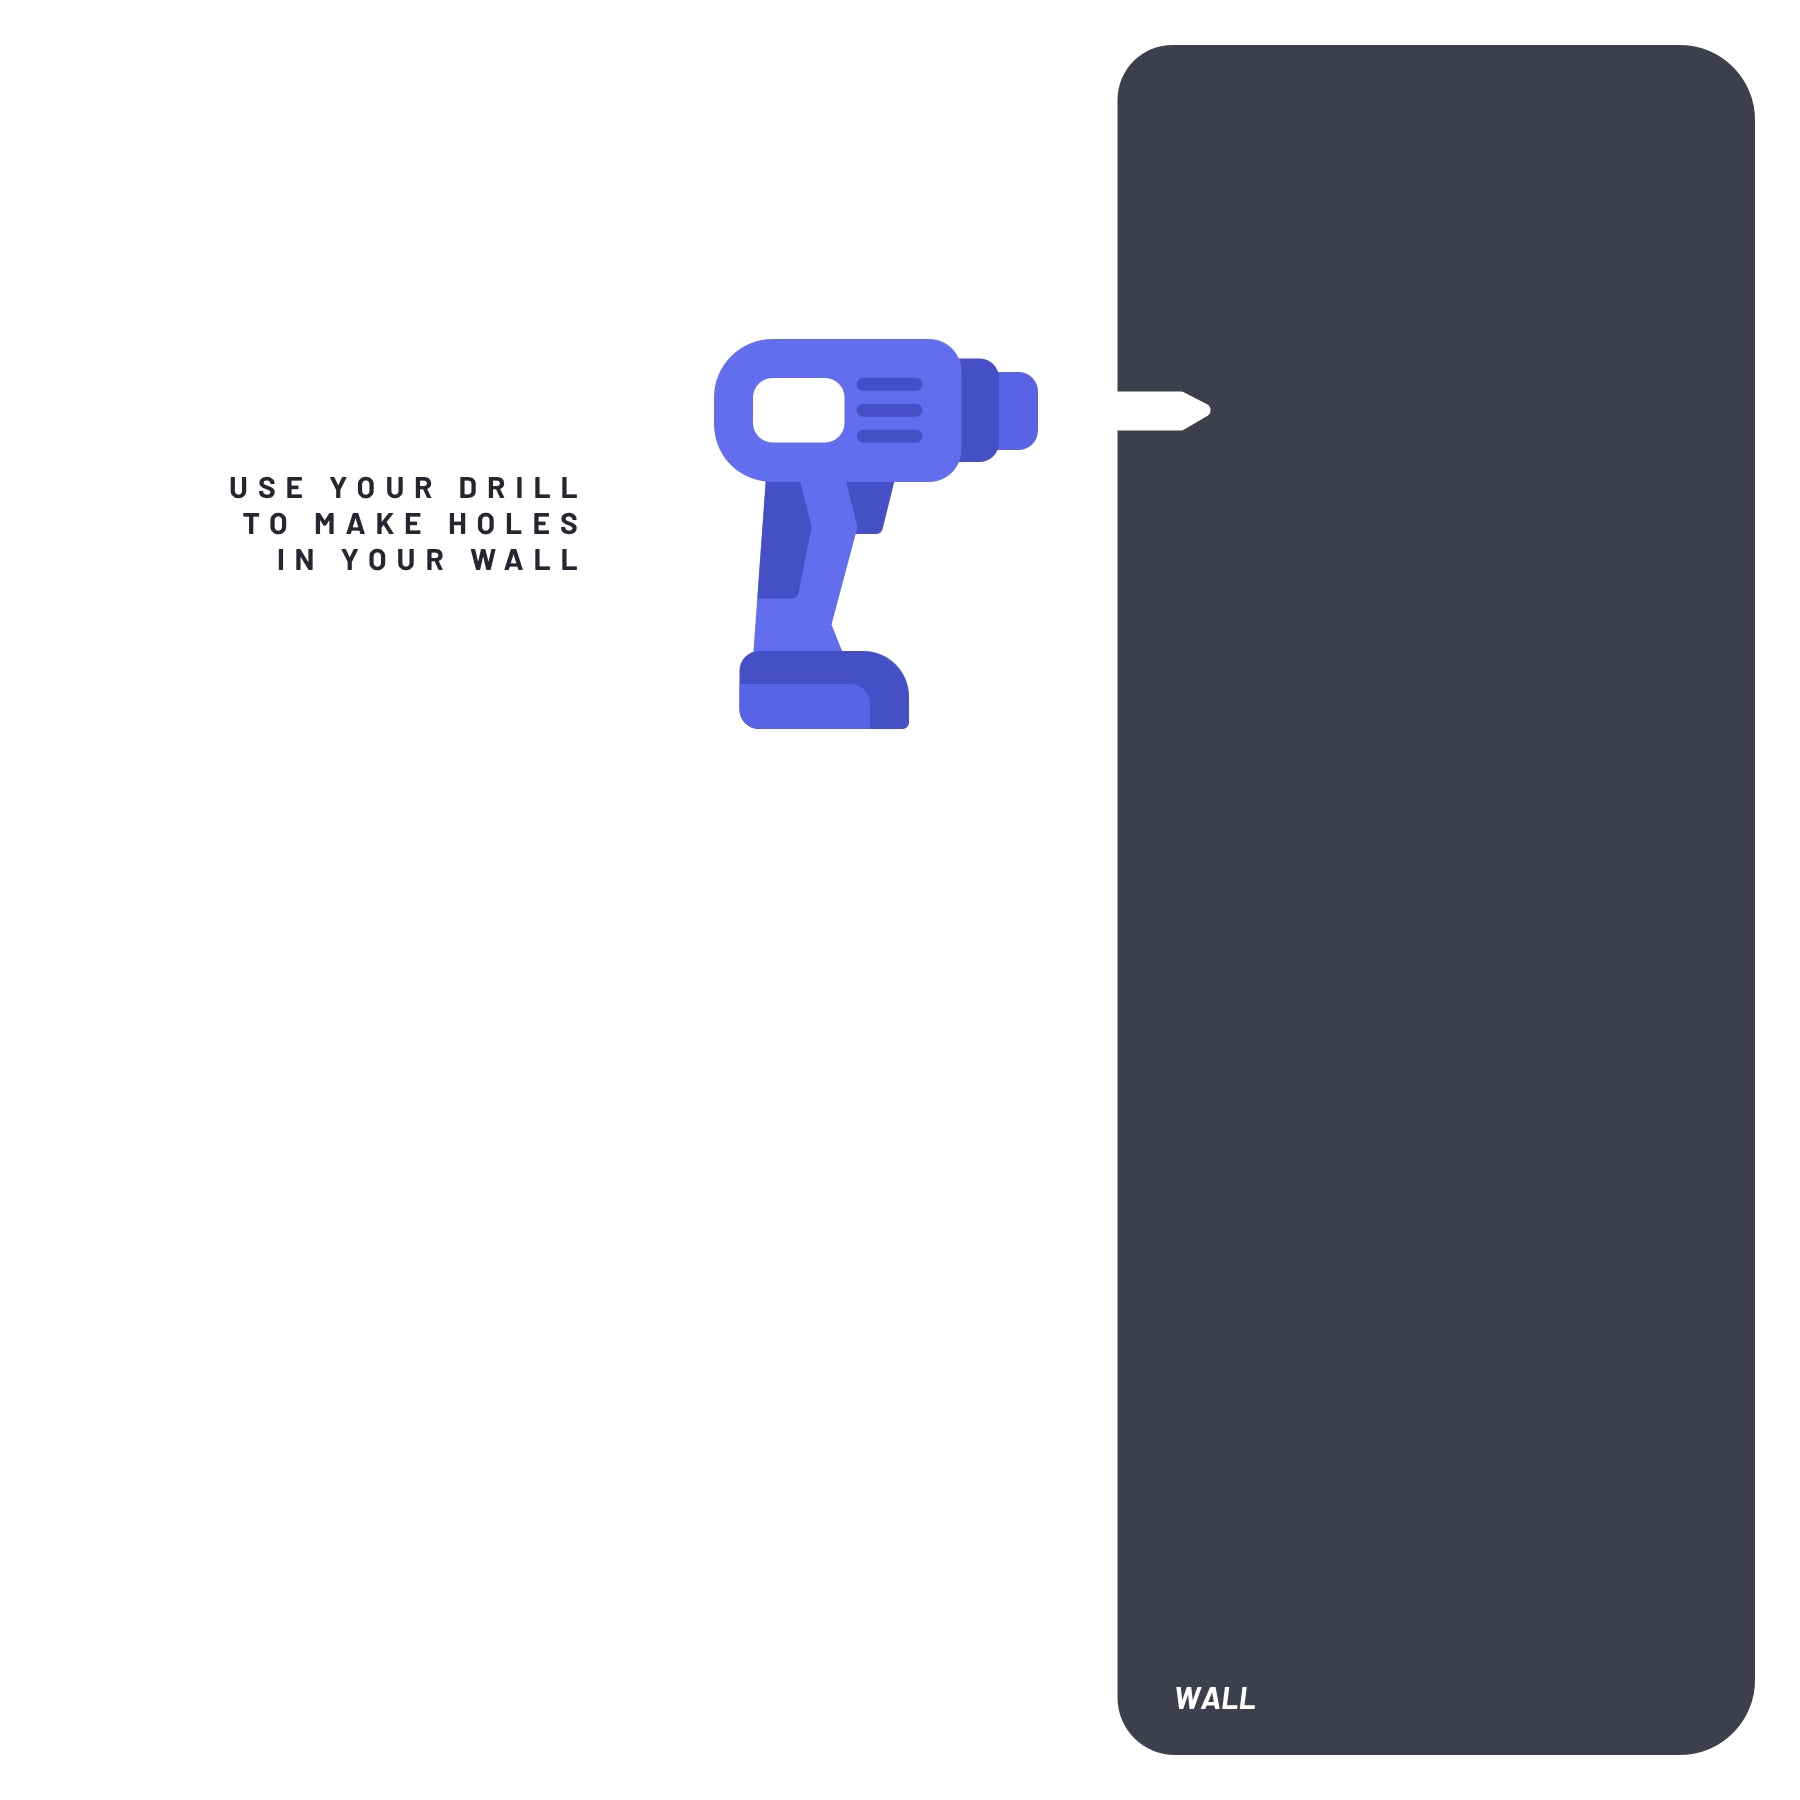
Step two
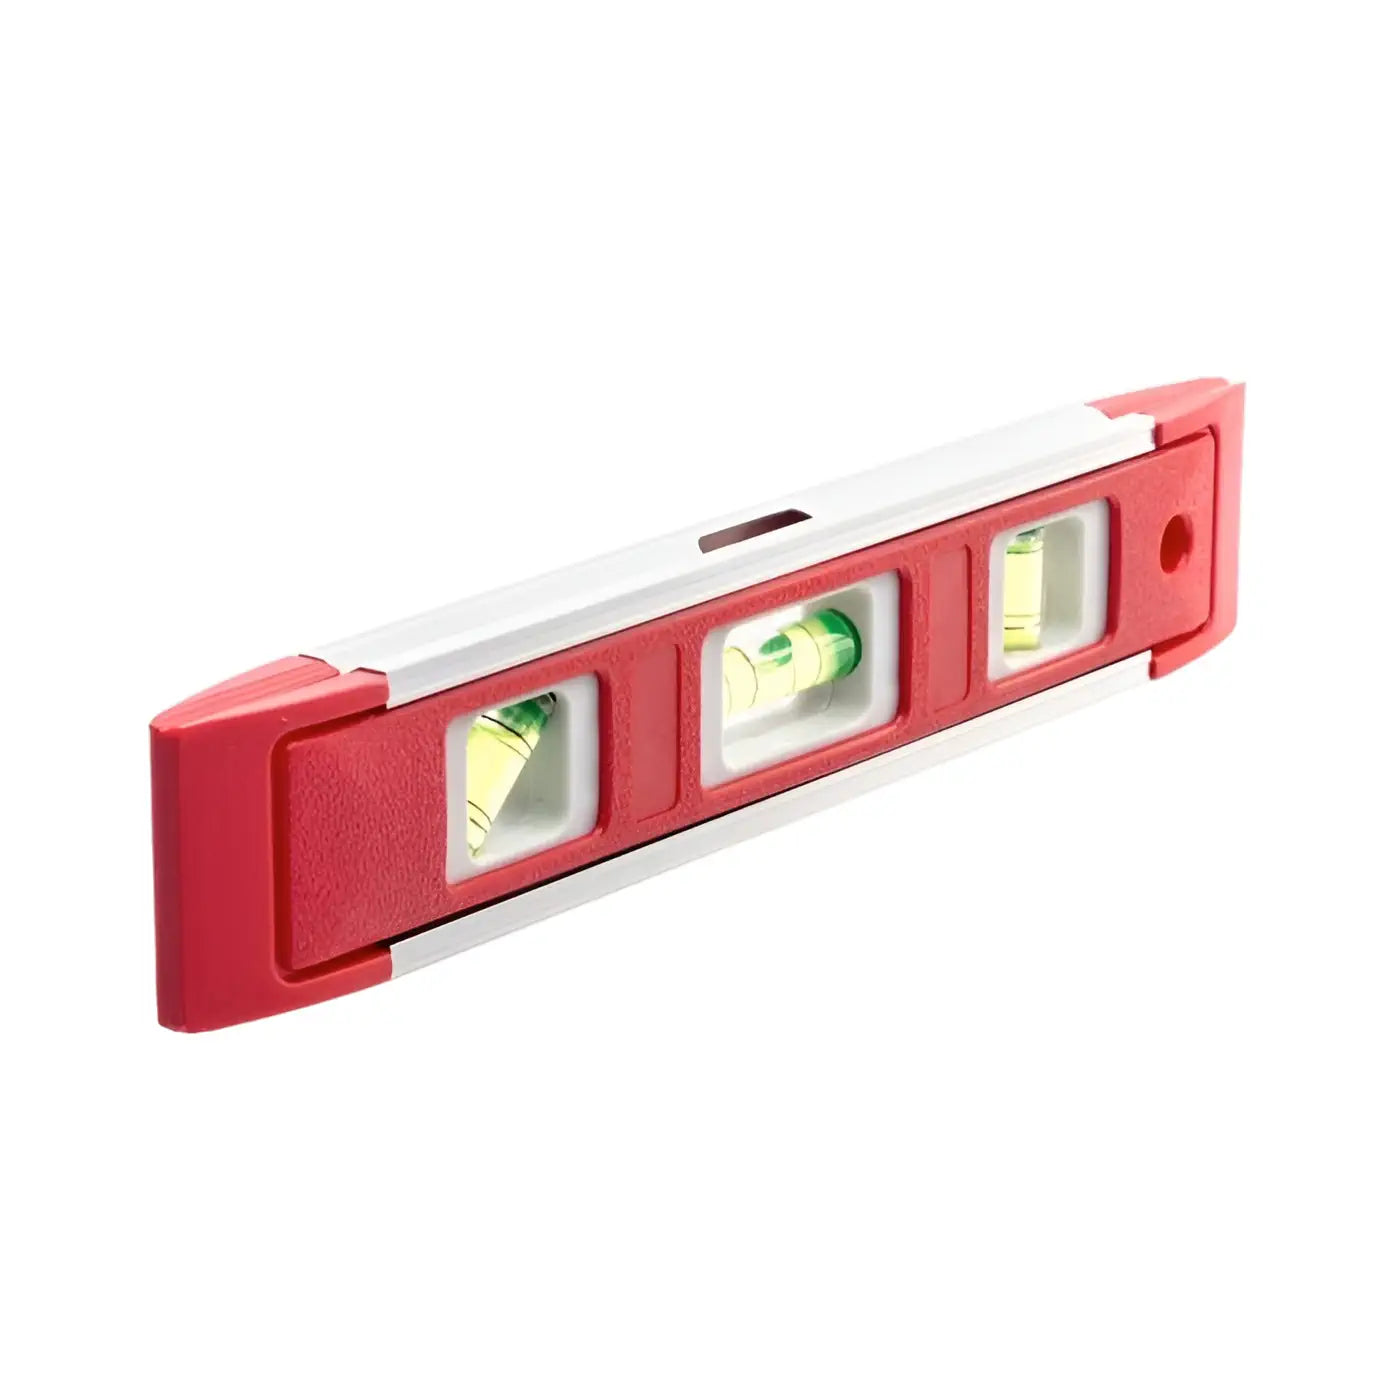
Drill Out the Holes in the Wall
Drill into the wall/surface where the dots are using an 7mm masonry drill bit. Drill nice and deep so the wall plugs sit flush in each hole.
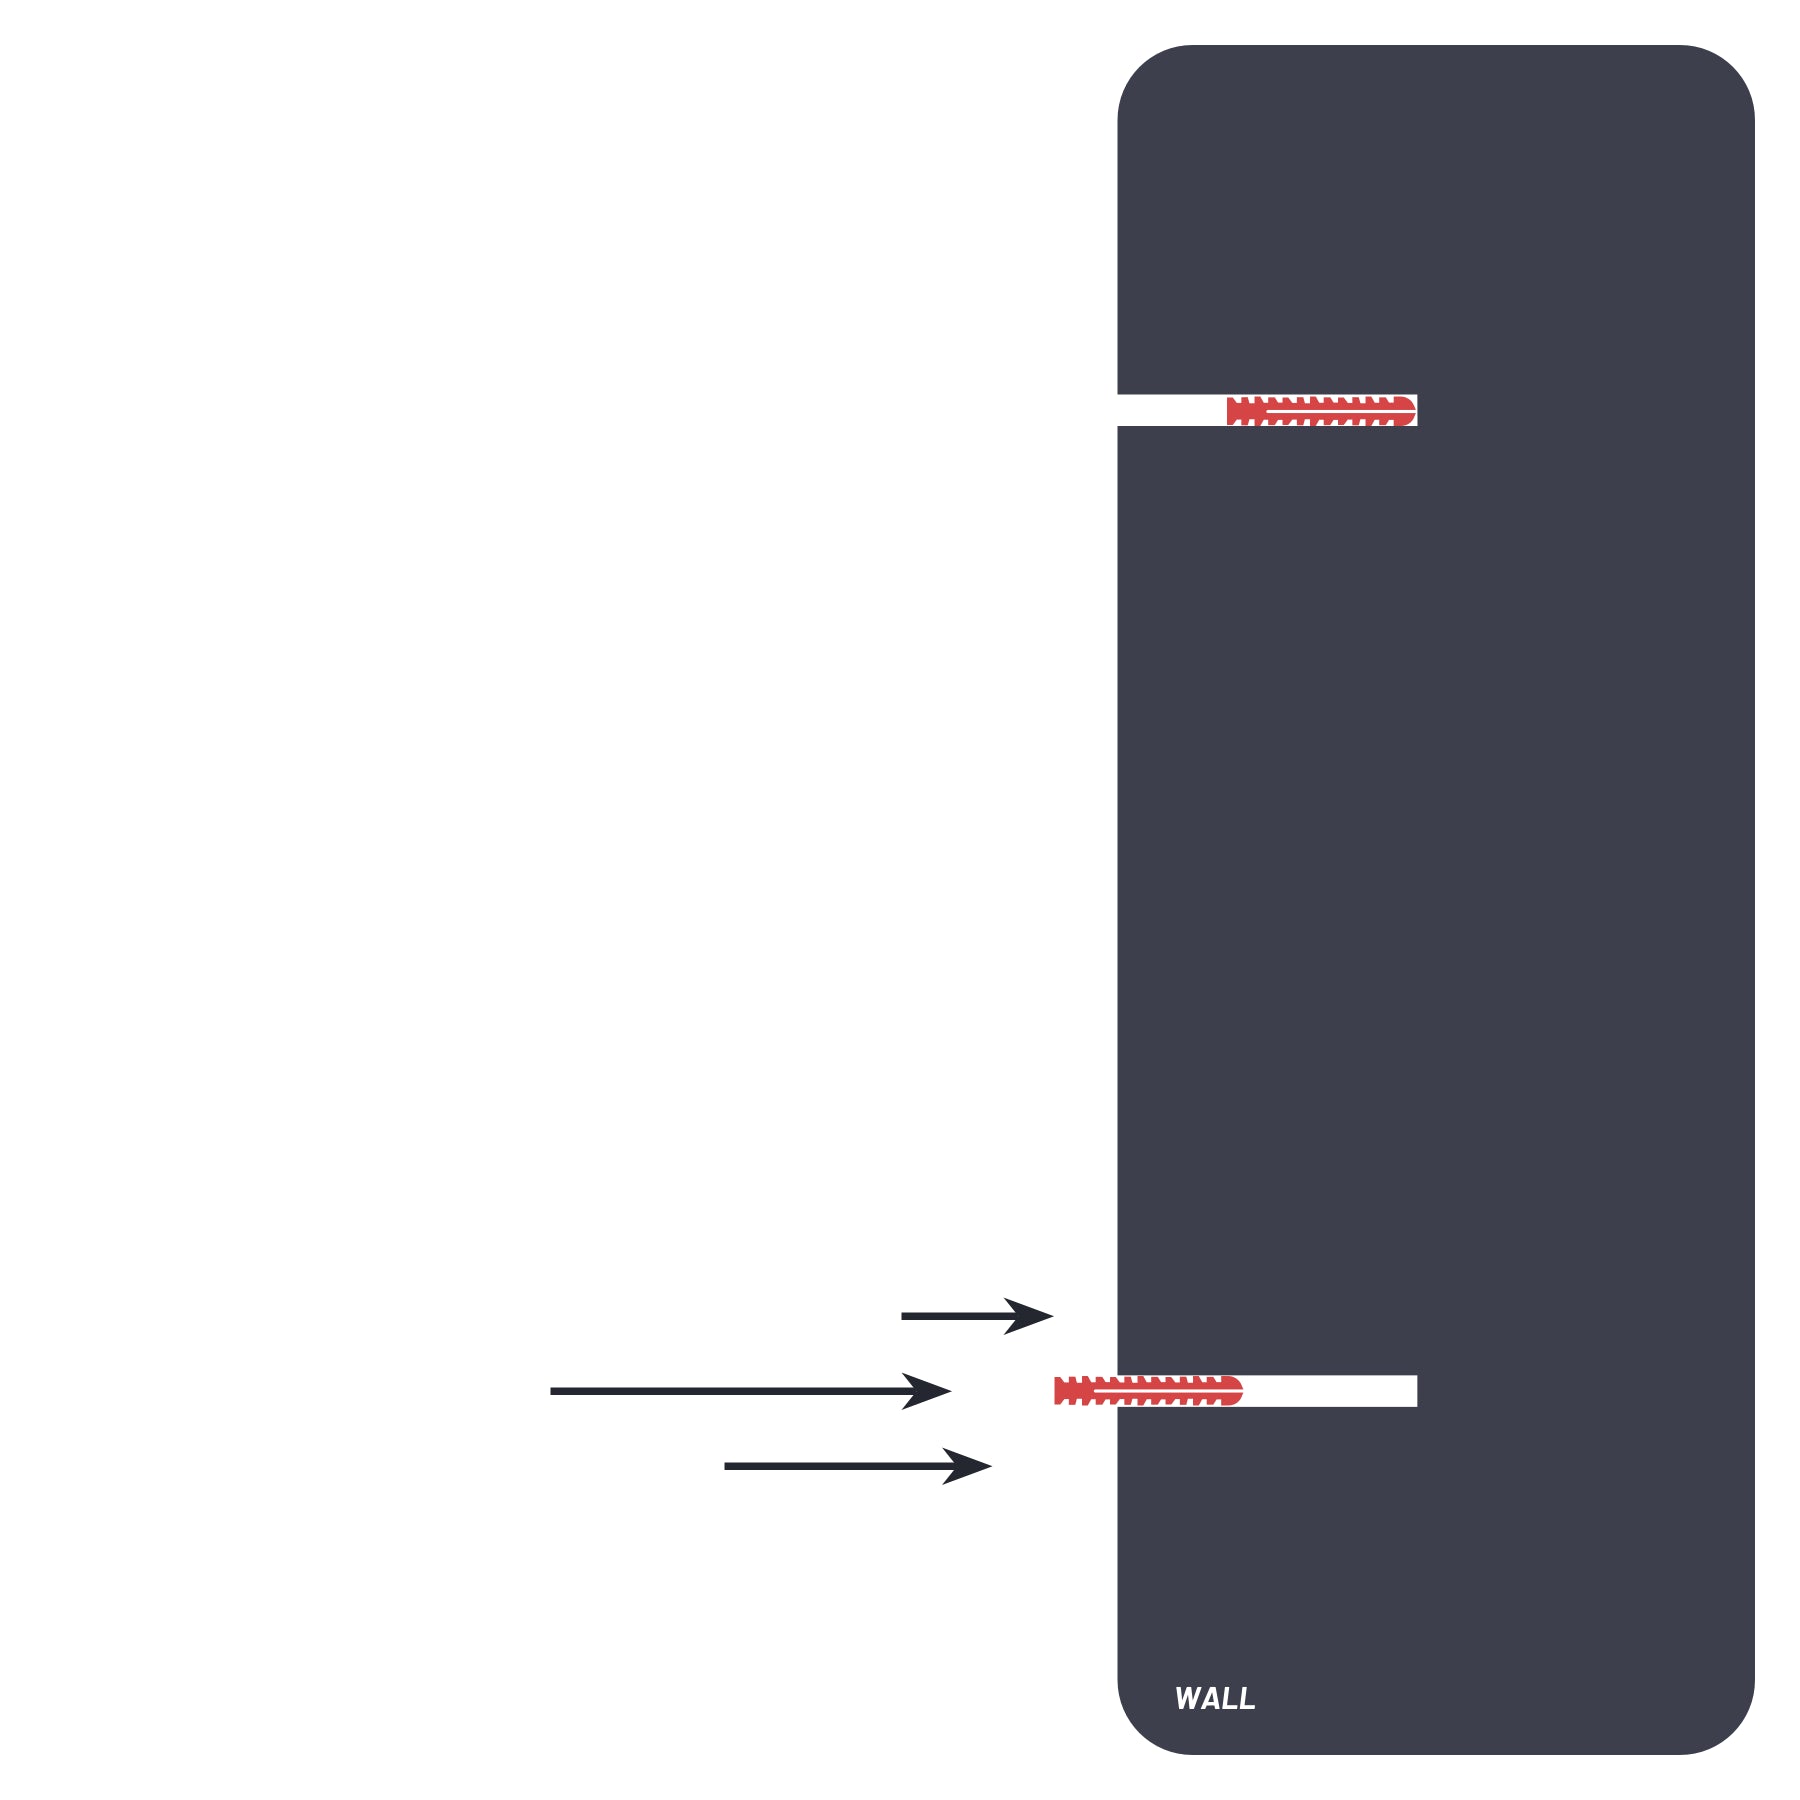
Step three
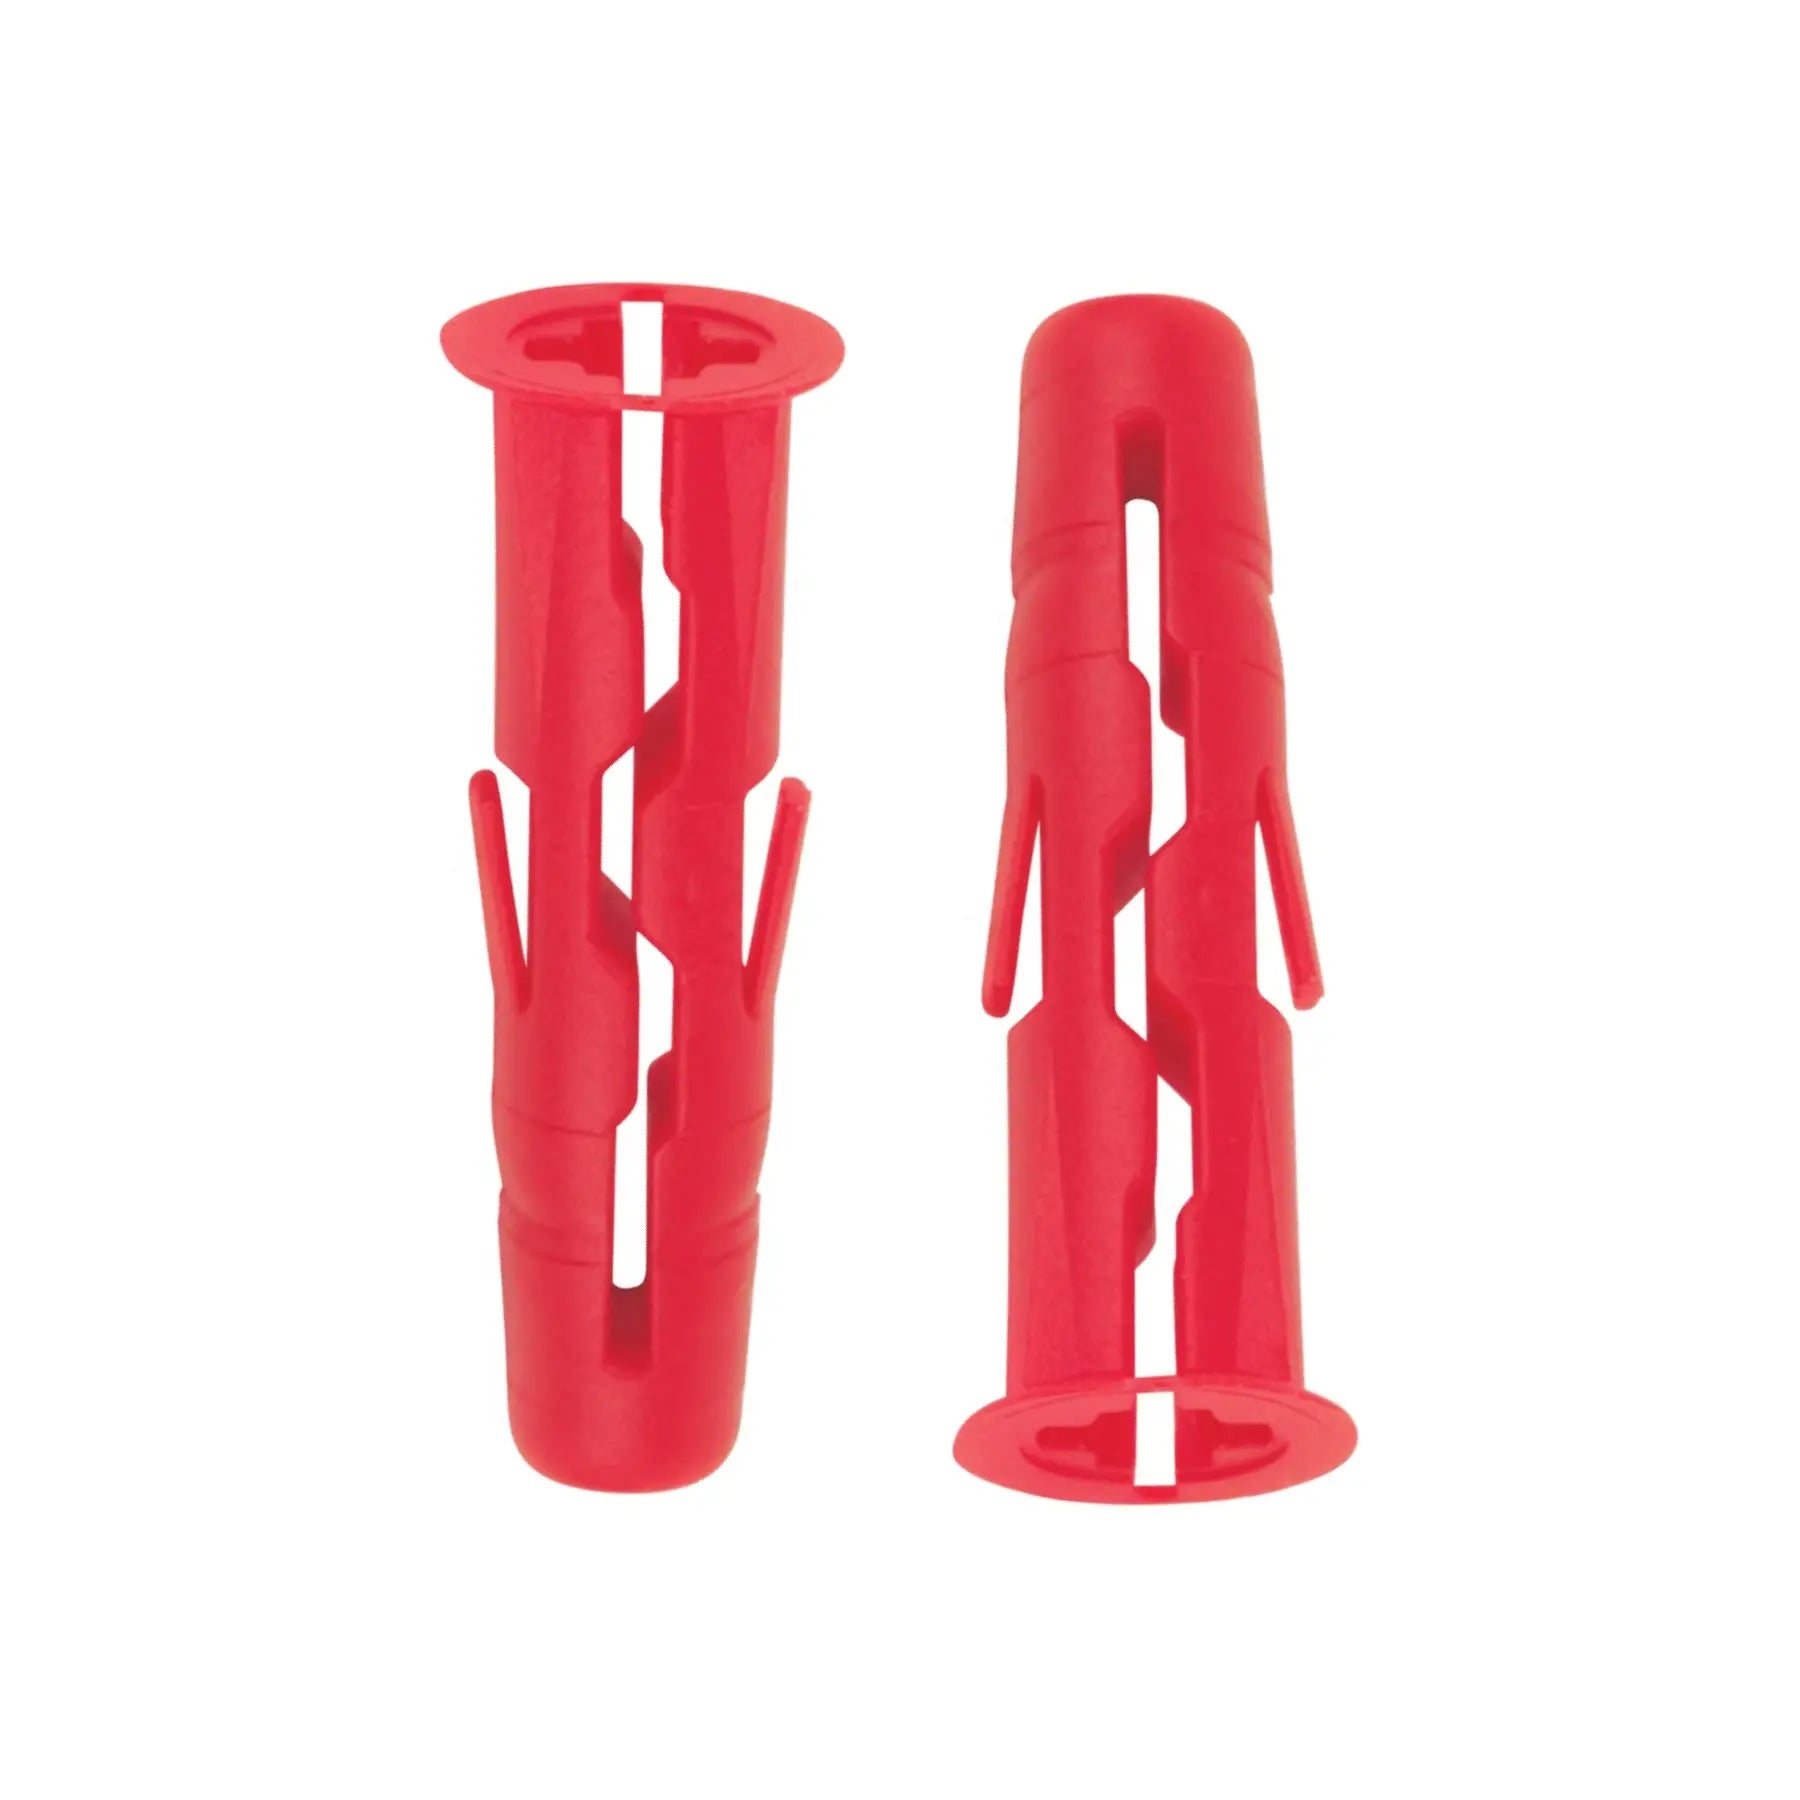
Insert the Wall Plugs in the Wall Holes
Push the wall plugs included in your signs package into the newly-drilled wall holes, until the entire wall plug sits flush against the wall.
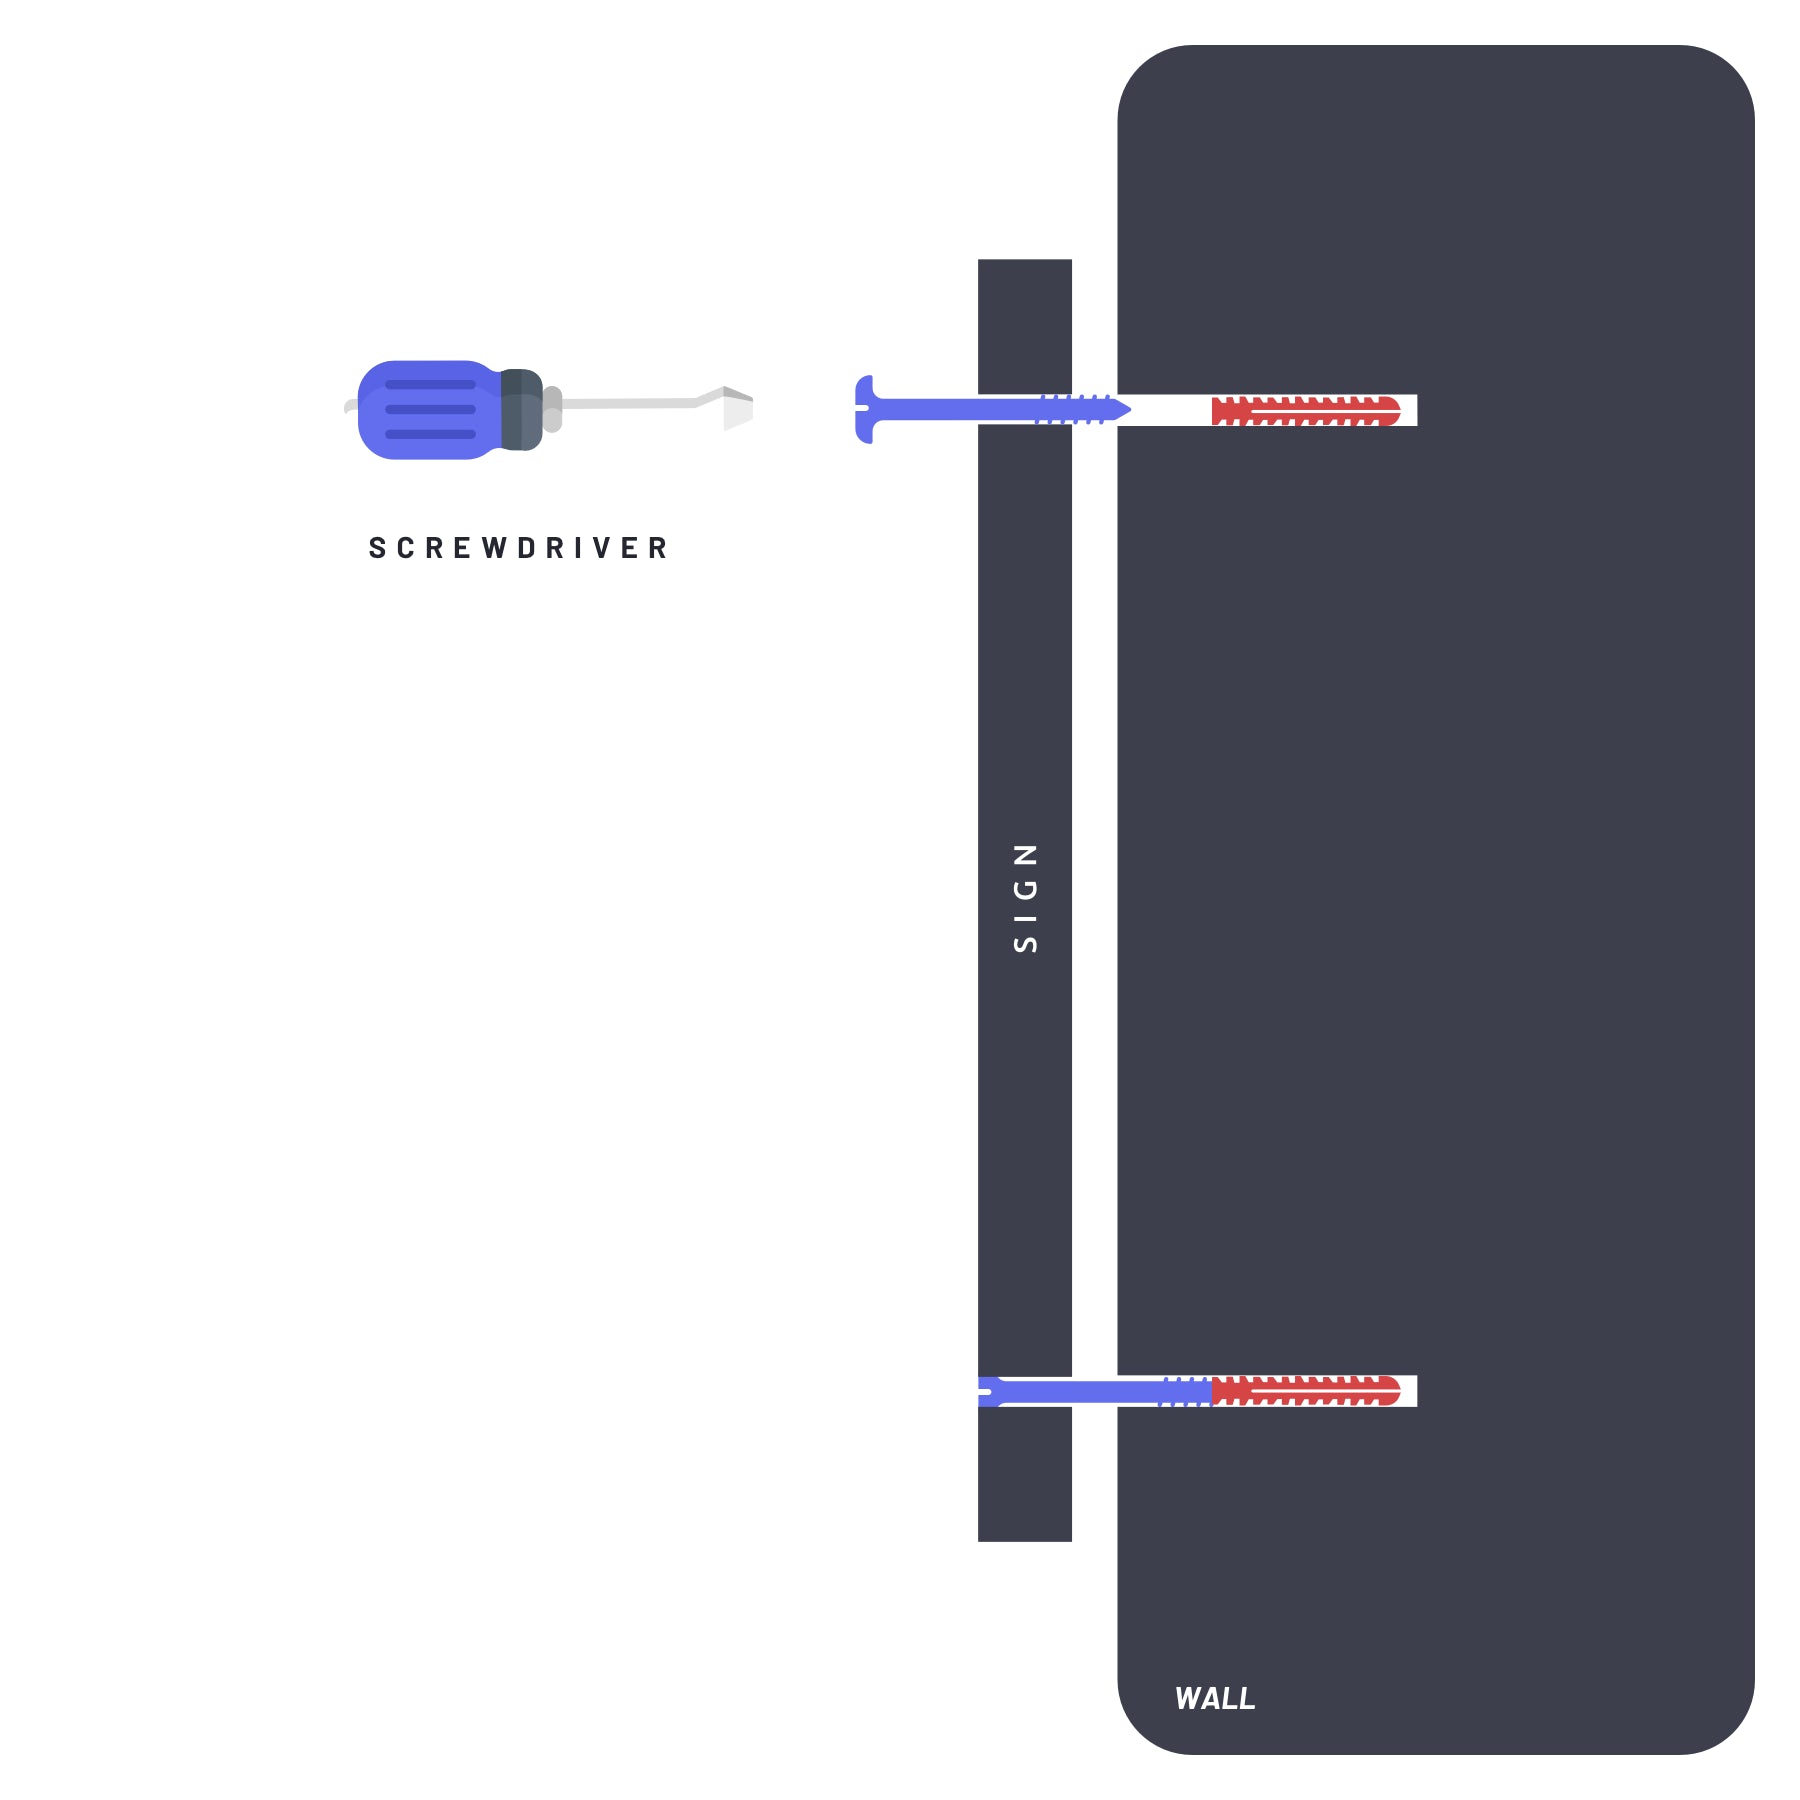
Step four
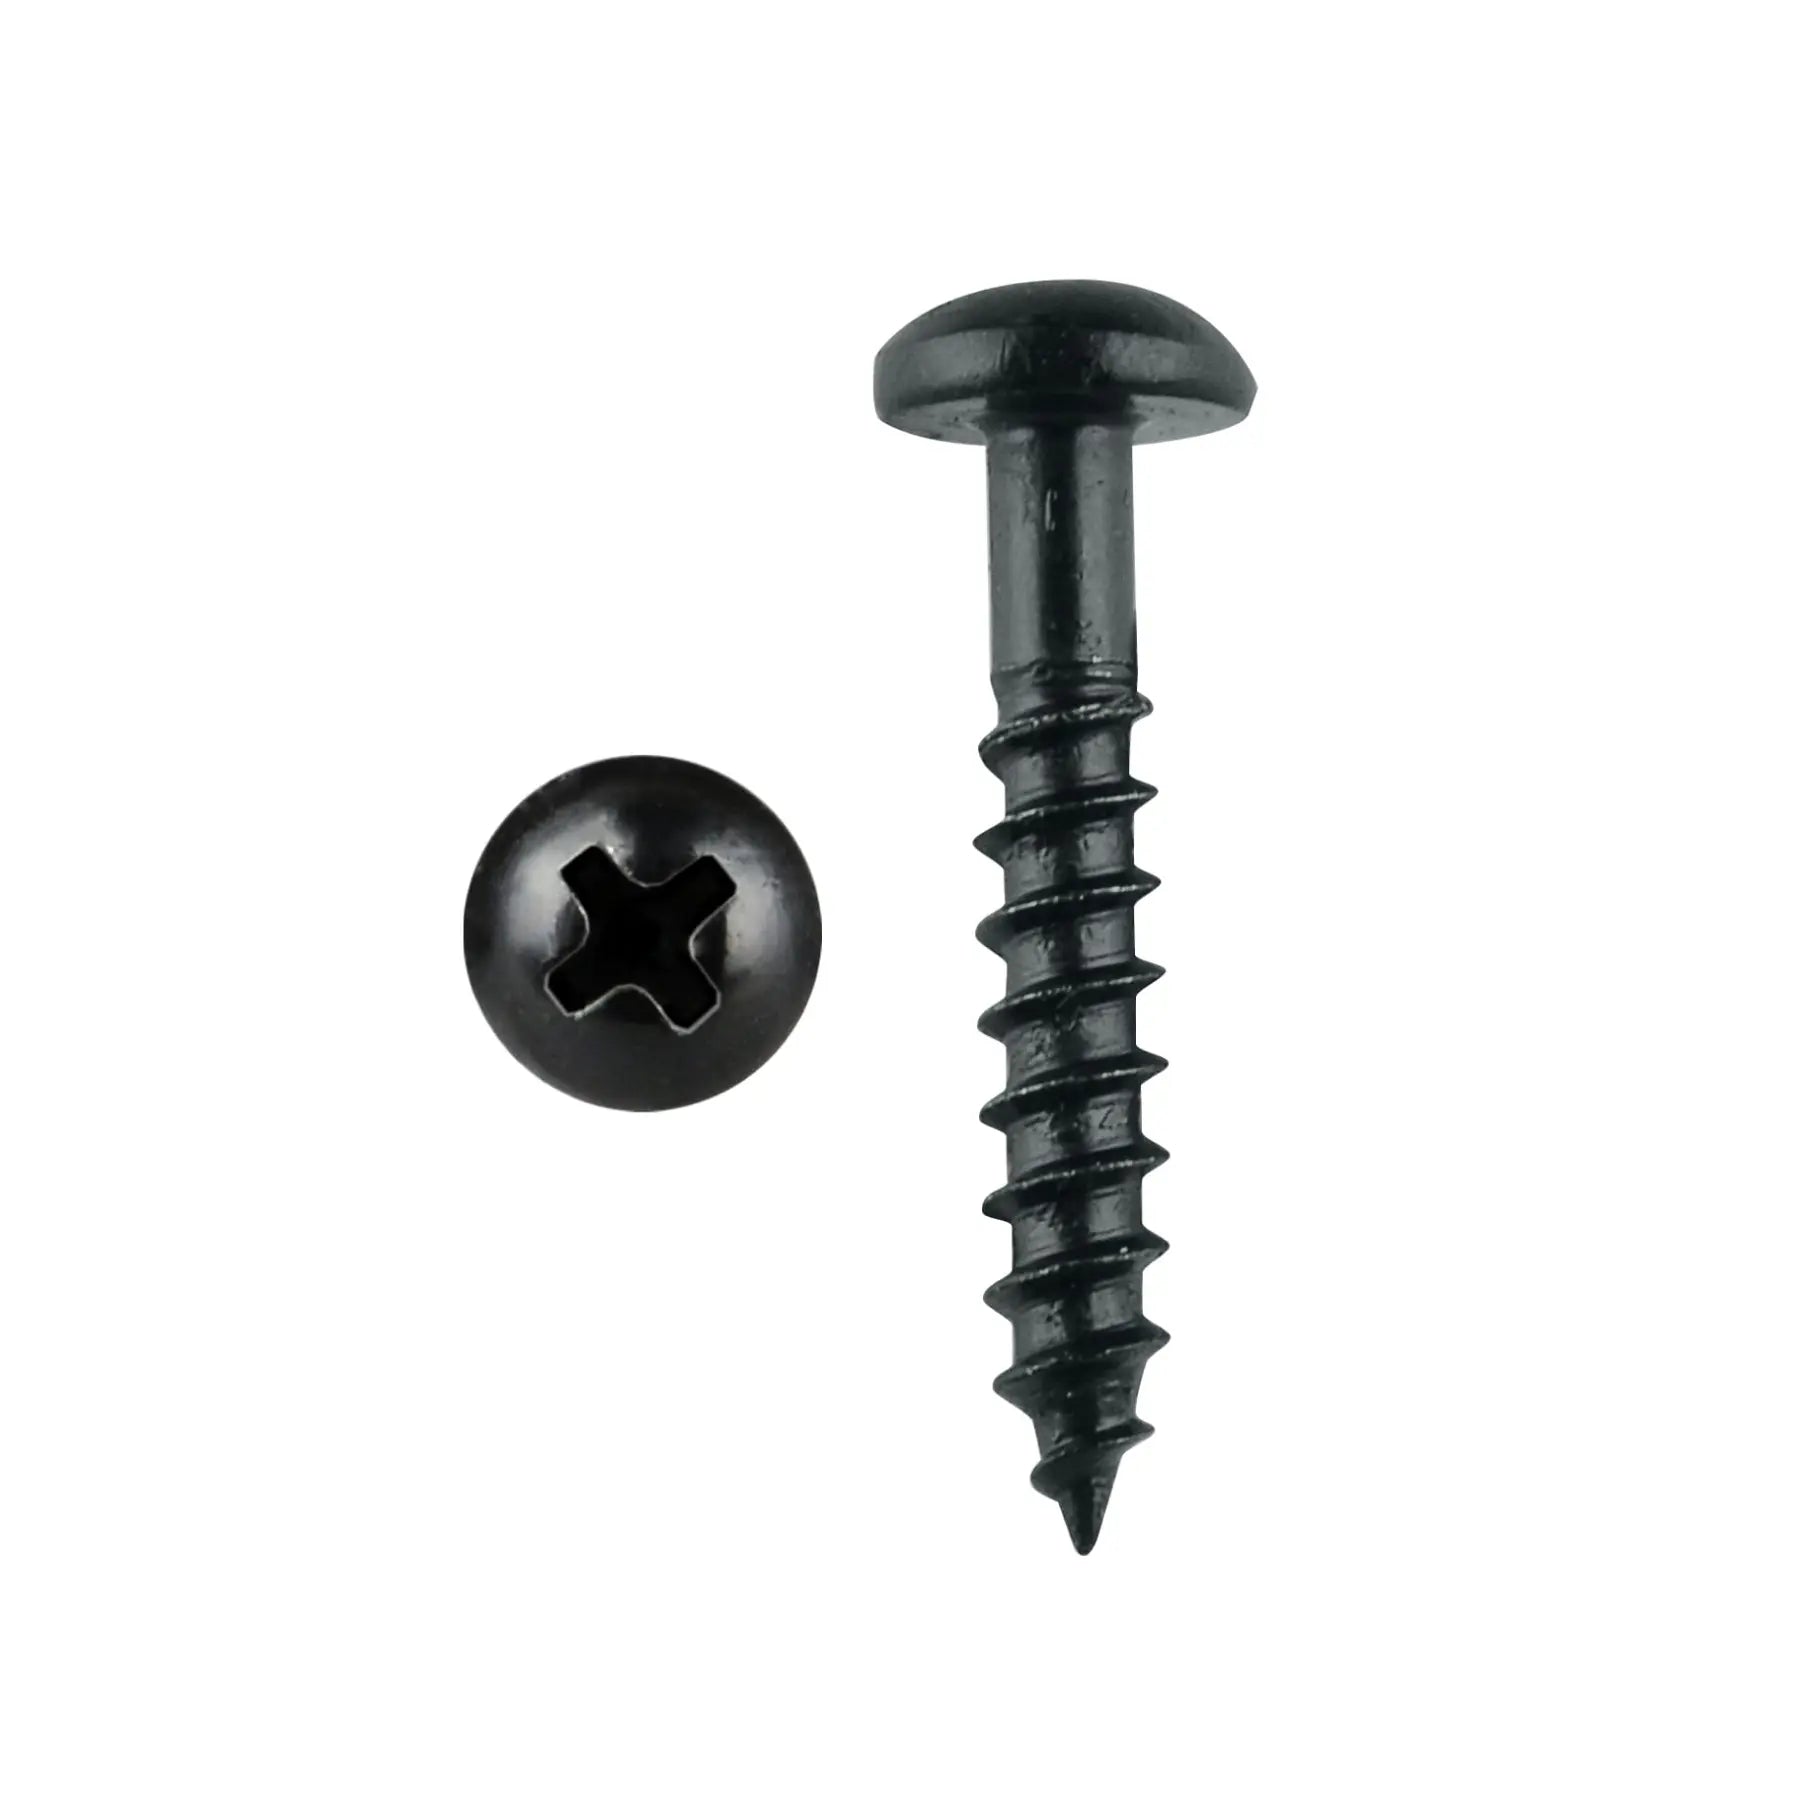
Tighten the Screws into the Wall Plugs
With your screwdriver and screws to hand, put the sign back onto the surface, aligning the screw holes with the newly-inserted wall plugs and carefully screw the sign into place. Once all the screws are tightened, you're done!
Light Up Your House Sign!


Solar | Down Light Bar
Sale price£42.00
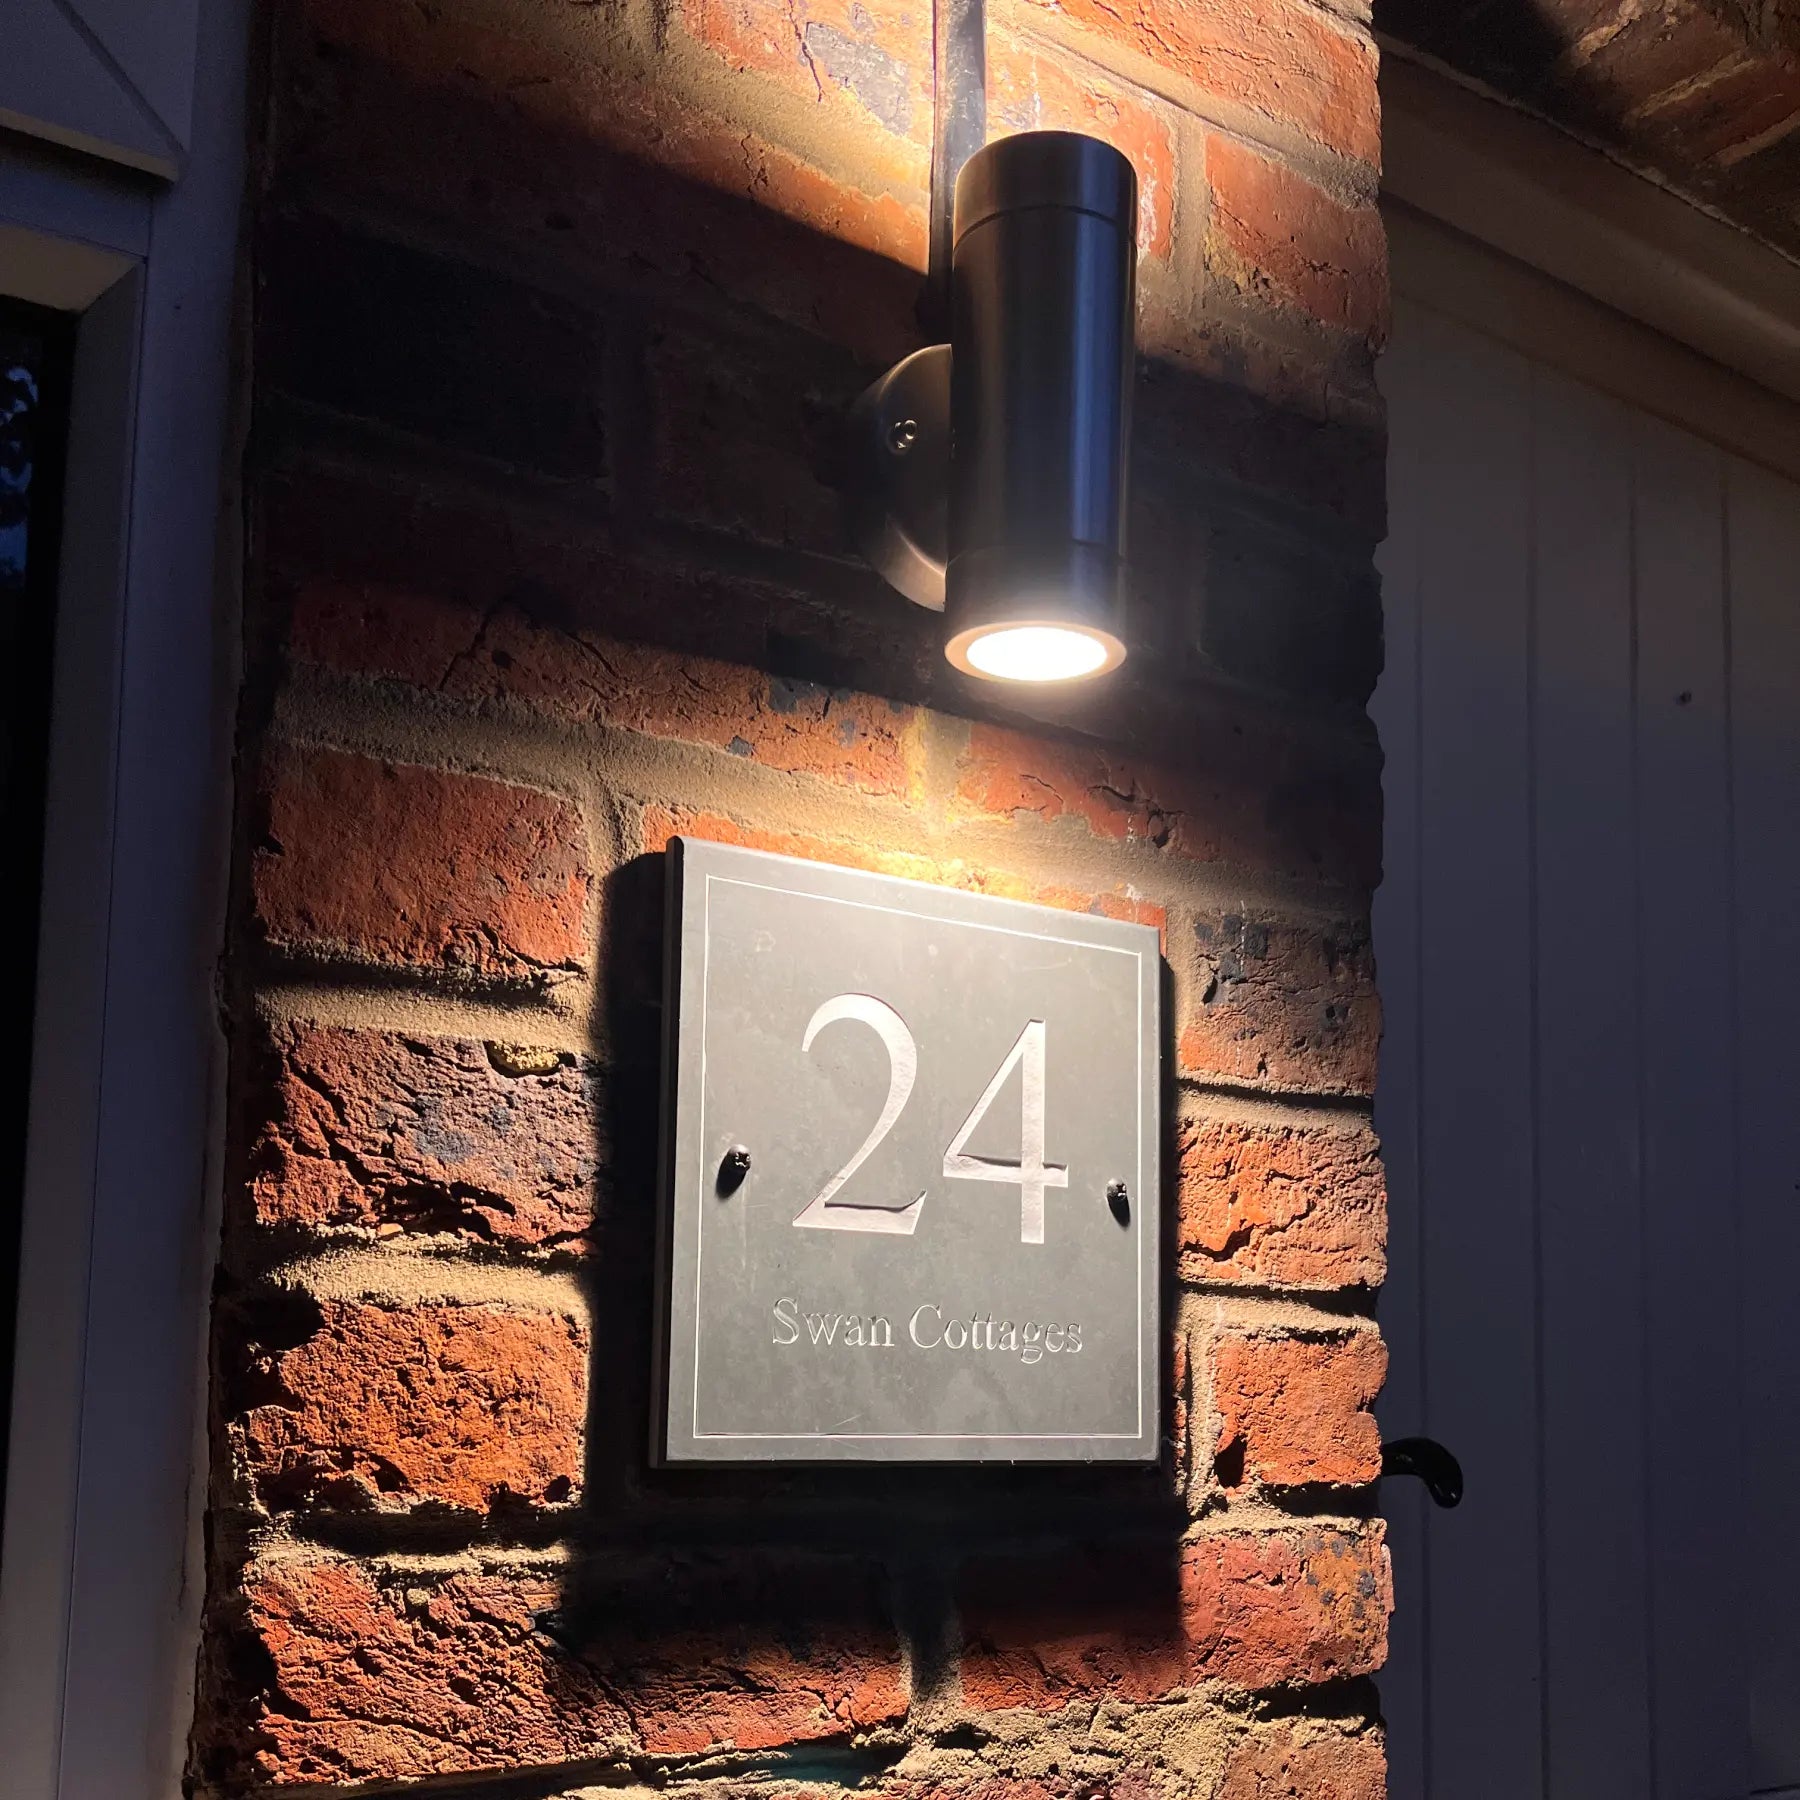

Mains | Up & Down Light
Sale price£32.00

Solar Down Light for Limestone Signs
Sale price£42.00
Seen in:

Find Your Perfect Sign
Answer 3 simple questions and we'll recommend the best house sign for you.