
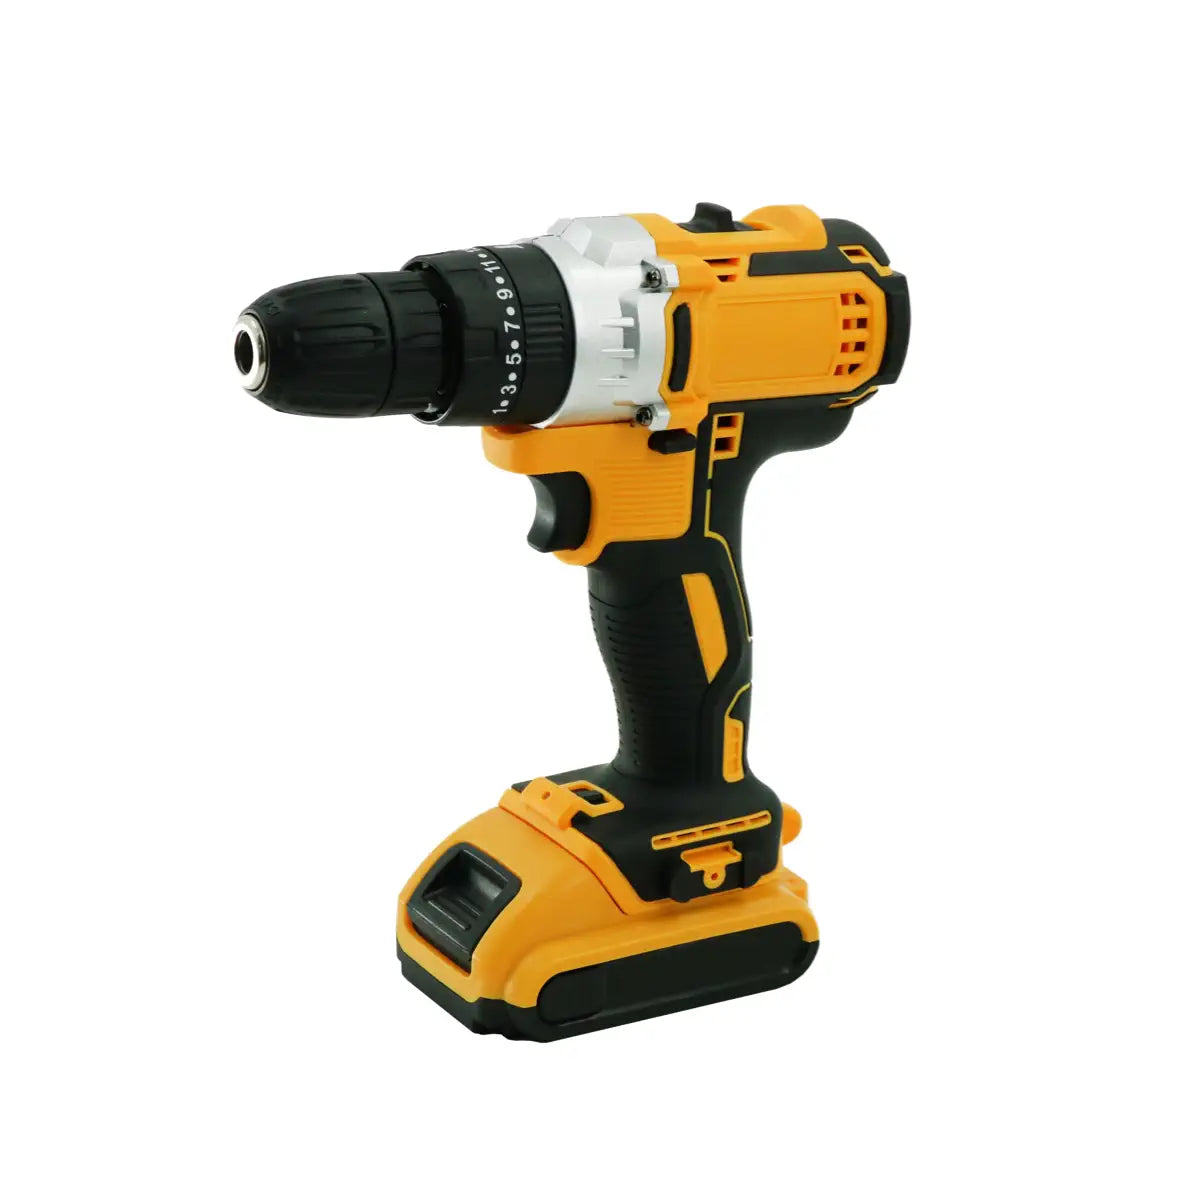
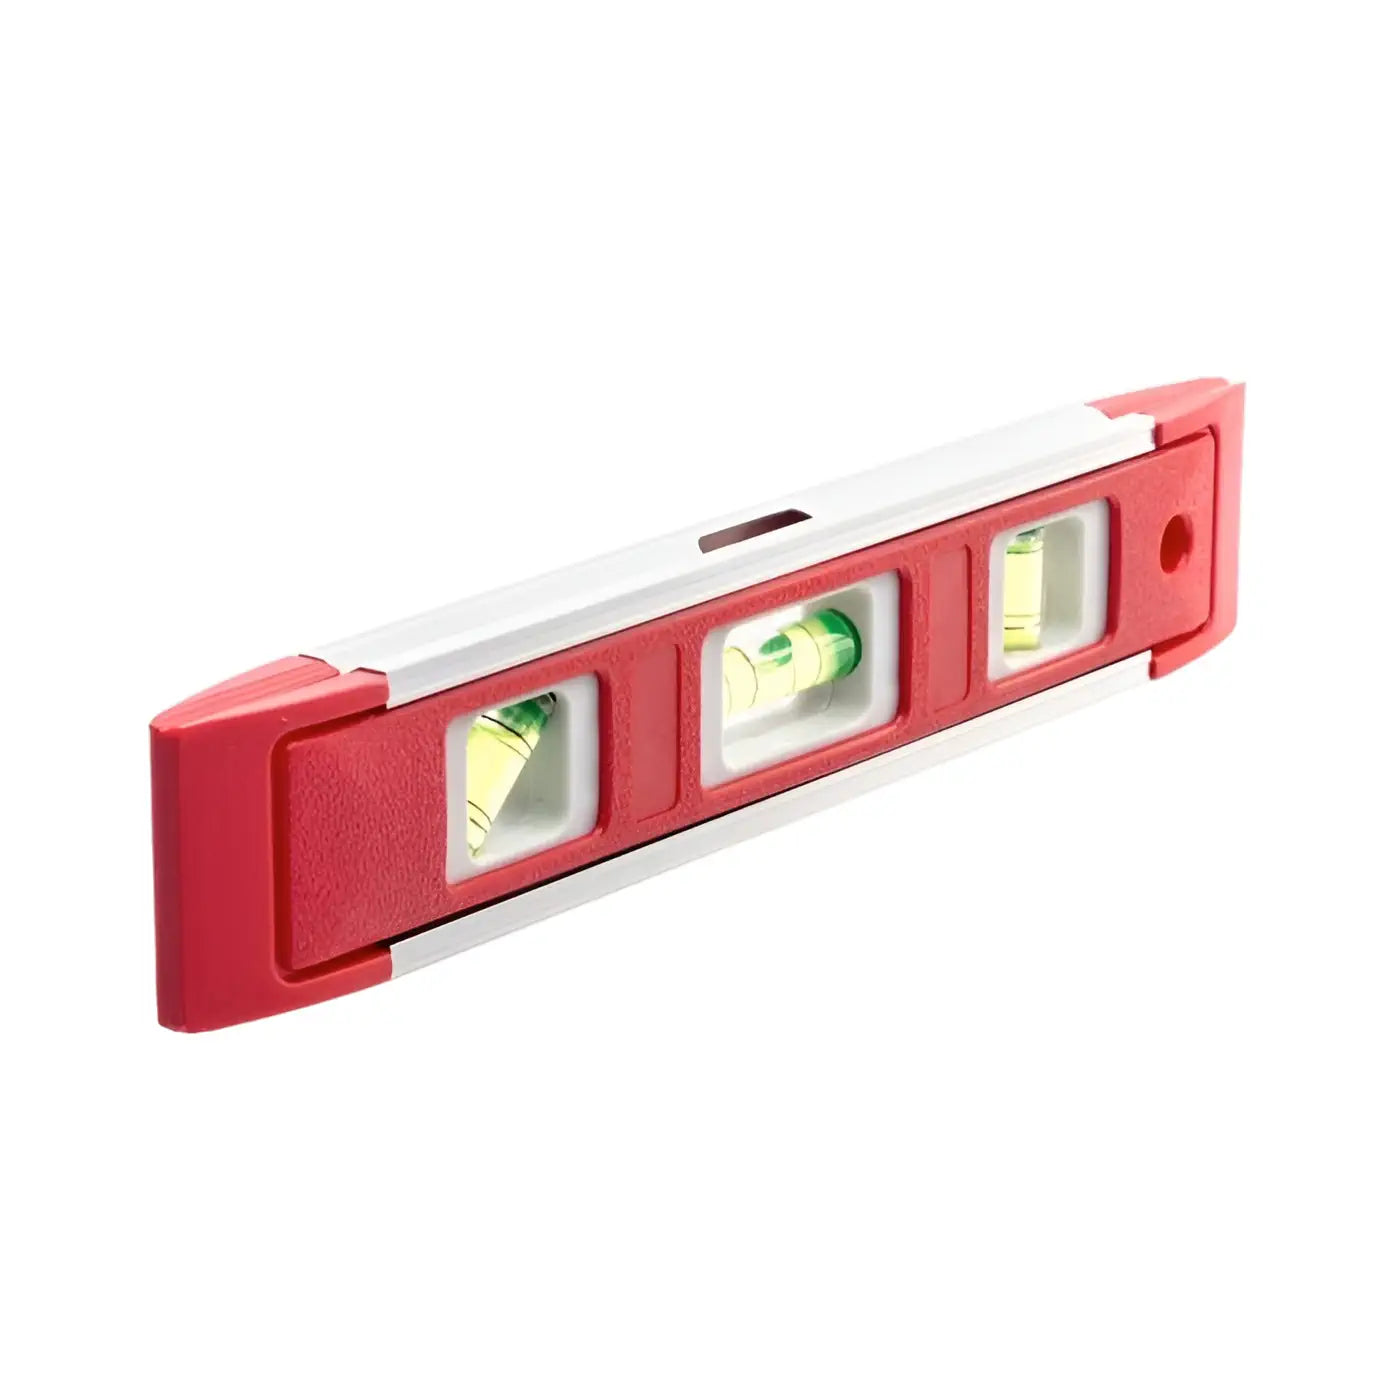
What's Required?
Click an image below to order any missing items before continuing.


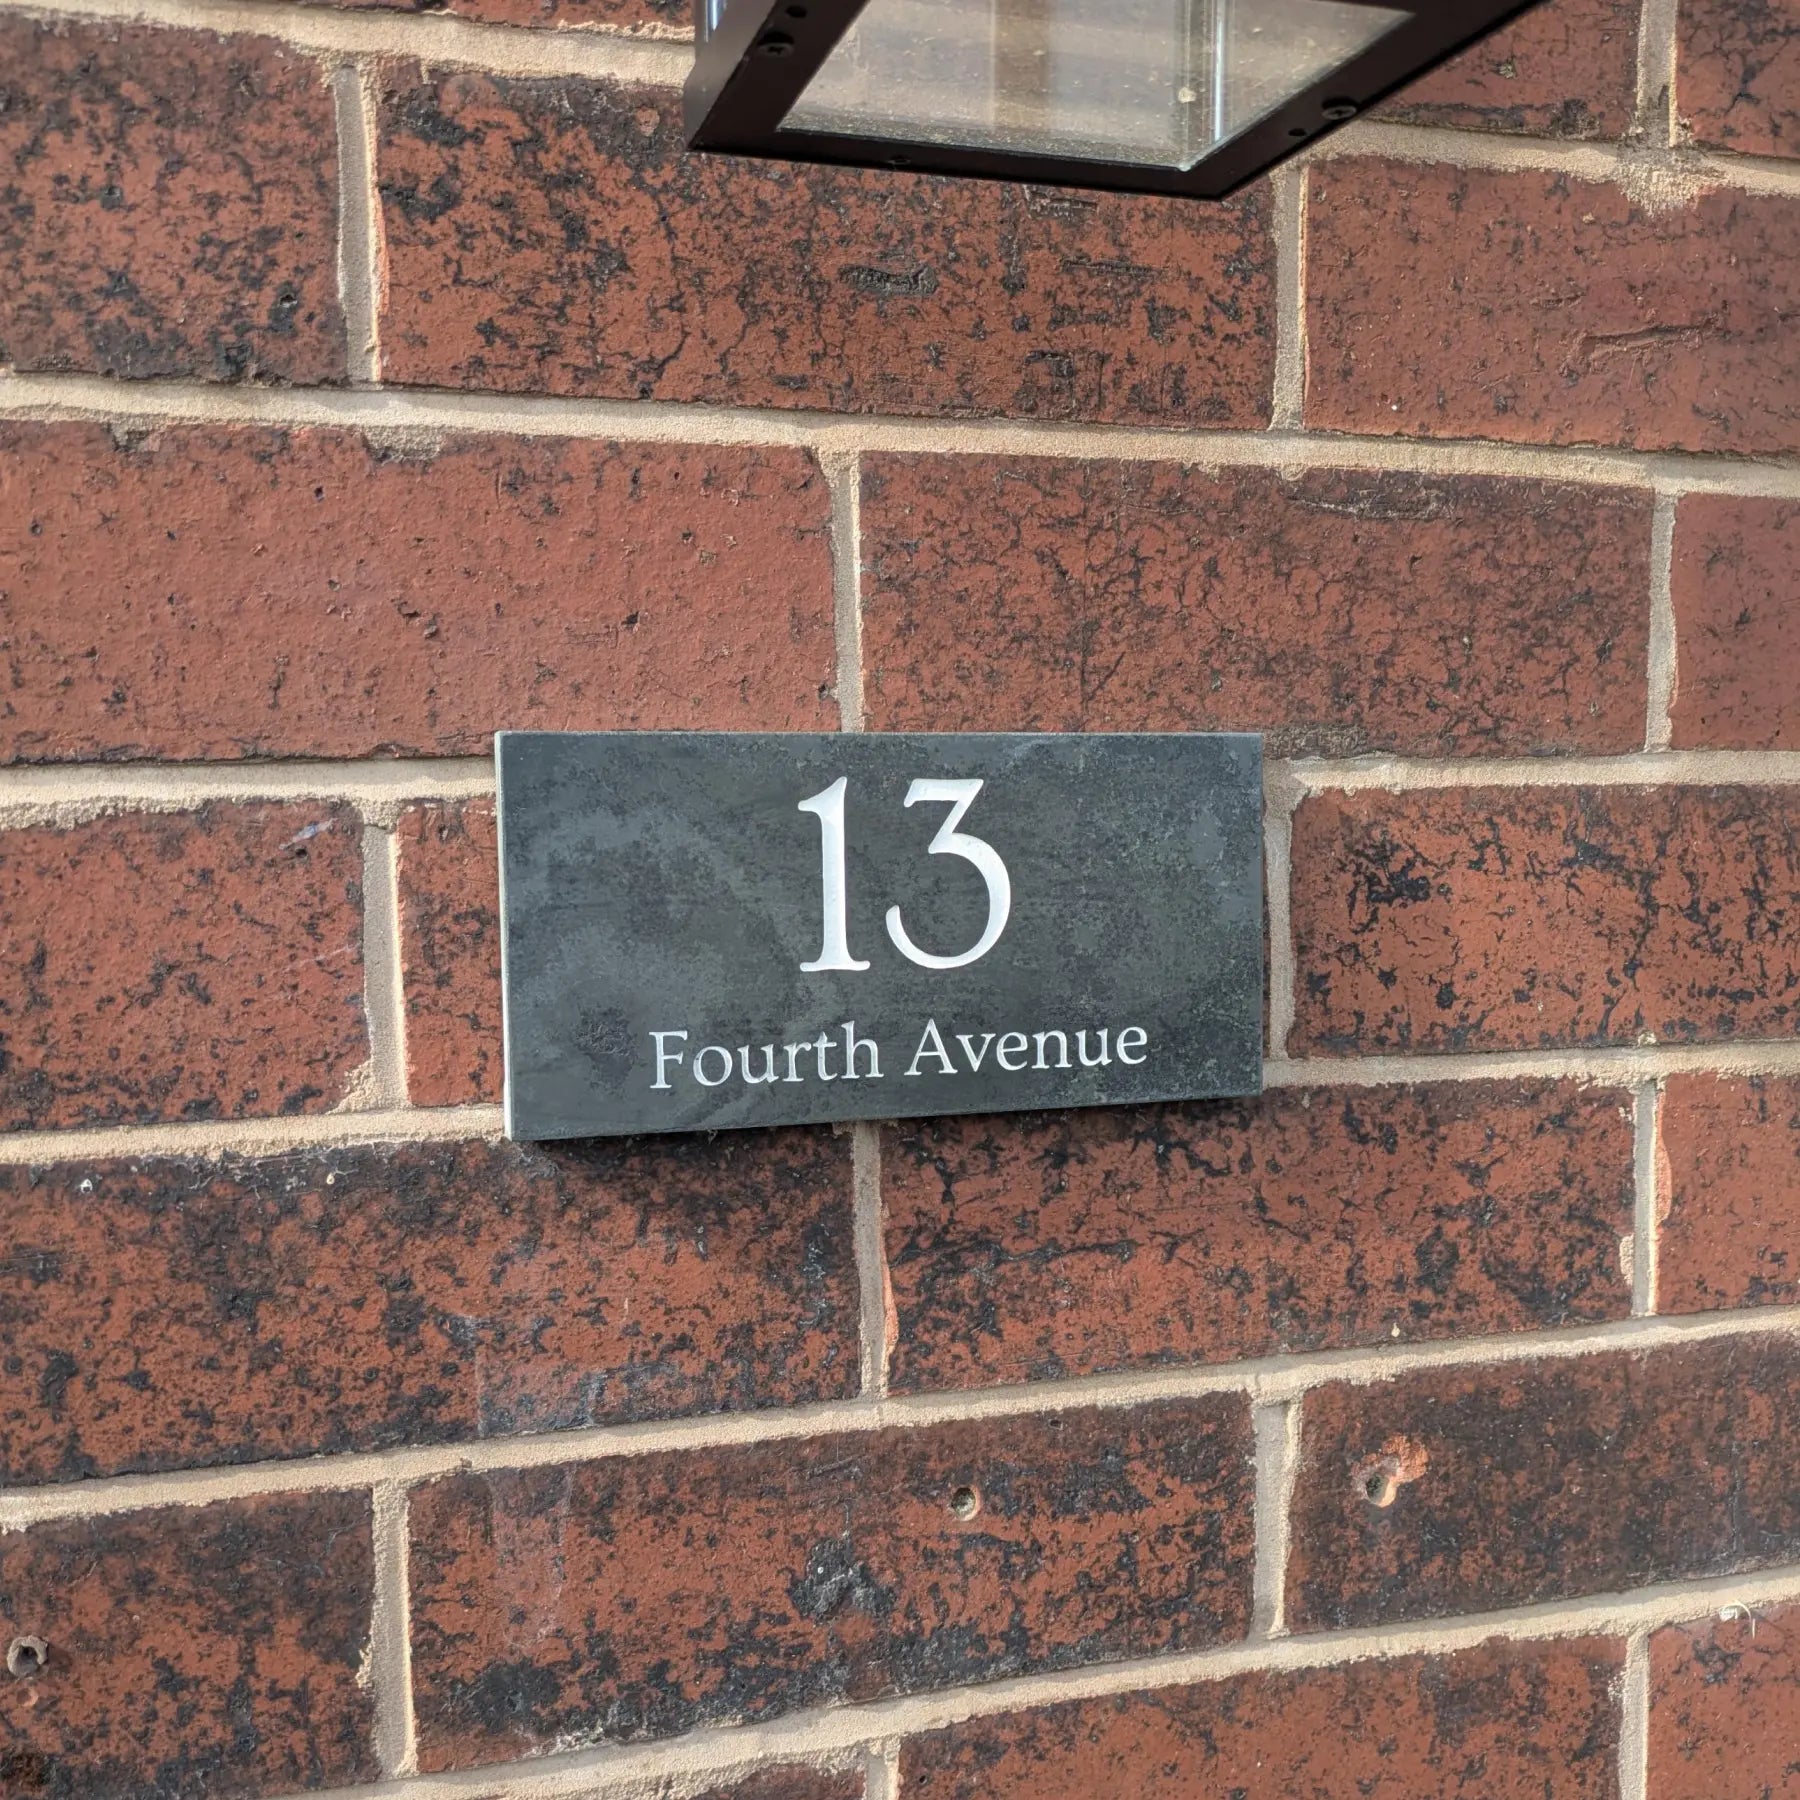
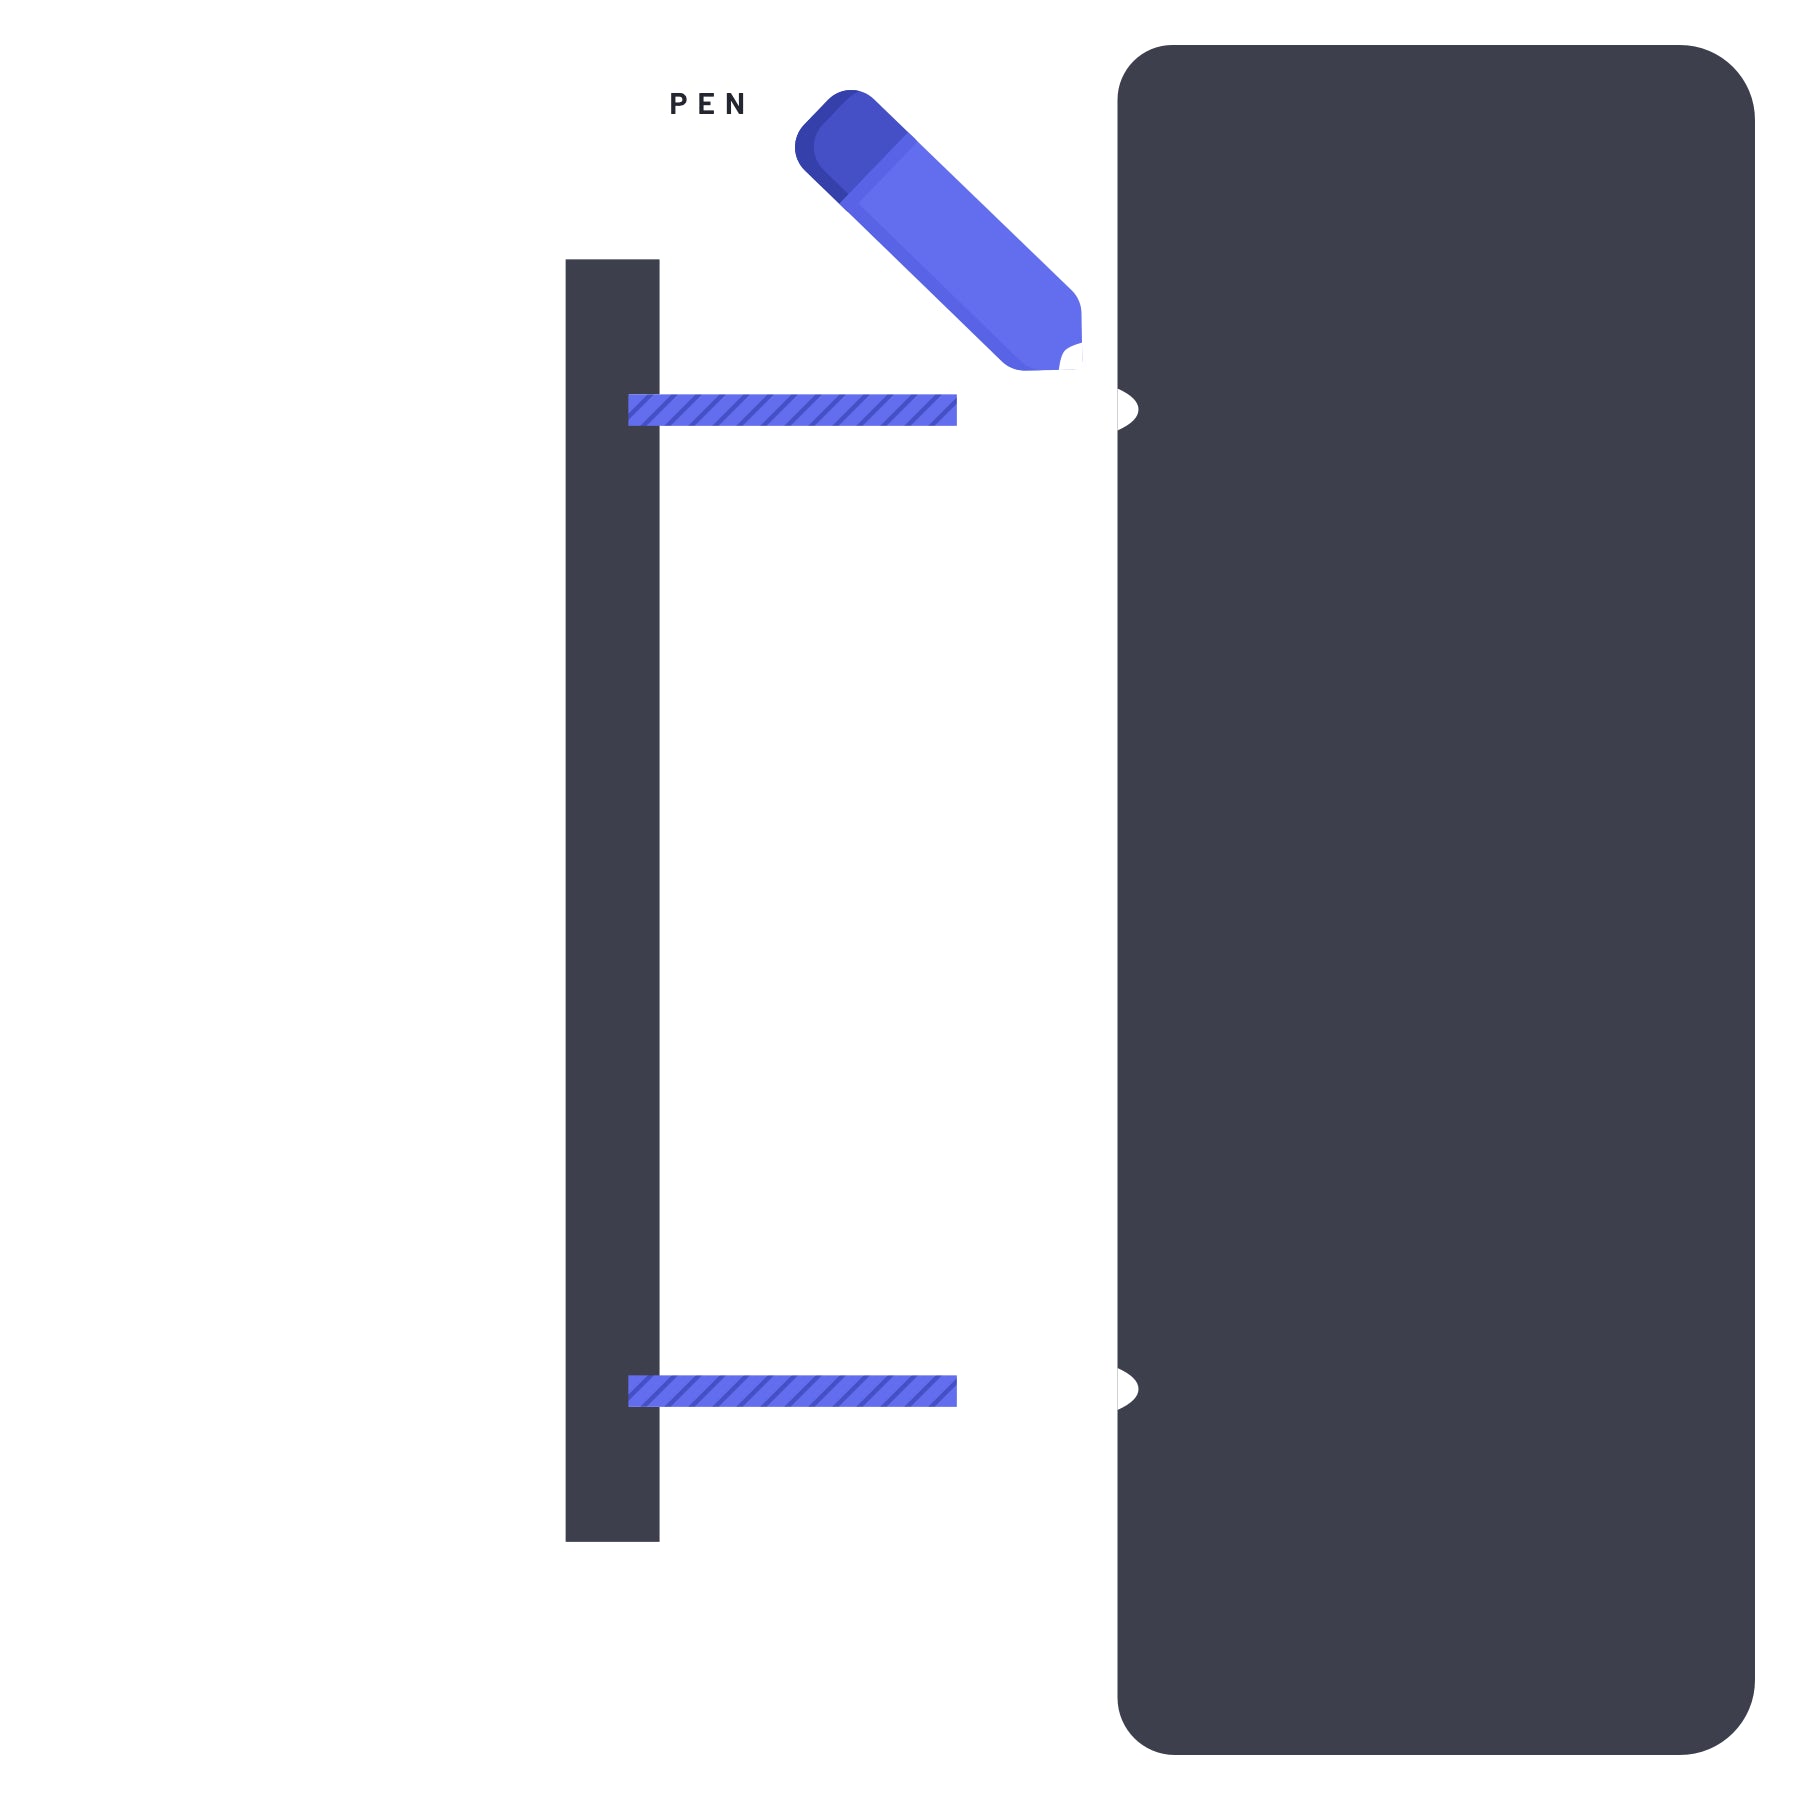
Step one
Choose the Positioning of Your Sign
- Position your sign where you want it.
- Mark (with a sharpie) where the hidden fixing bars touch the wall.
- This is where you'll need to drill the wall holes.
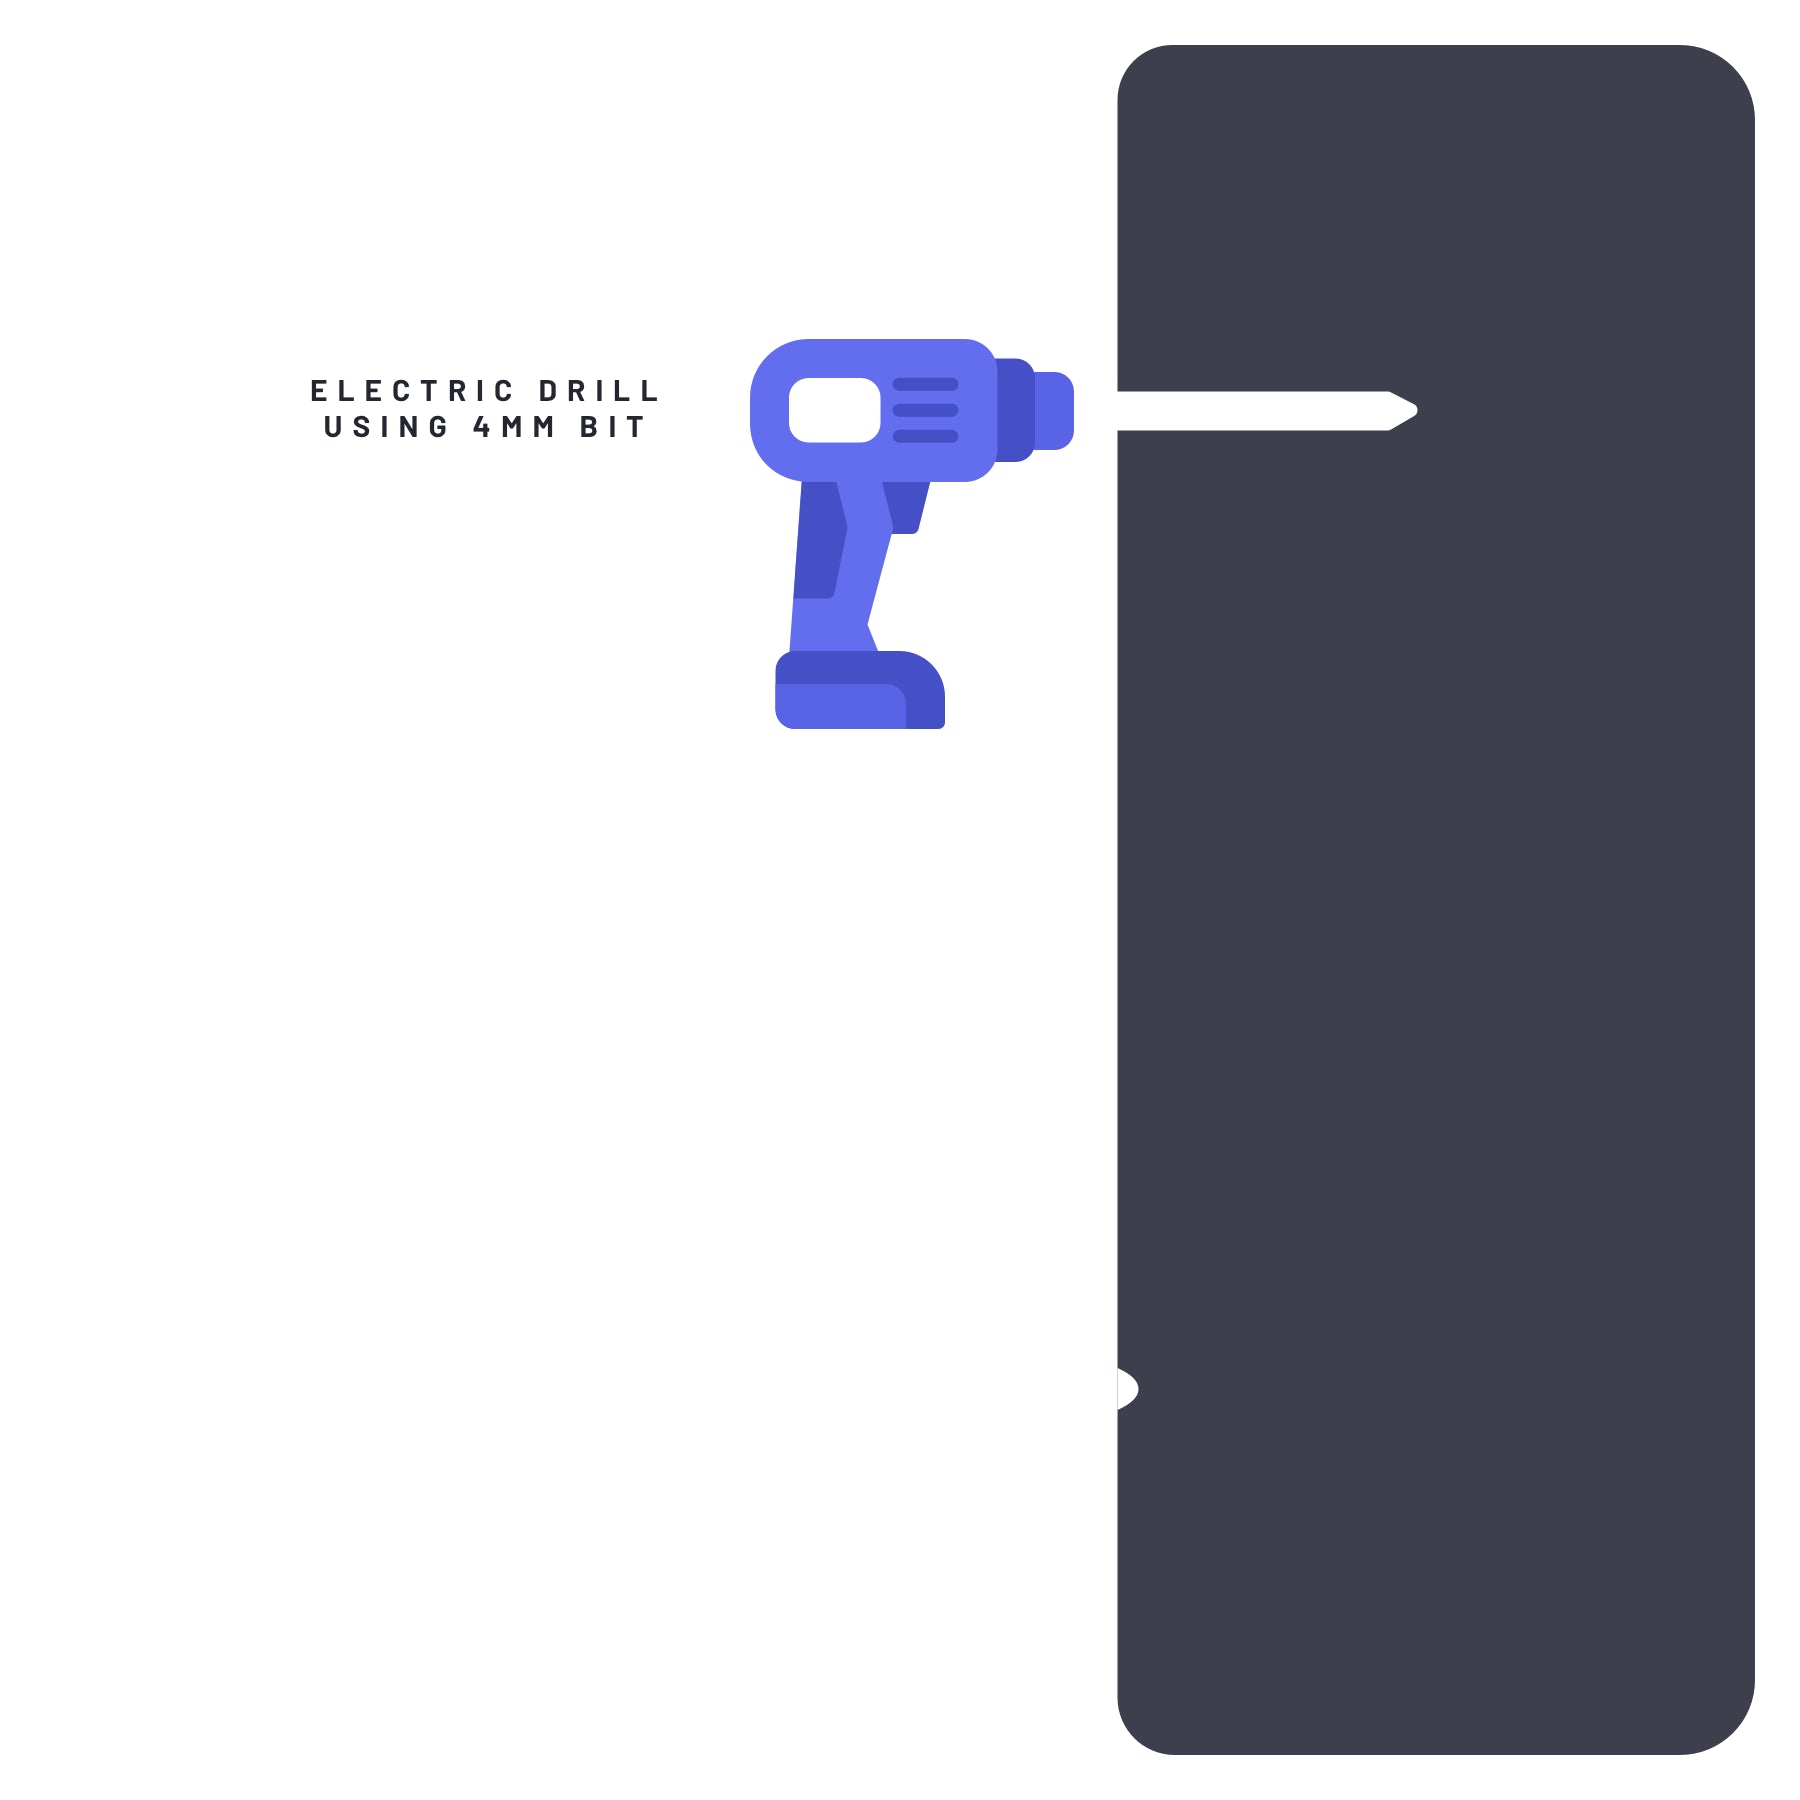
Step two
Drill Your Wall
- Use a 4mm masonry drill bit, to ensure a snug fit.
BRICK INSTALLATION
- Turn on hammer mode on your drill.
- Ensure the drill is moving clockwise.
- Drill straight into the wall, approx. 60mm depth.
- Insert sign into the hole to make sure the sign sits flush agai
RENDER INSTALLATION
- Turn off hammer mode on your drill when drilling into your render.
- Ensure the drill is moving clockwise.
- Drill straight into the wall, approx. 60mm depth.
- Insert sign into the hole to make sure the sign sits flush against the wall.
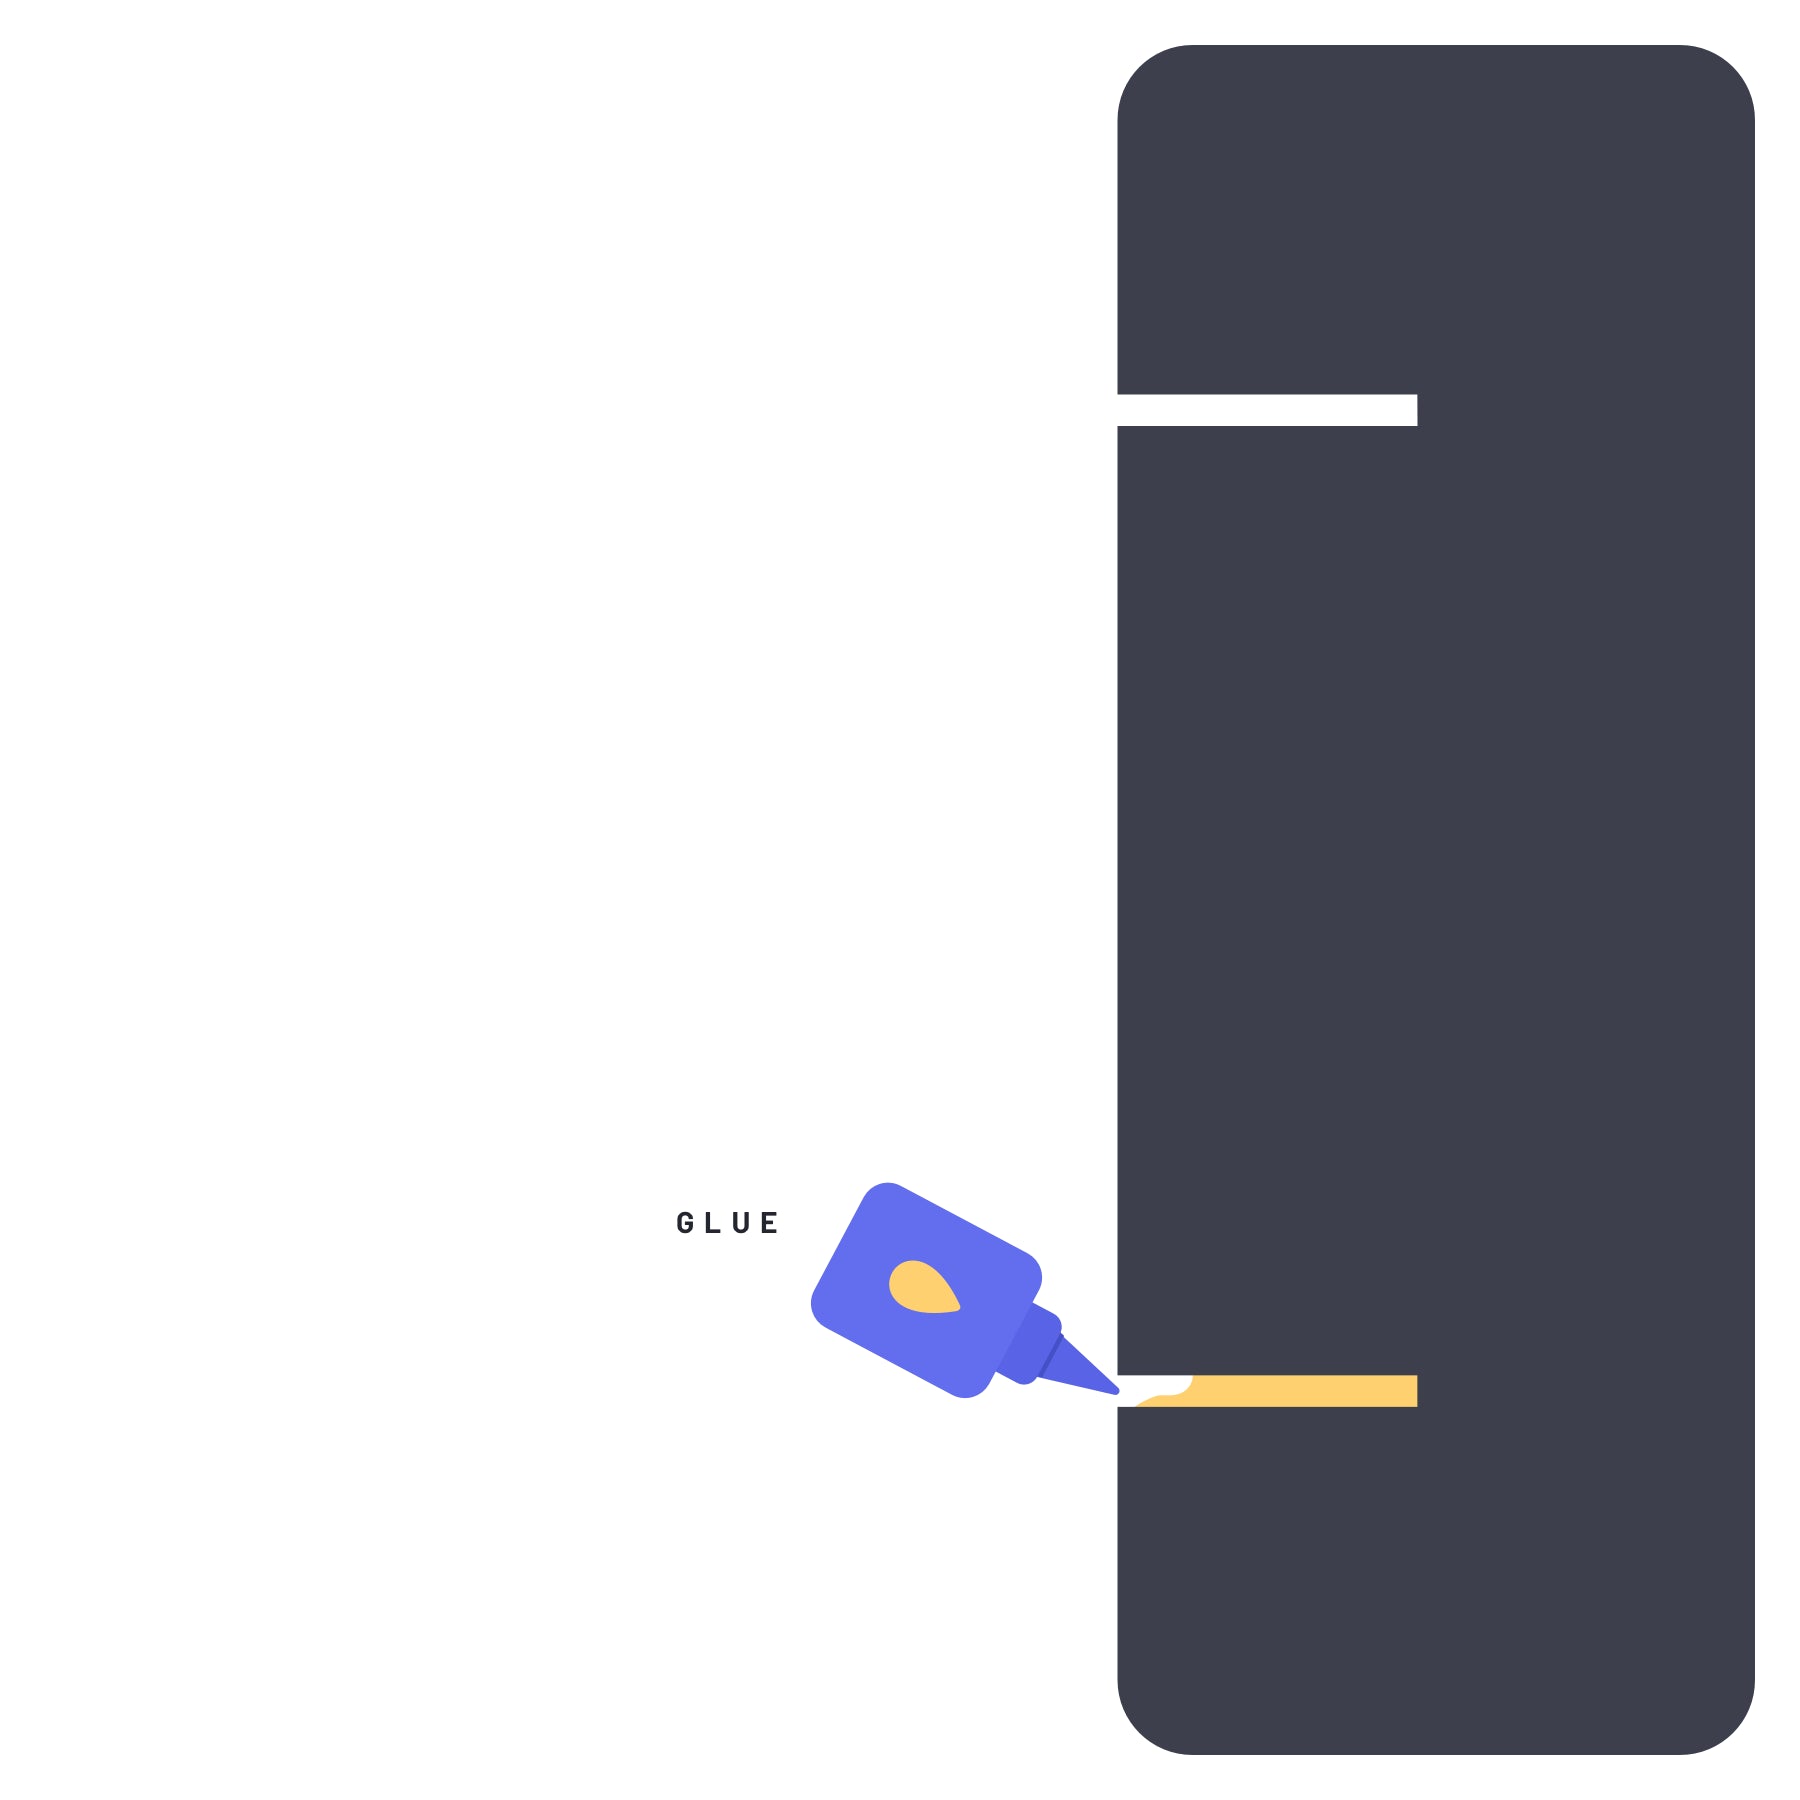
Step three
Fill Holes with Grab Adhesive
- Squeeze the grab adhesive into both holes, filling them up completely.
- Excess adhesive can be left or removed.
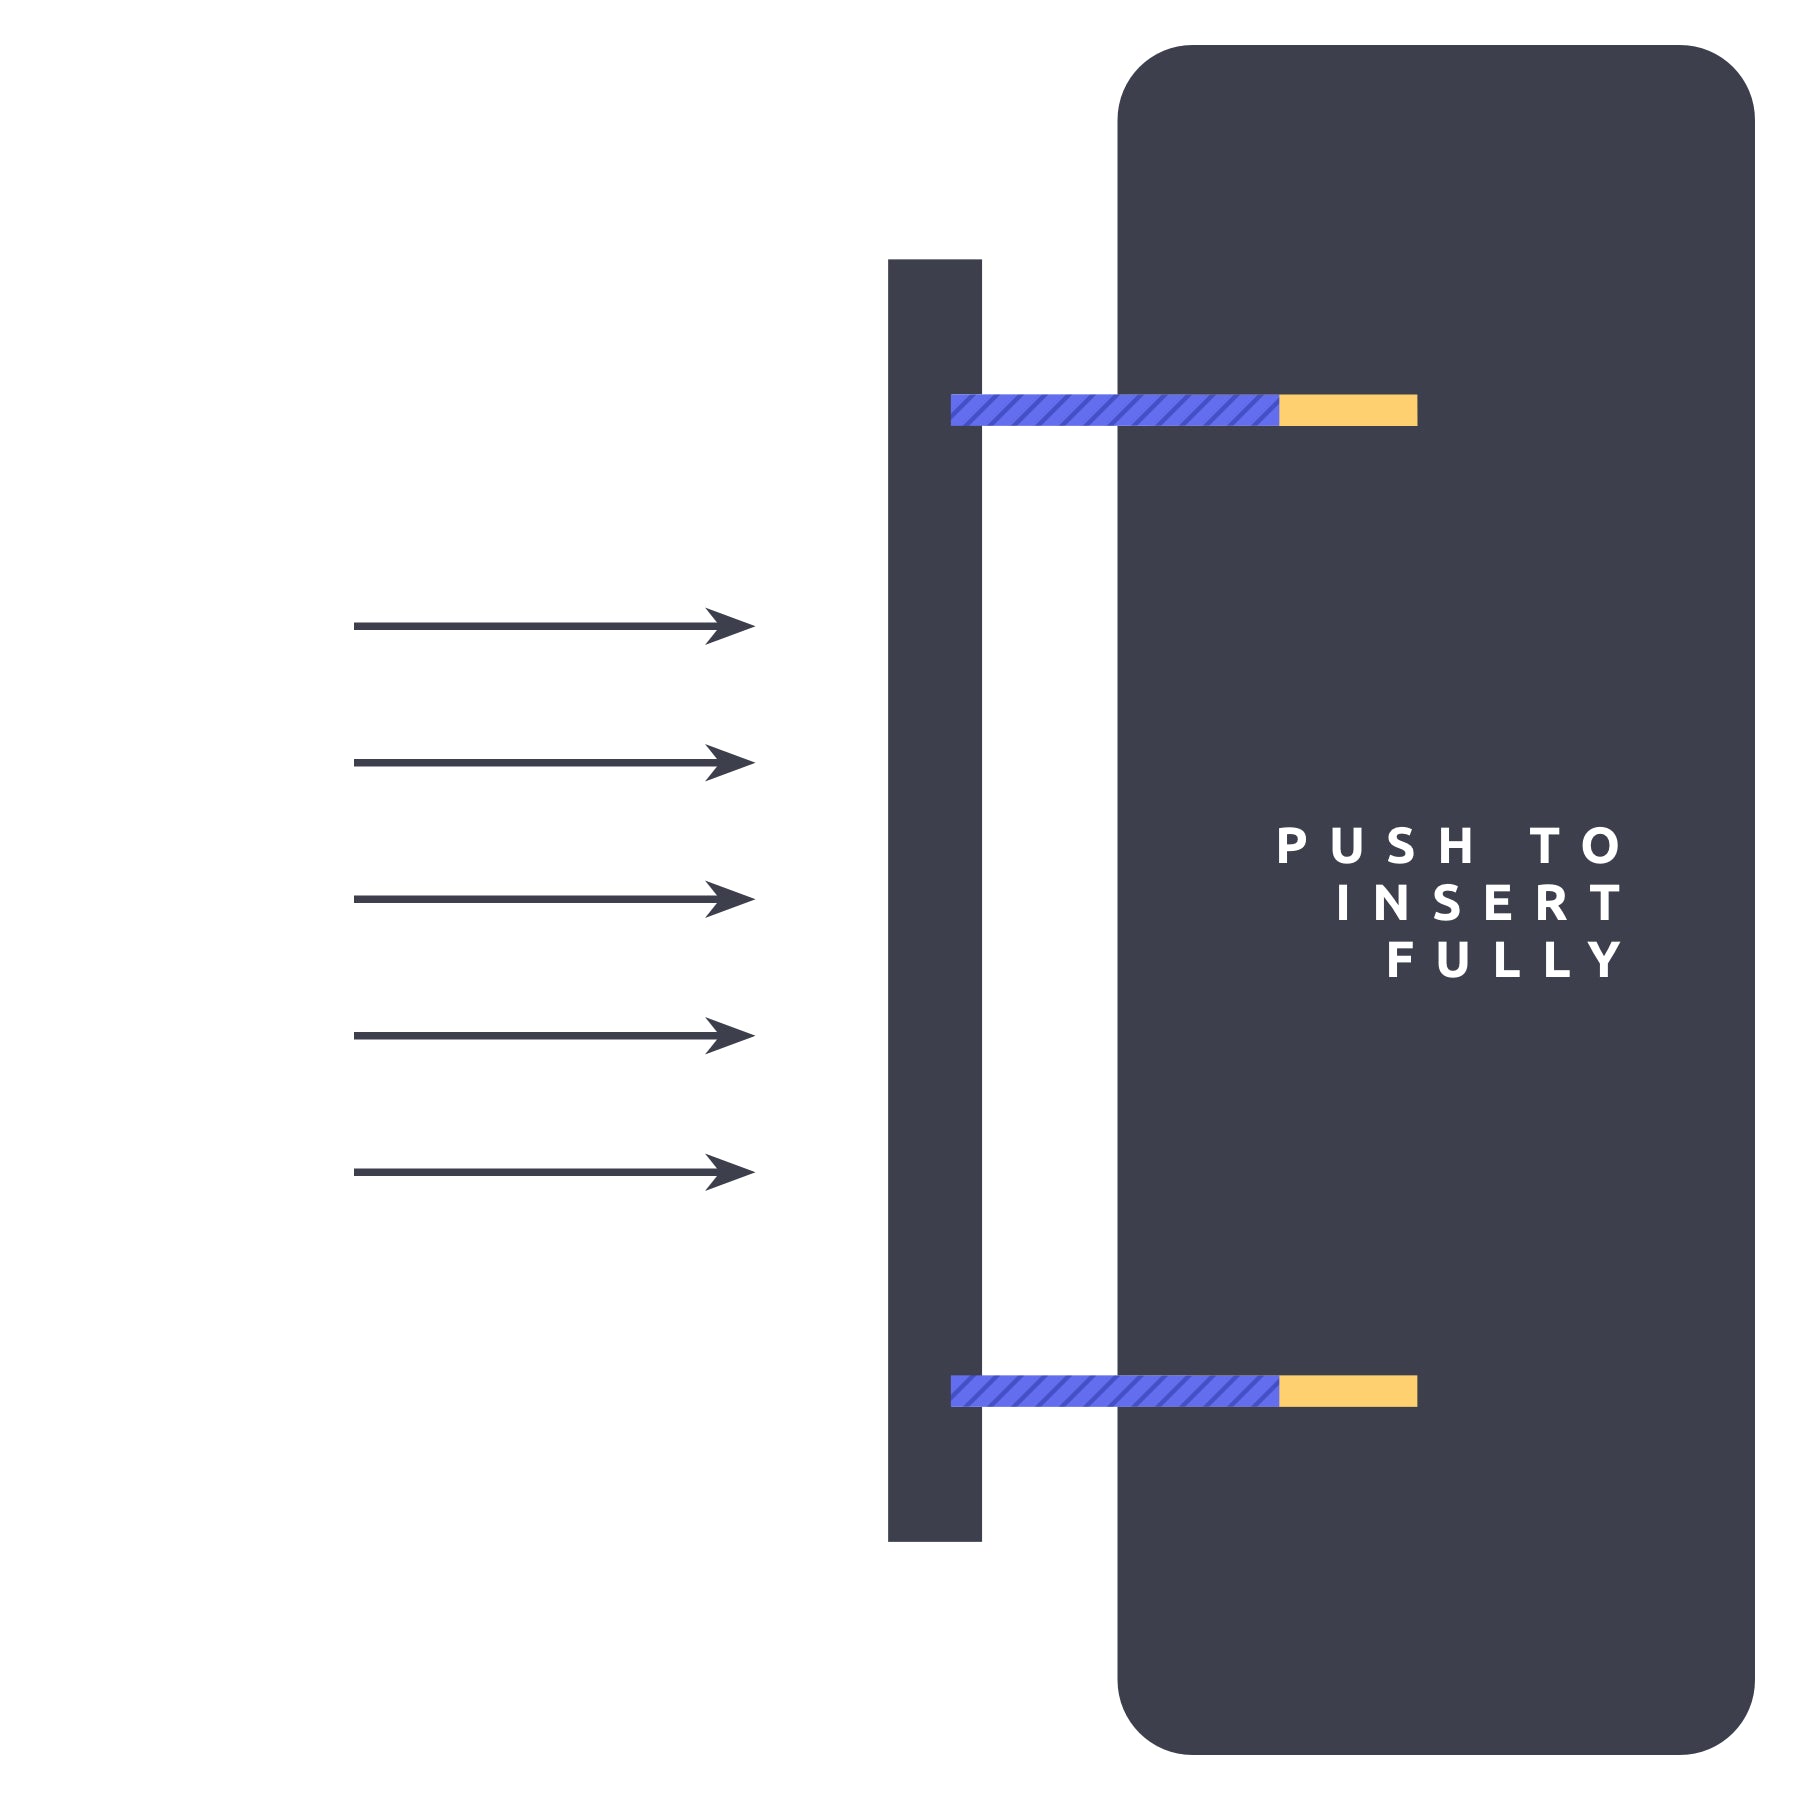
Step 4
Gently Insert Your Sign into the Wall
- Align the sign and hidden fixing rods to the holes.
- Gently slide the rods into the glued holes.
- There will be glue squeezing out the holes, this is fine.
- Push until the sign sits flat against the wall.
- Finished!
Keep Your Sign Lit Up!


Solar | Down Light Bar
Sale price£42.00
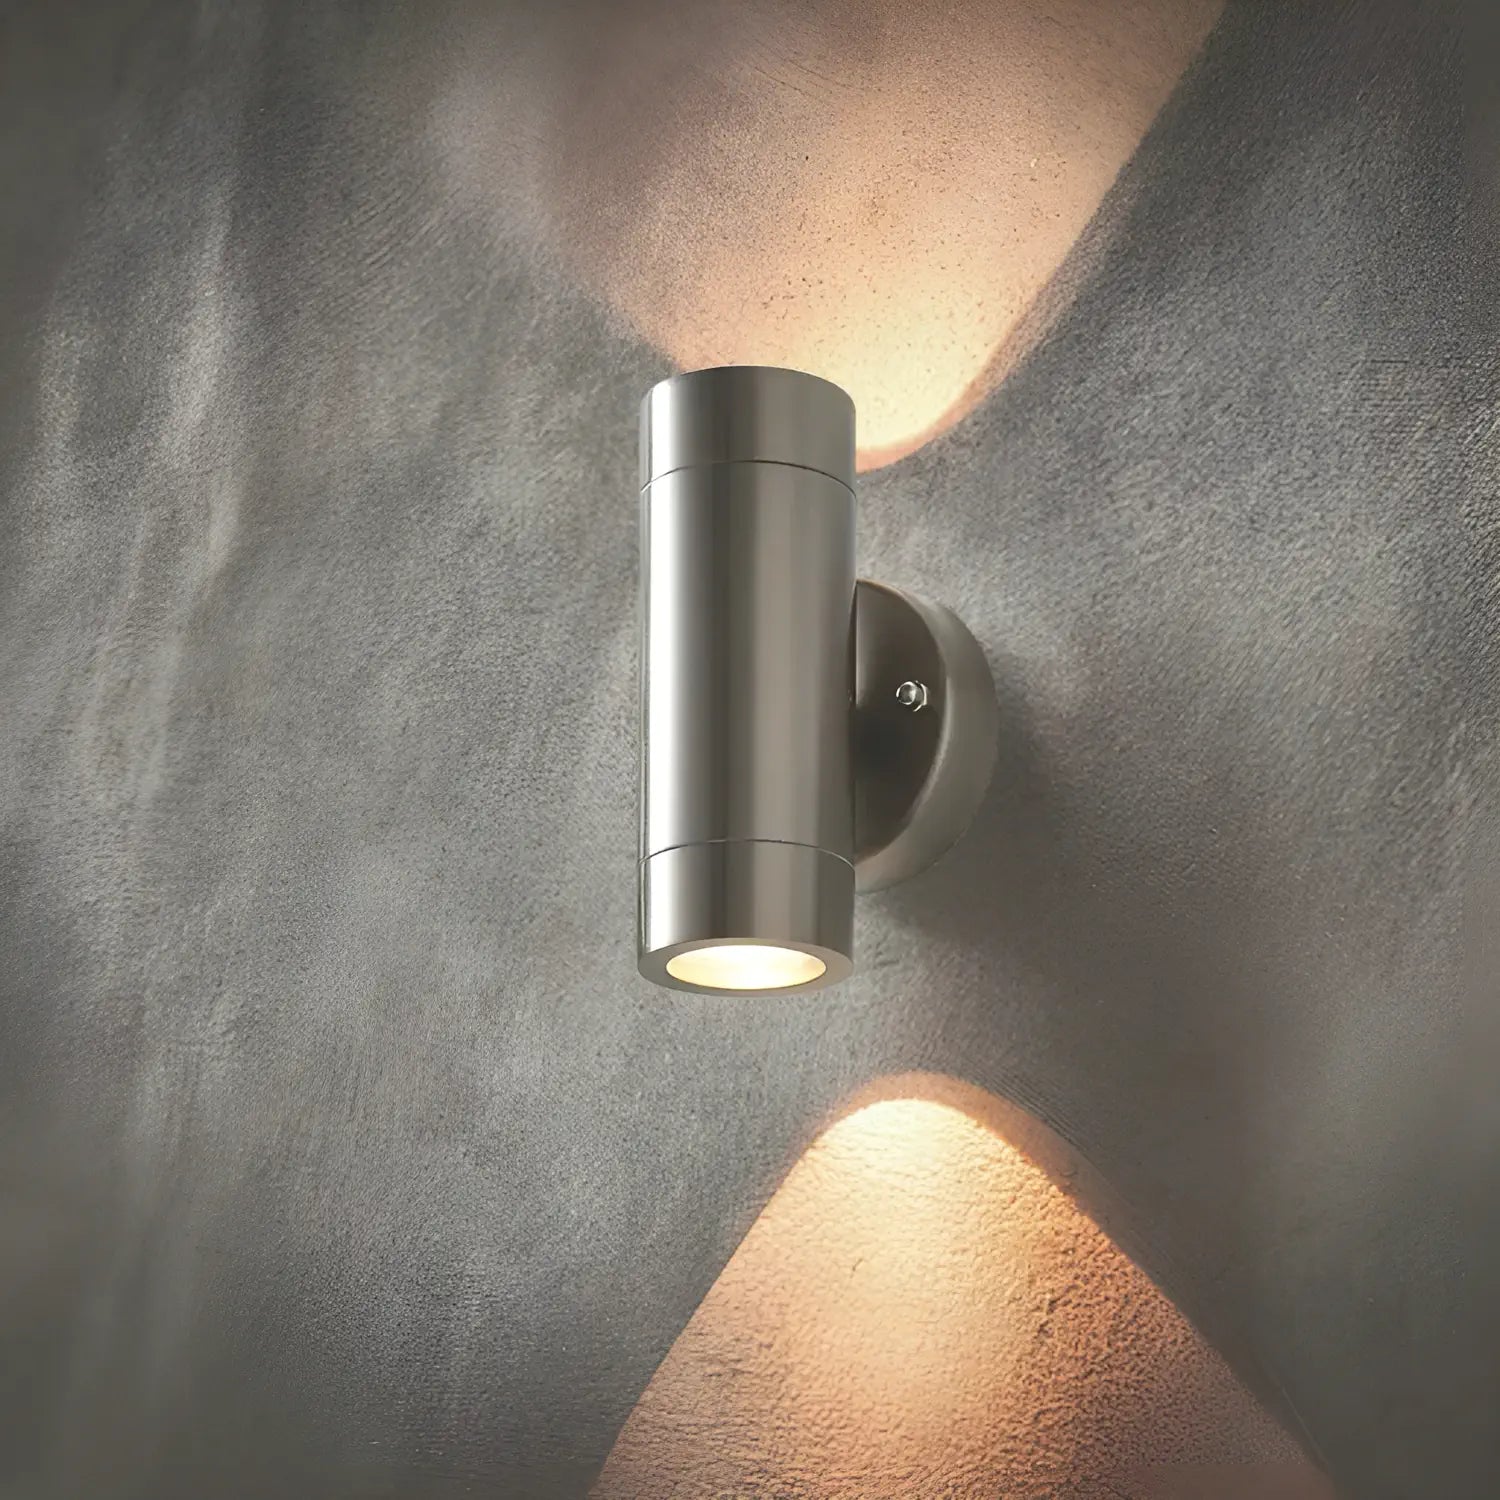
Mains | Up & Down Light
Sale price£32.00

Solar Down Light for Limestone Signs
Sale price£42.00
Seen in:

Find Your Perfect Sign
Answer 3 simple questions and we'll recommend the best house sign for you.