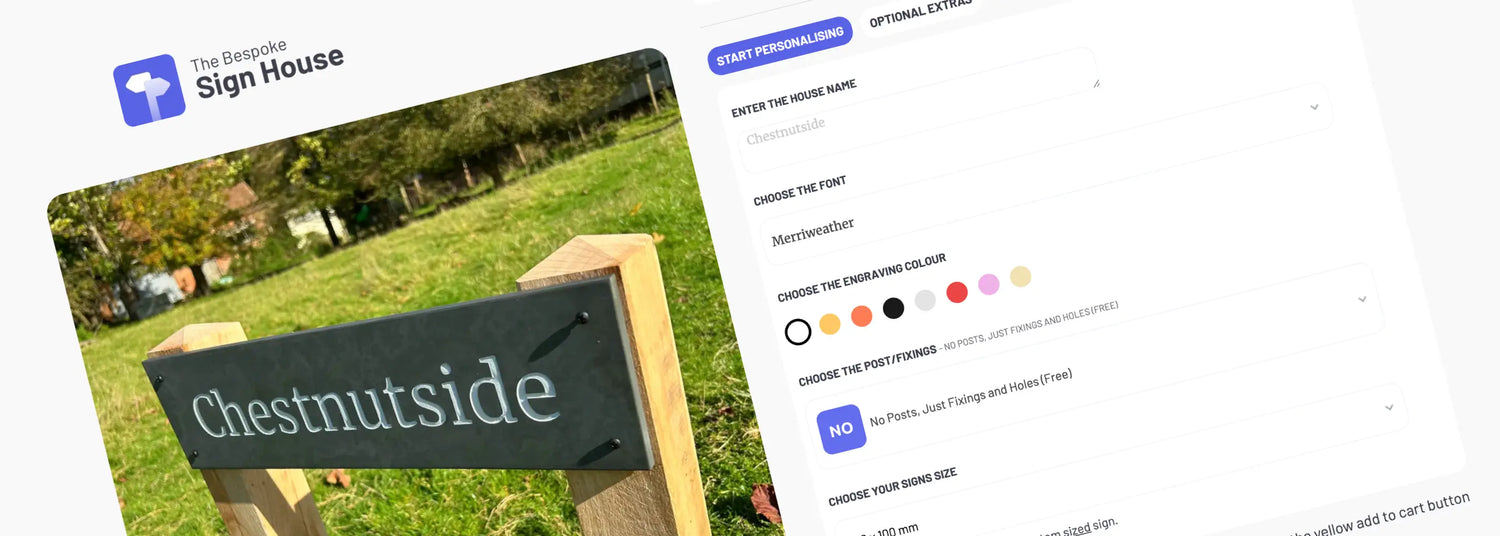
Step one
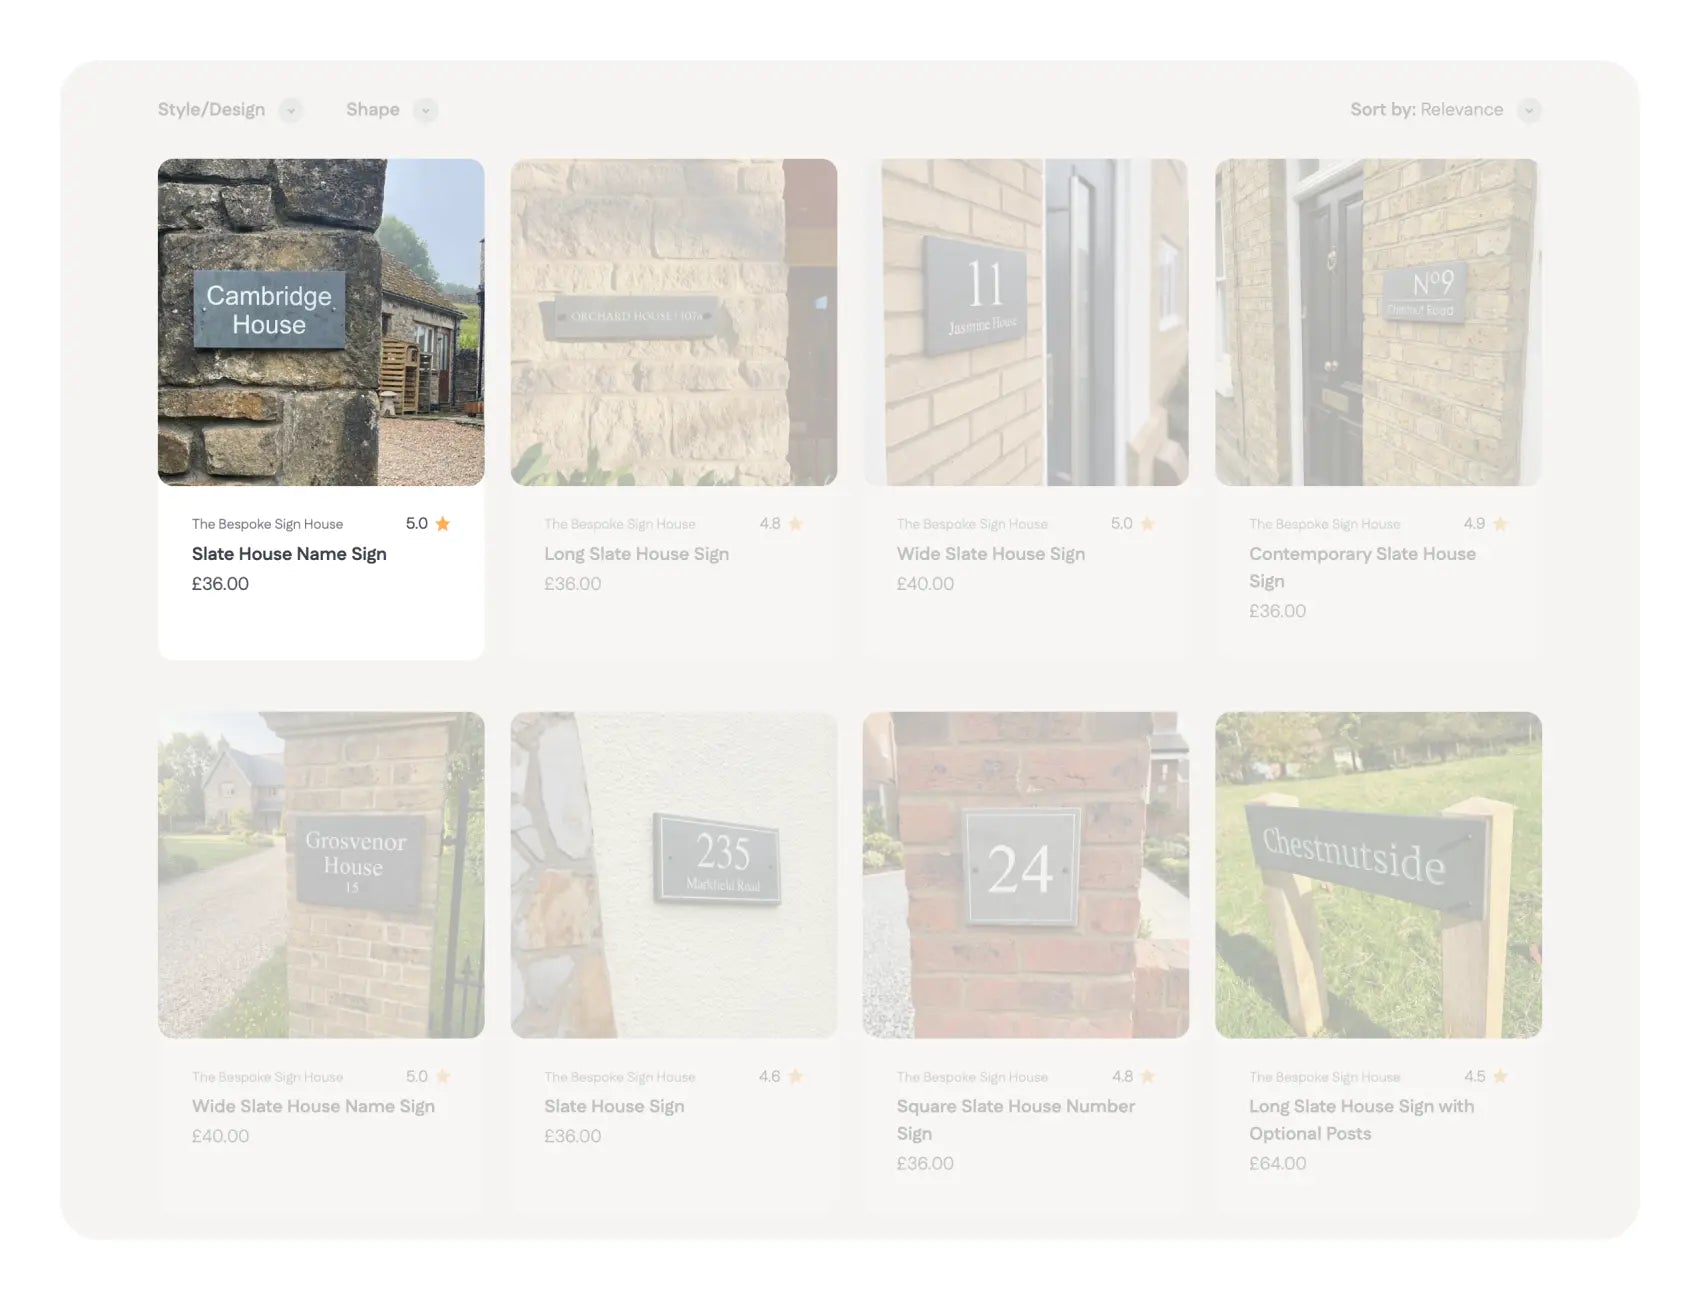
Decide on a Layout
We have over 40 different sign templates available in 3 different stone materials (slate, granite and limestone). Each template can be further customised with fonts, colour and borders when you begin.
Step two
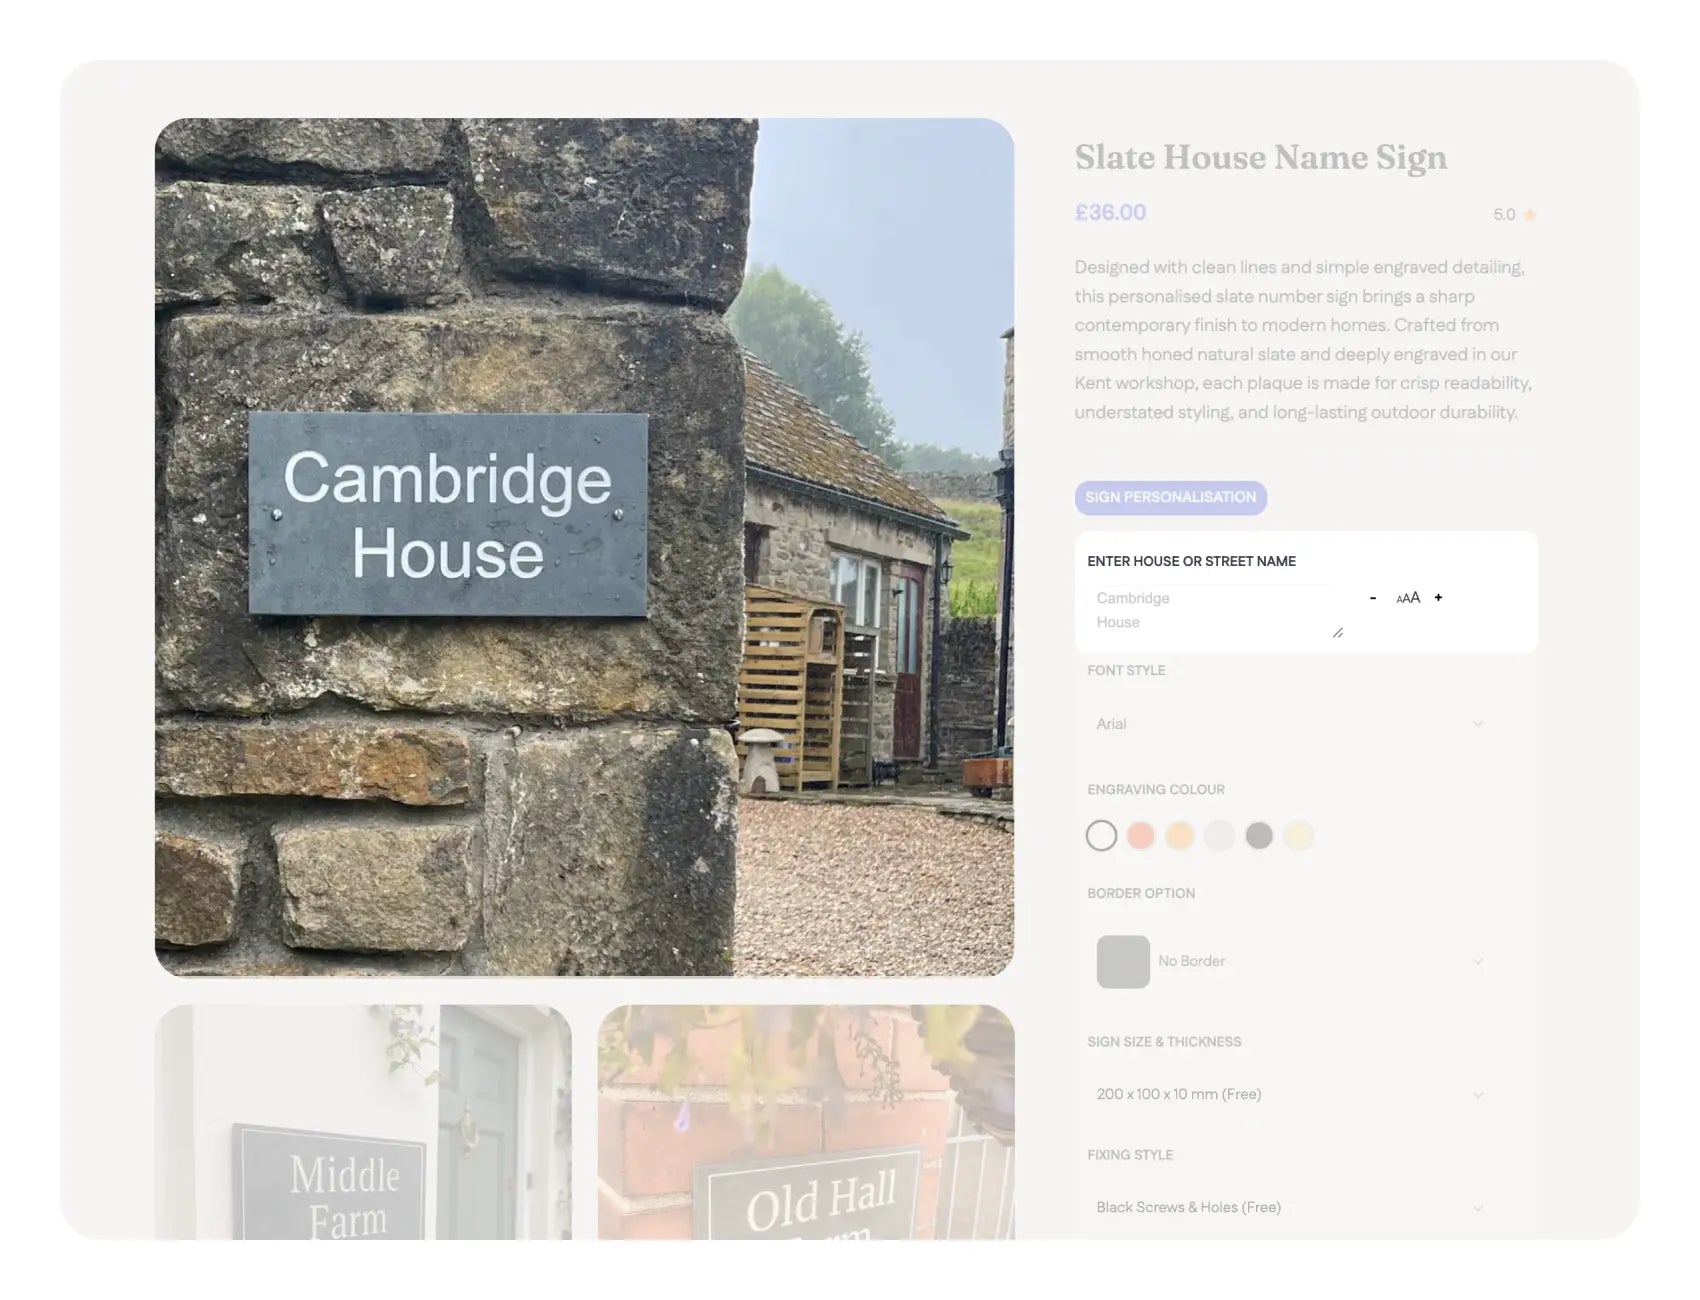
Enter Your Personalisation
Our sign designers support most languages and letters, as well as numbers and symbols. You cannot use emojis.
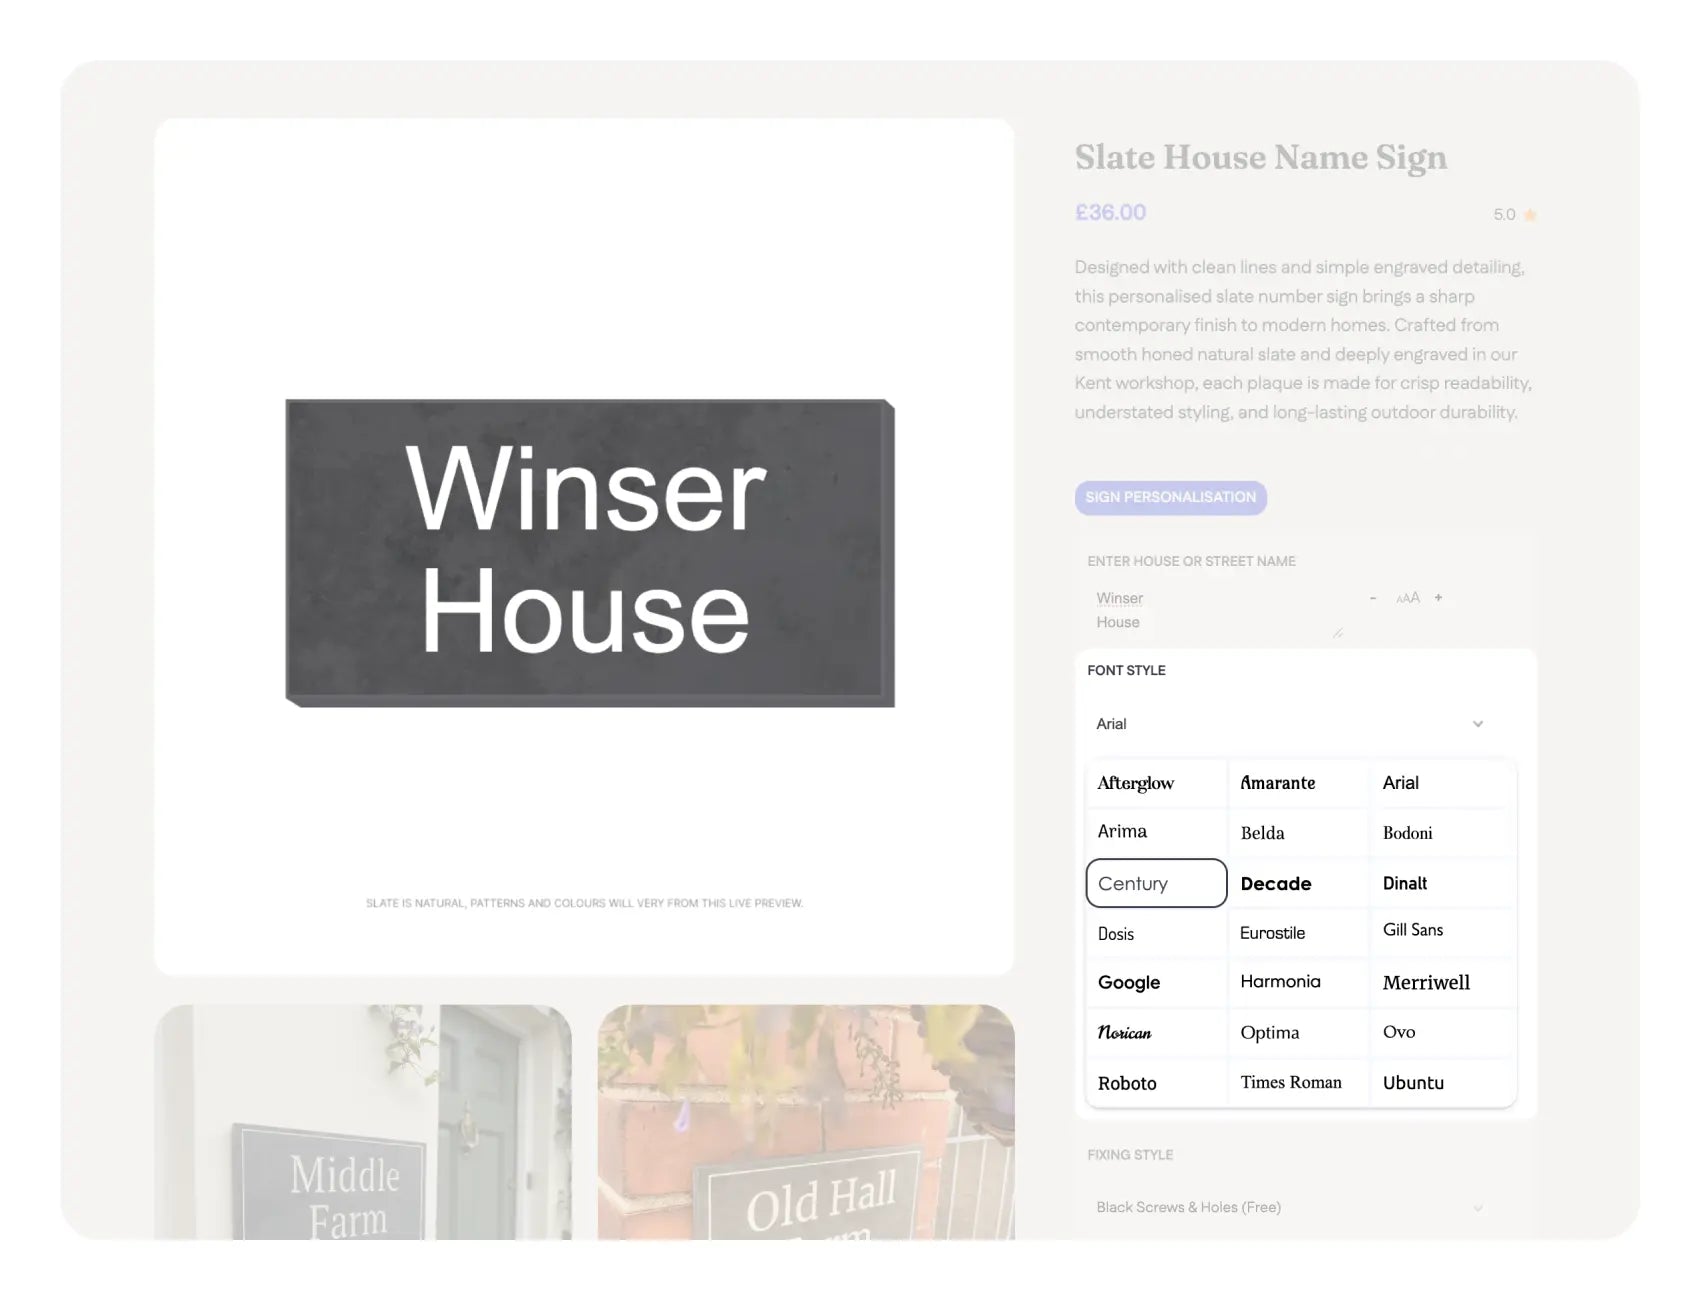
Step three
Pick a Font Style
There are 21 fonts available to choose, simply click the name of one you like to preview how it looks with your personalisation.
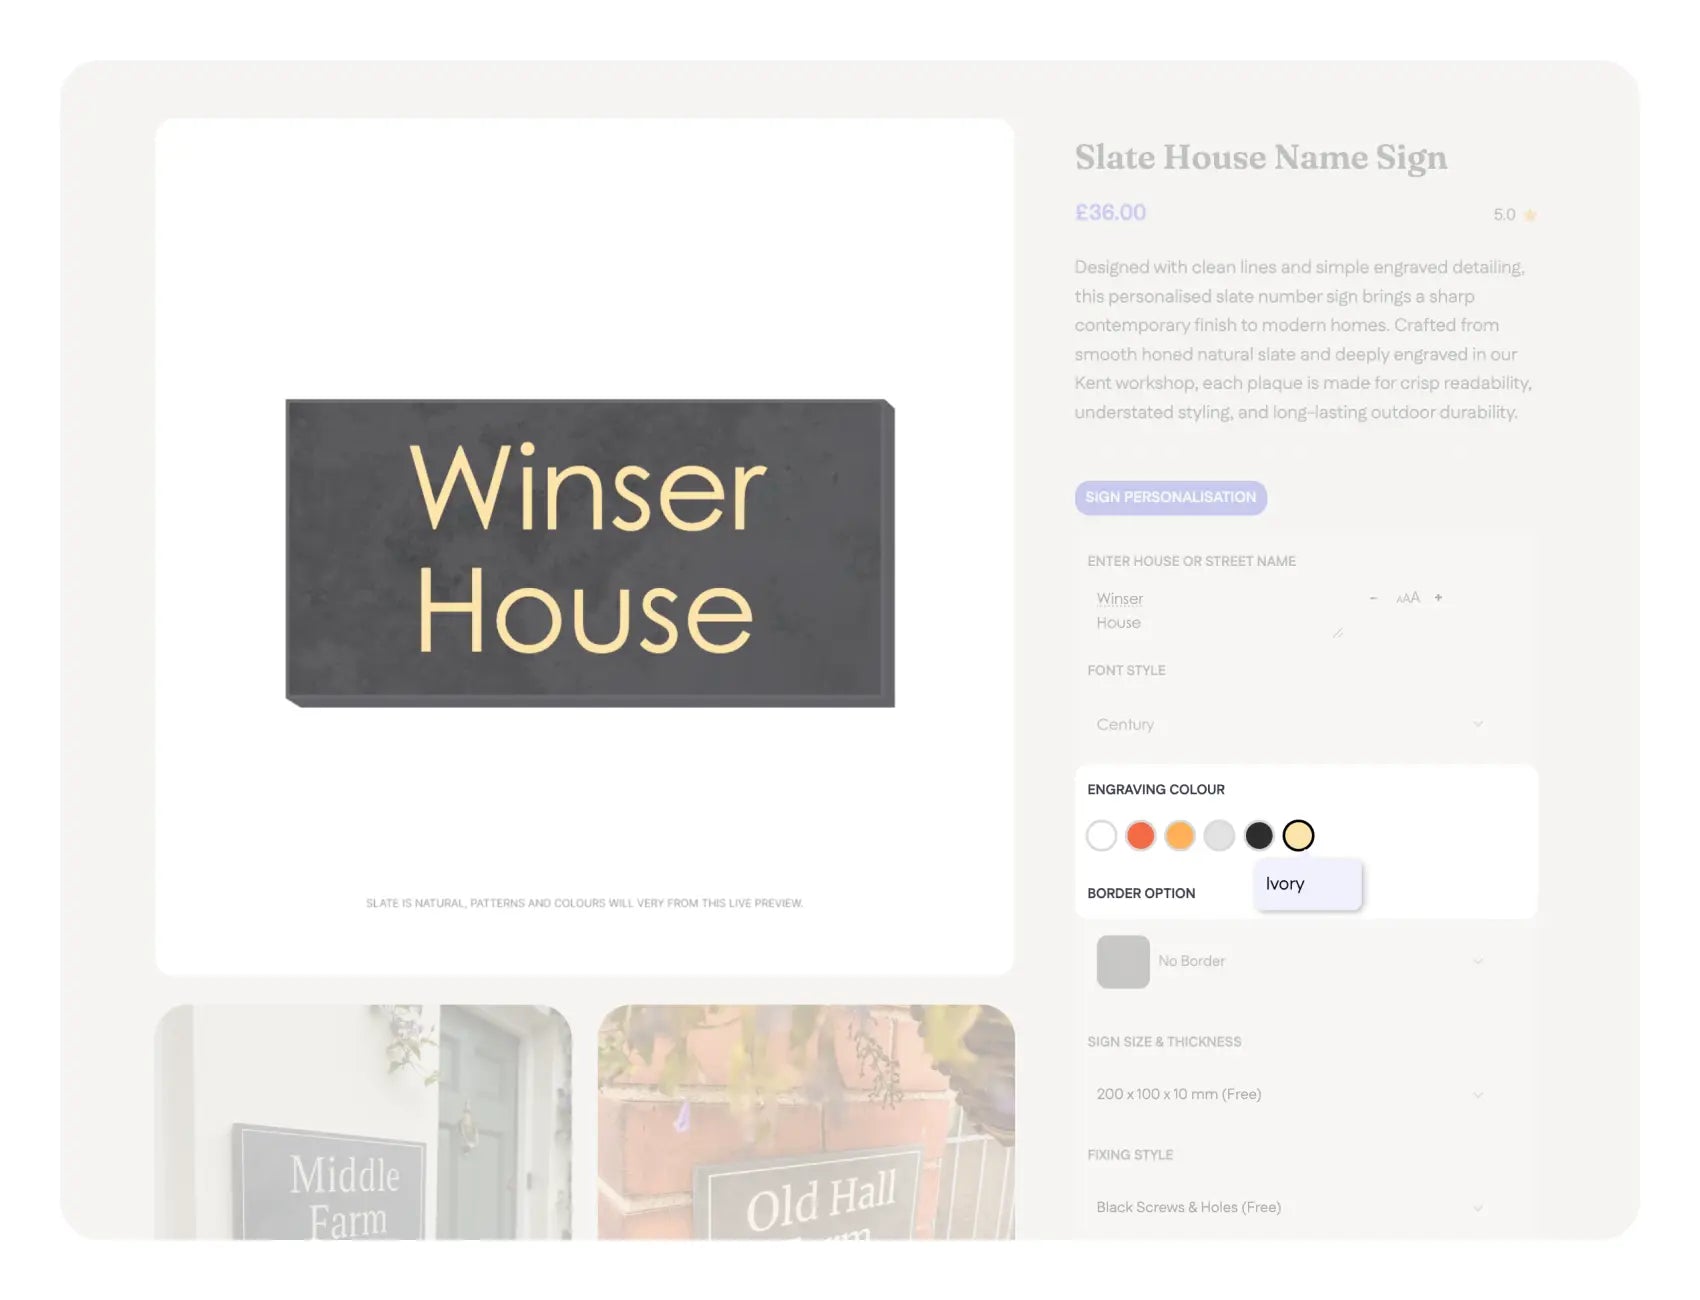
Step four
Choose the Engraving Colour
In this step, you can select the paint color for your lettering's engraved infill. All choices are painted and completely weatherproof.
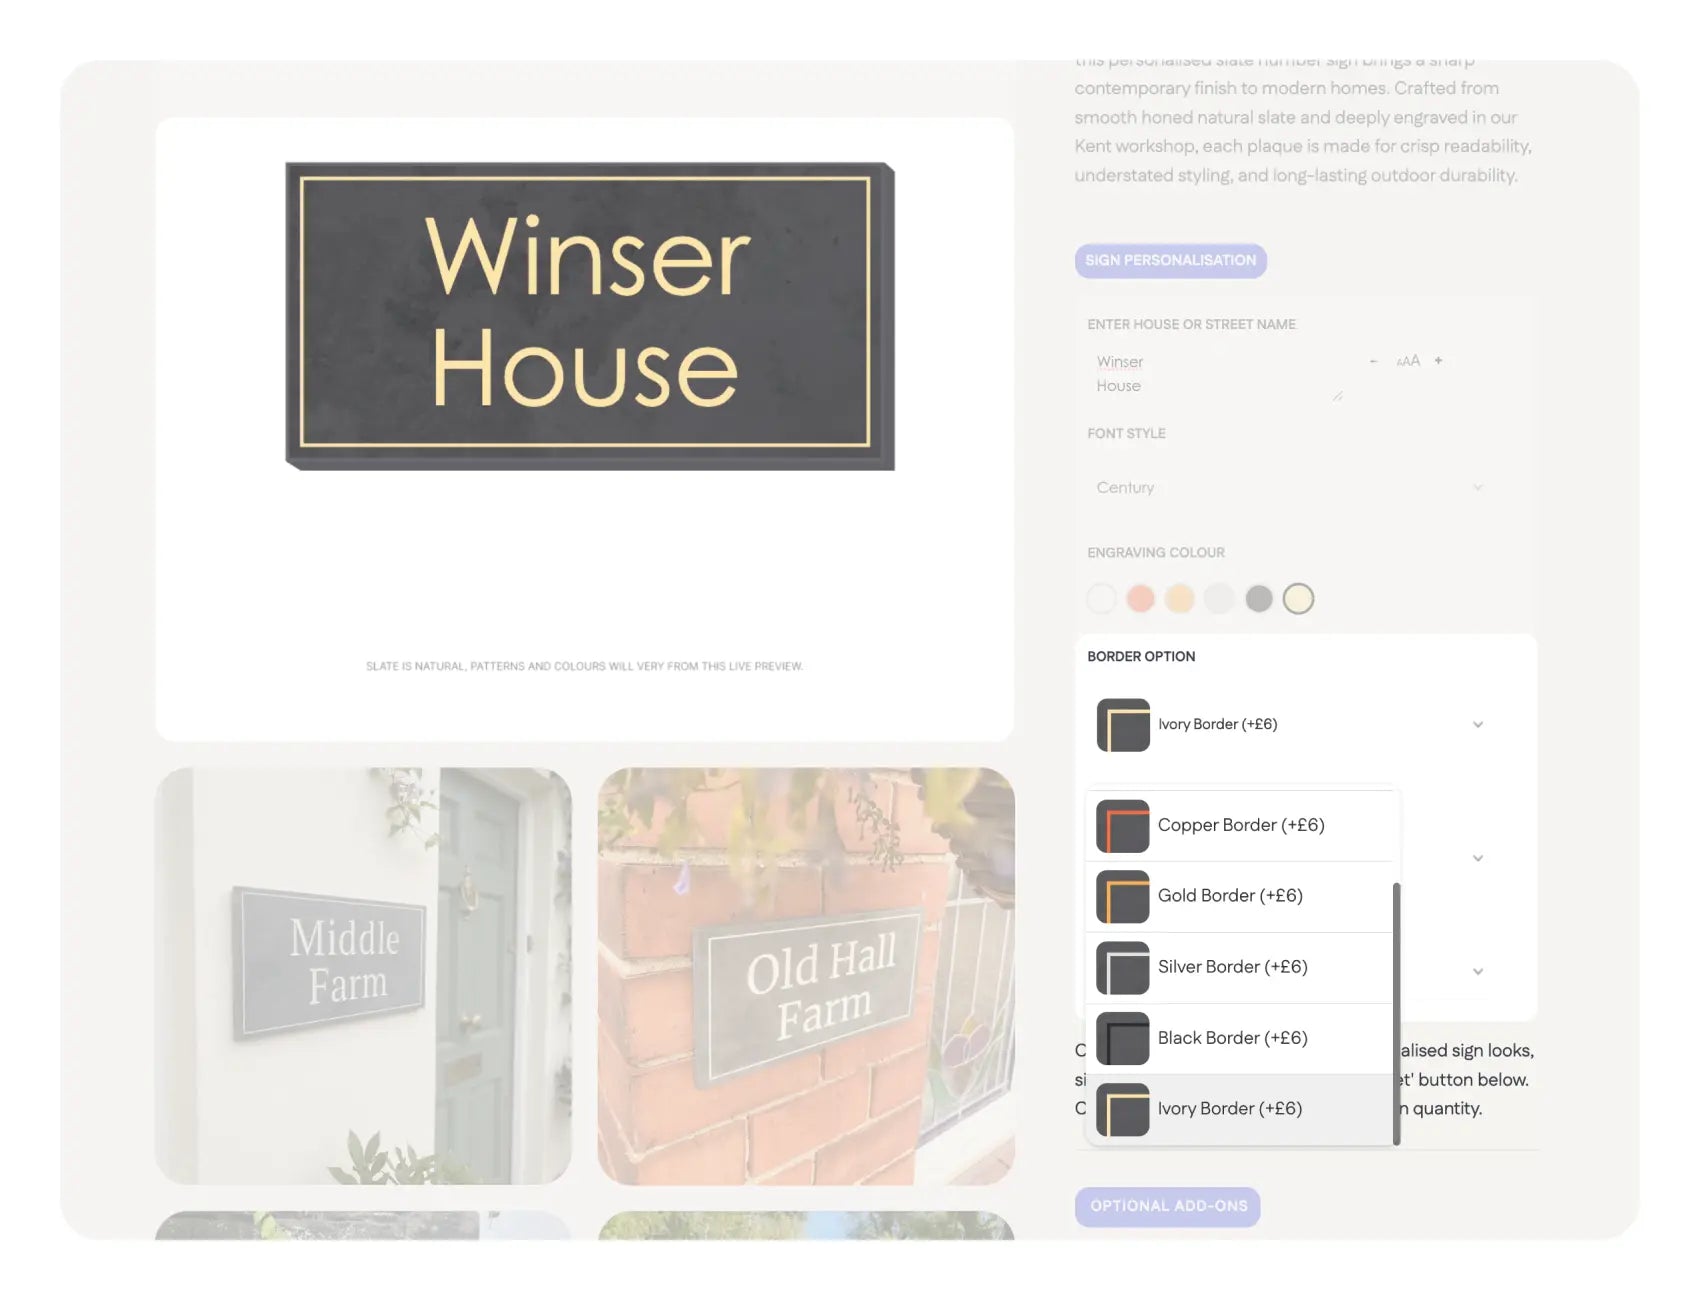
Step five
Add an Optional Border
Borders are simple thin lines that run along the edge of your sign, these can be painted in any colour you like.

Step six
Choose Your Signs Size and Thickness
All size options are listed in millimetres. If you need a custom size, please contact us with your desired dimensions.
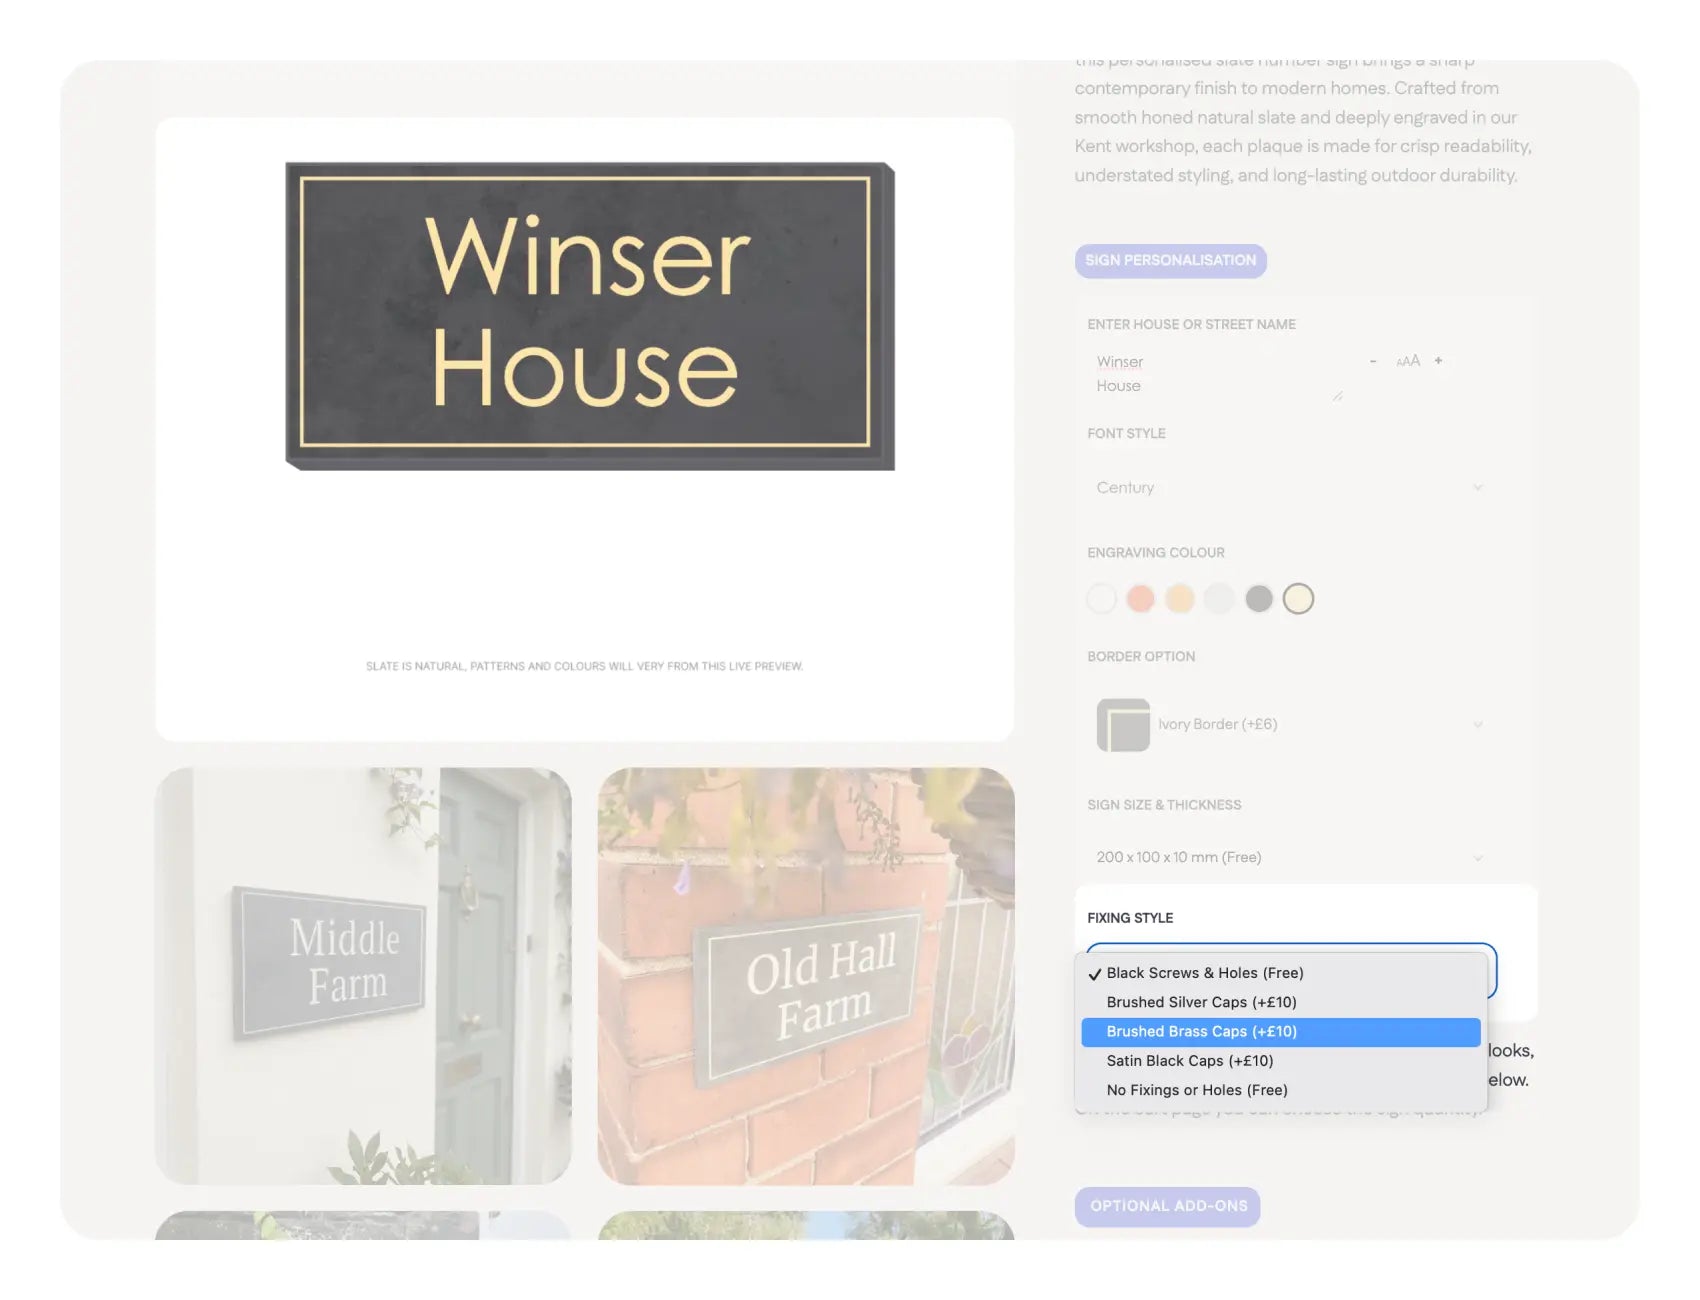
Step seven
Pick a Fixing Style
Typically the final step in our sign design process is to choose your fixing option, essentially how you wish to fix your sign to its intended position. Below are appearance previews of each available fixing option.
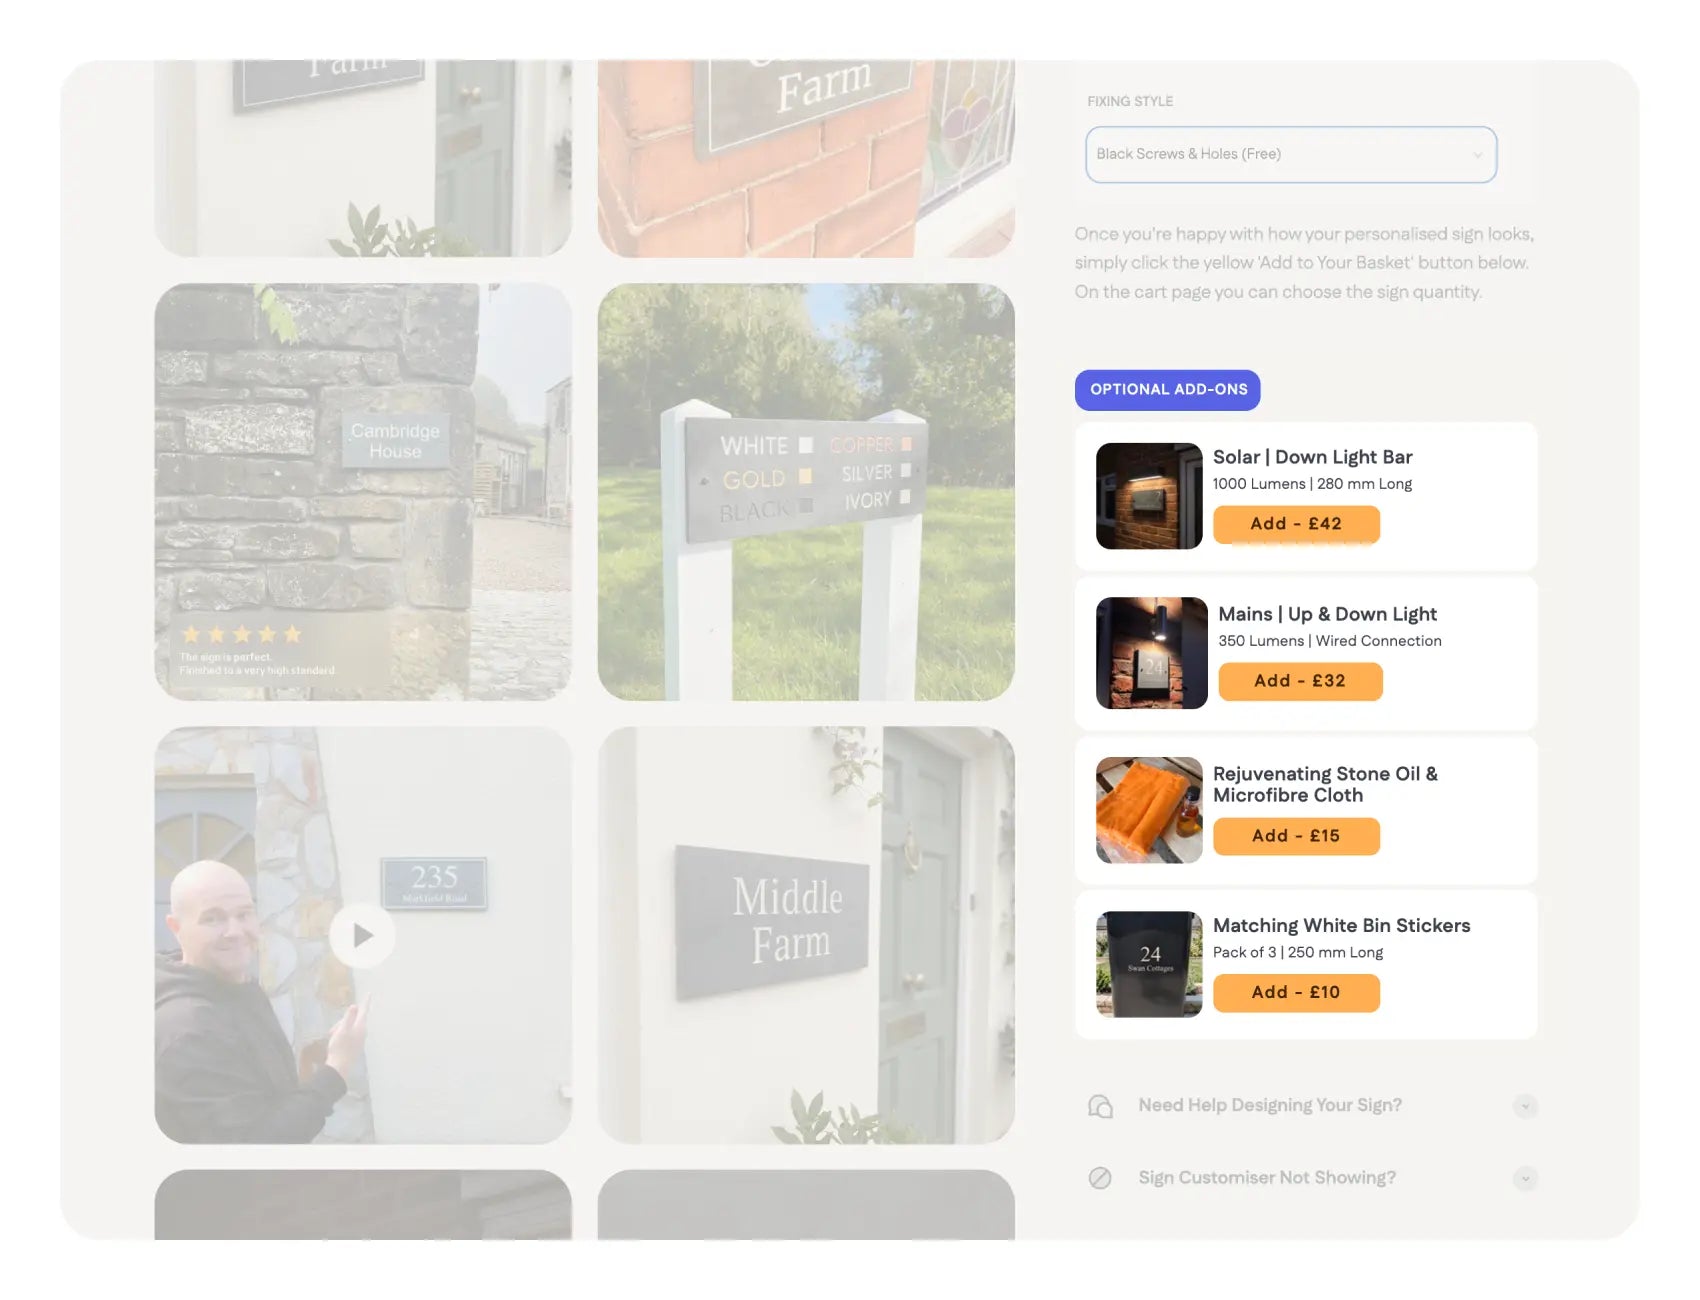
Step eight
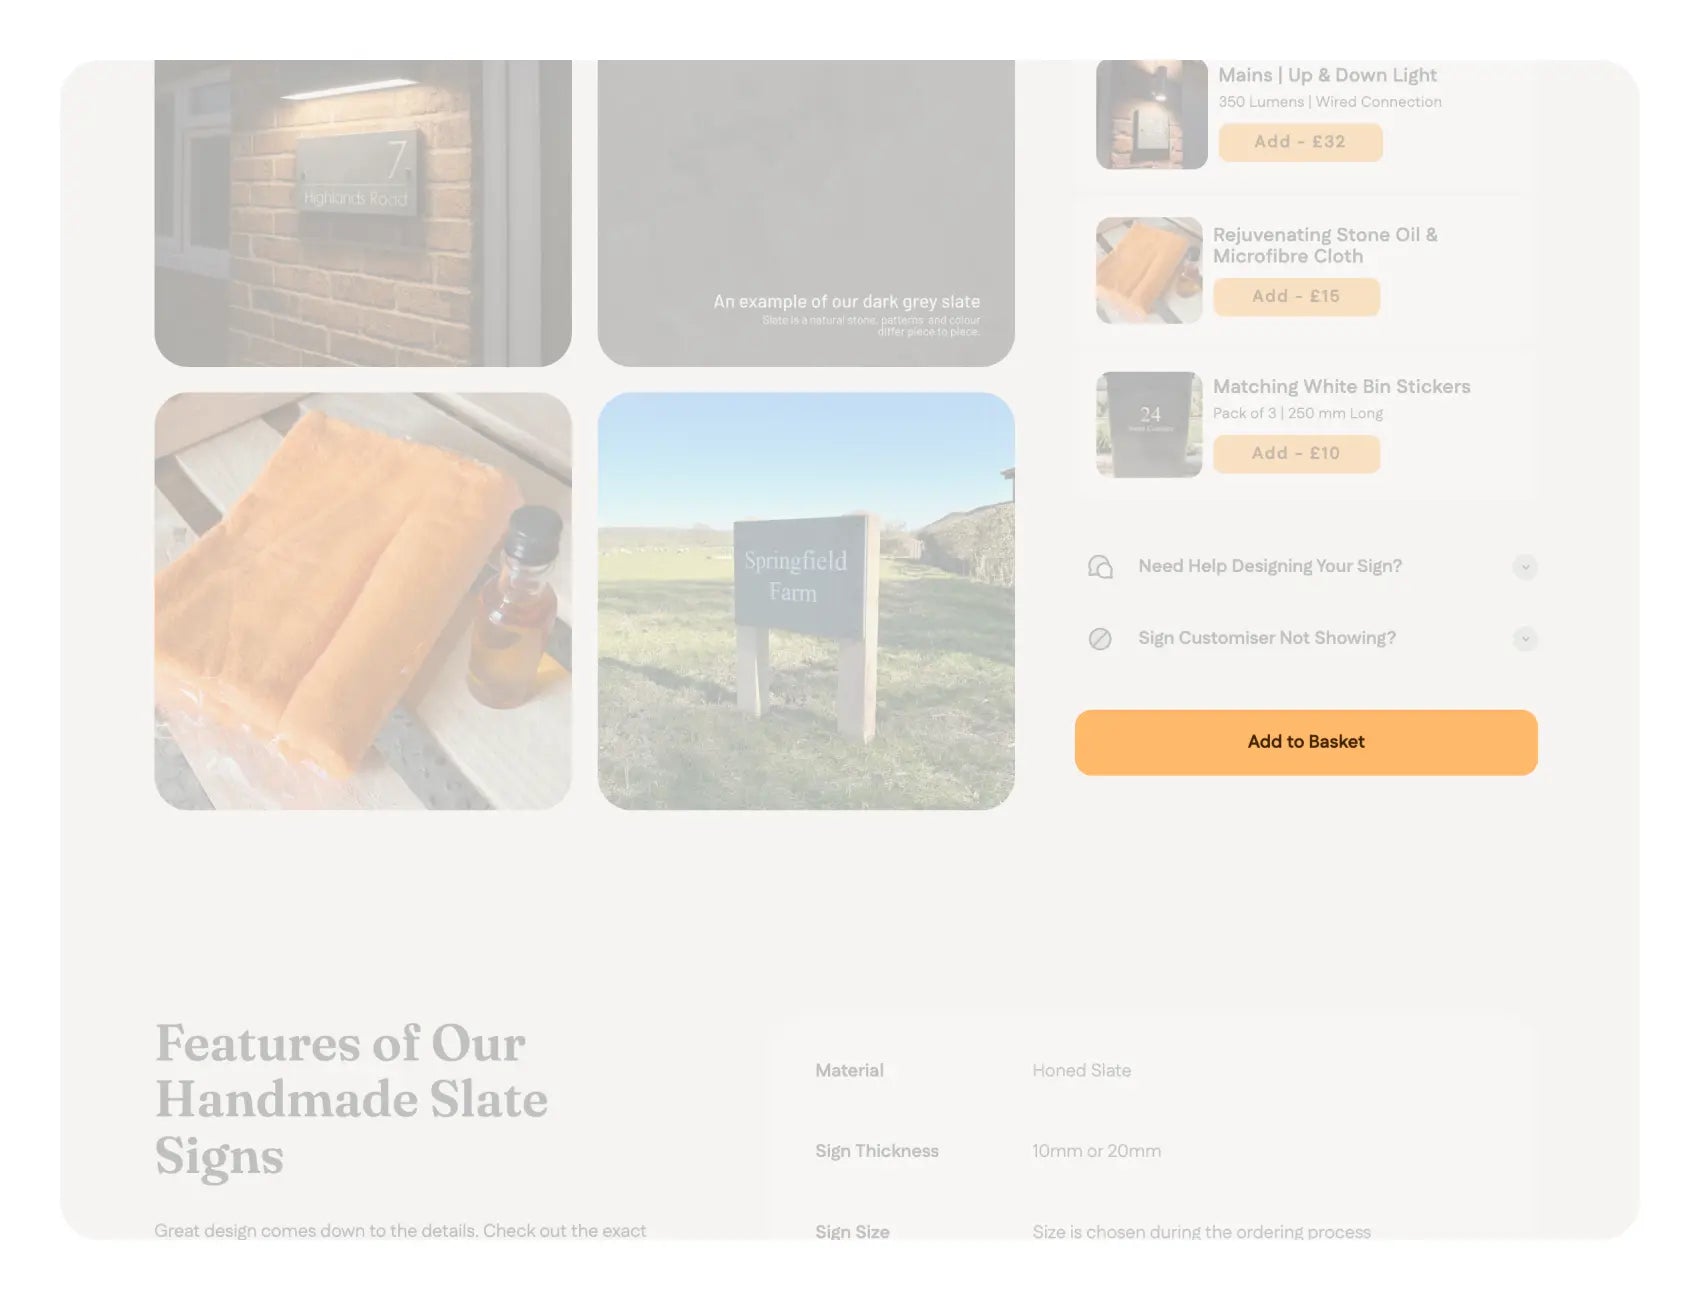
Browse Optional Extras
Our extras include: solar down light for house signs, cleaning/protecting stone oil and cloth kit and matching white bin stickers. These are all optional add-ons.
Step nine
Click 'Add to Basket'
Once you're happy with how your signs looks and with all the personalisation details, click the yellow 'Add to Basket' button. Please wait approx. 5 seconds for the sign to save. A pop up will appear on your screen, you can either proceed to checkout to pay or continue viewing our website.
Seen in:

Find Your Perfect Sign
Answer 3 simple questions and we'll recommend the best house sign for you.