
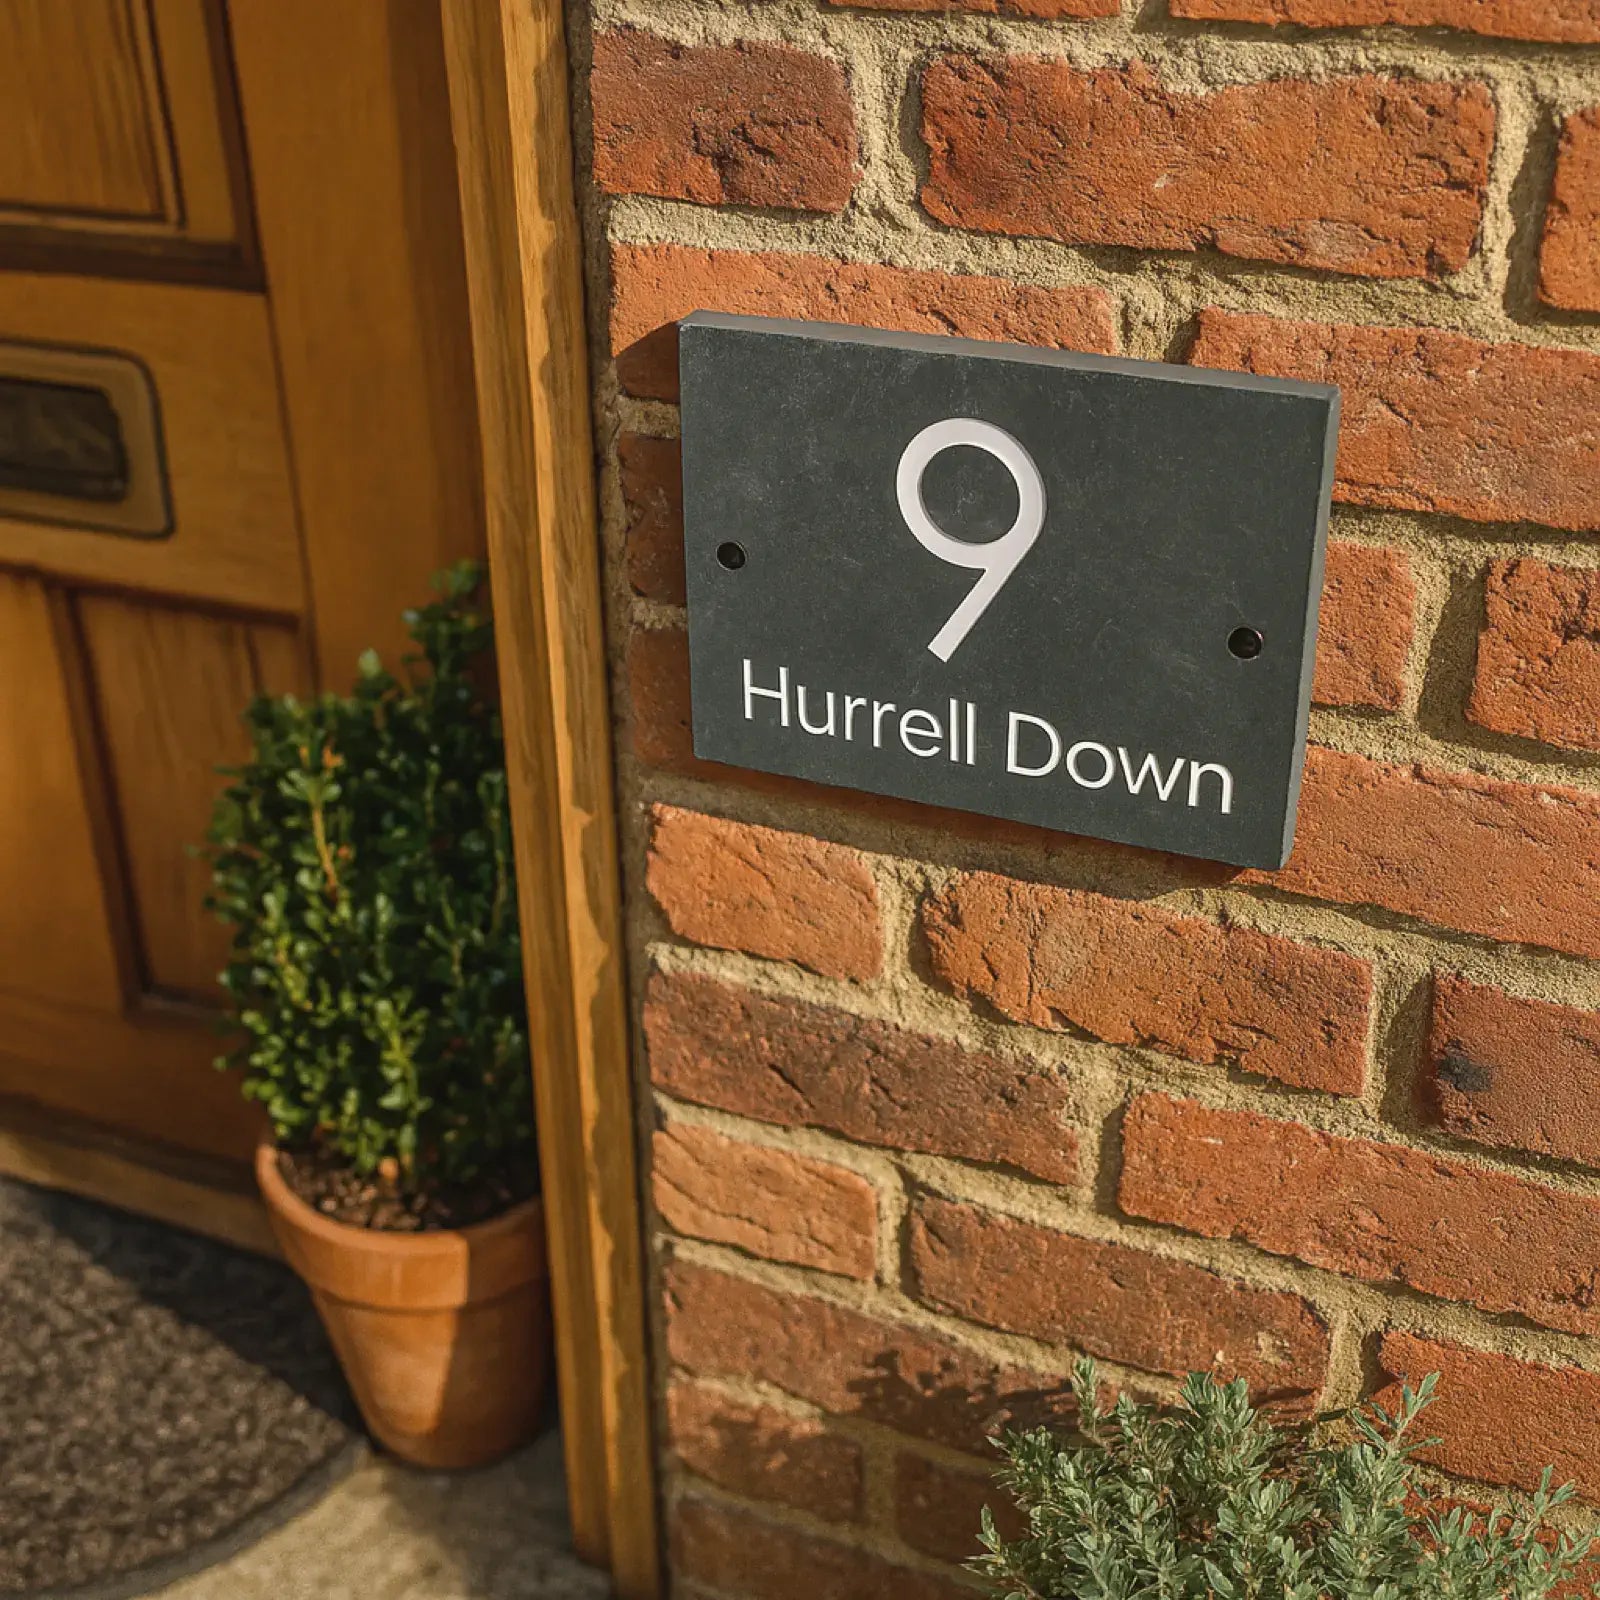
Our handy visual guide to help you install your new sign. This manual assumes you are installing your sign onto an exterior brick wall. Contact us if you need help installing elsewhere.
Before You Start
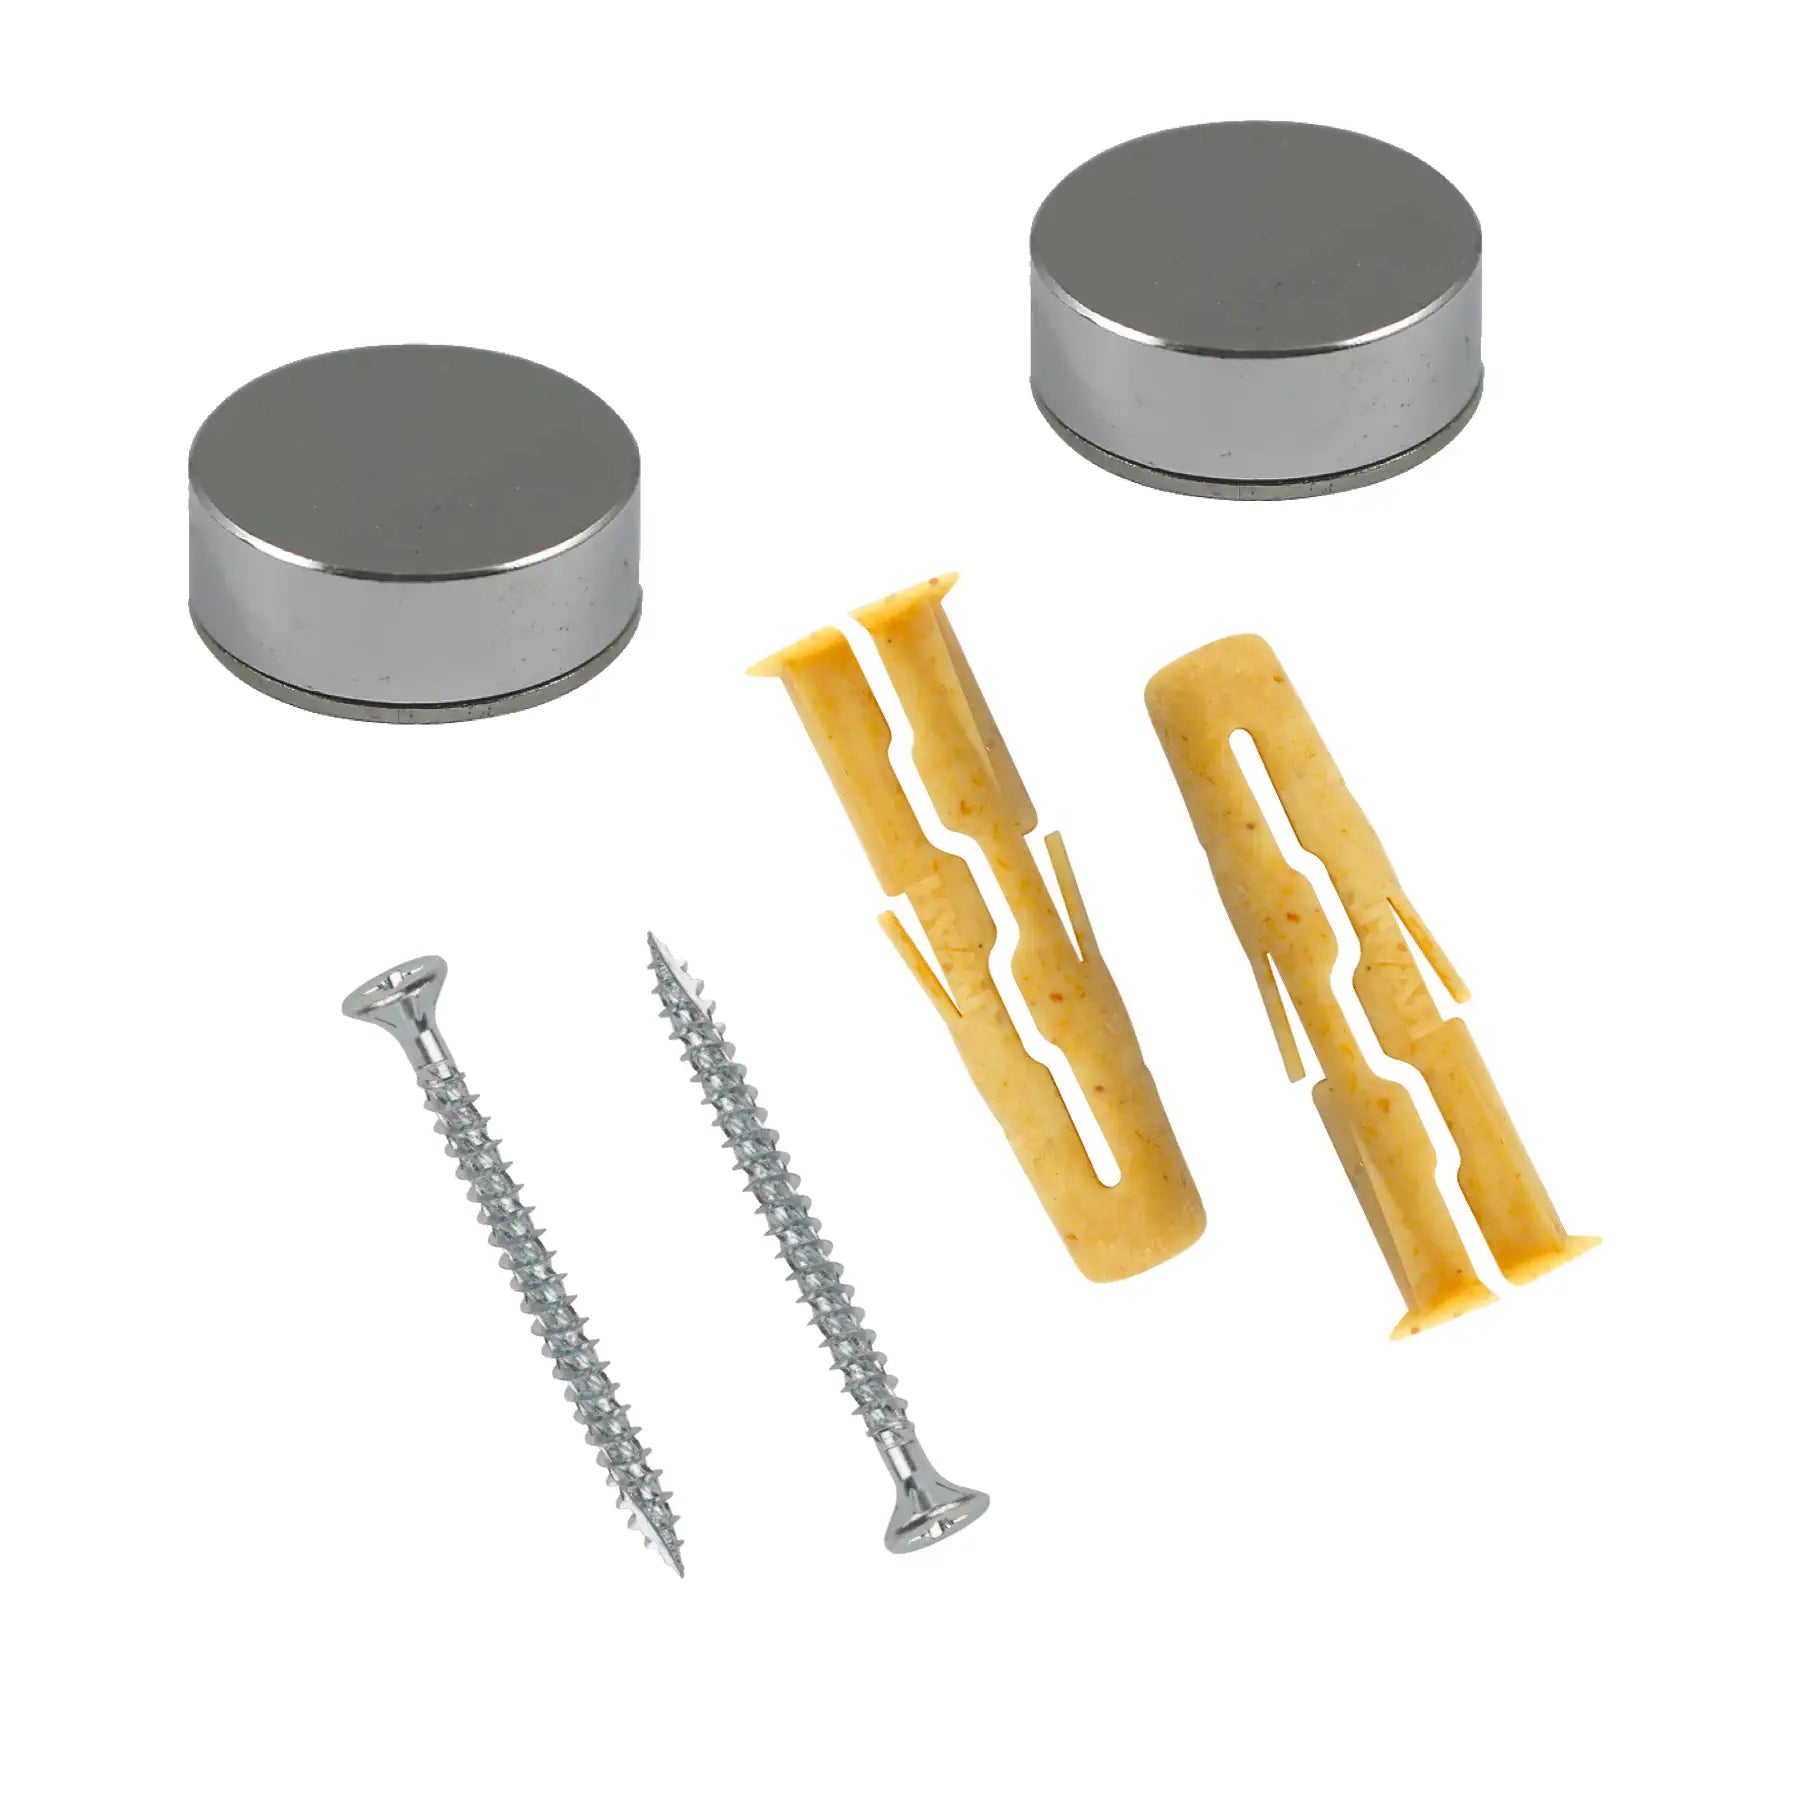
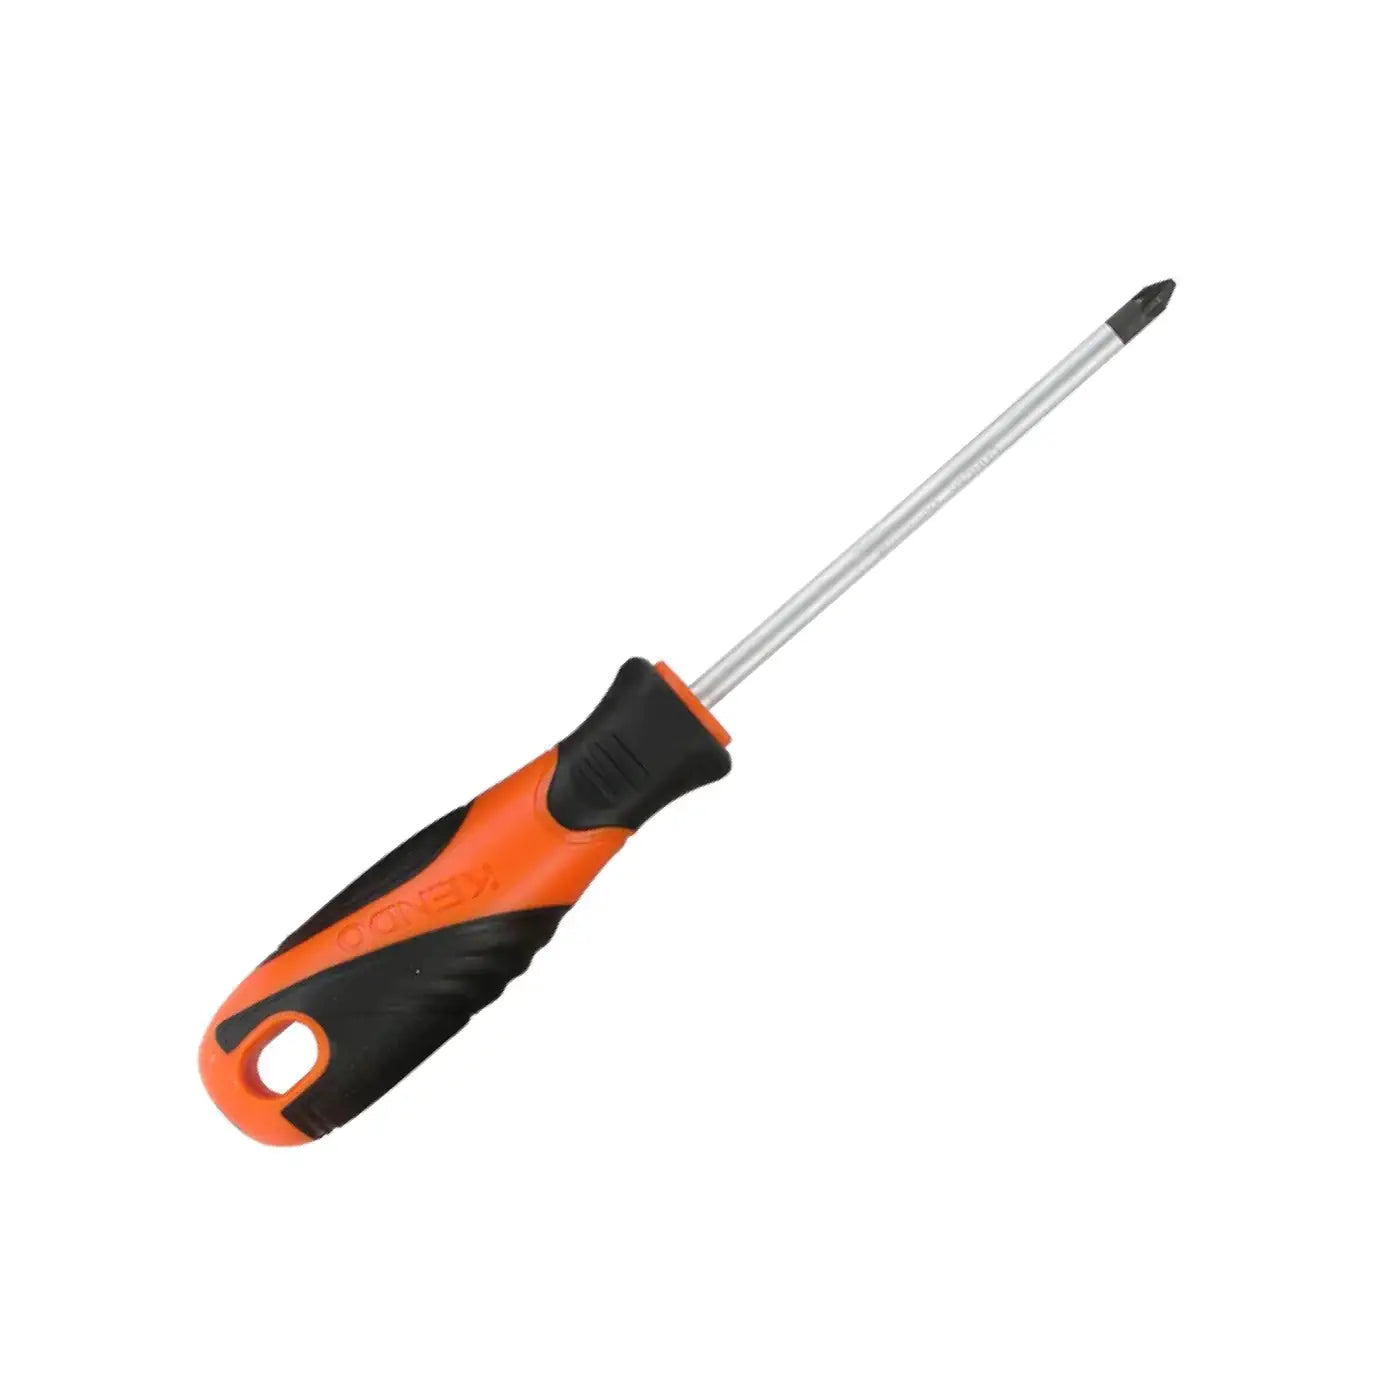
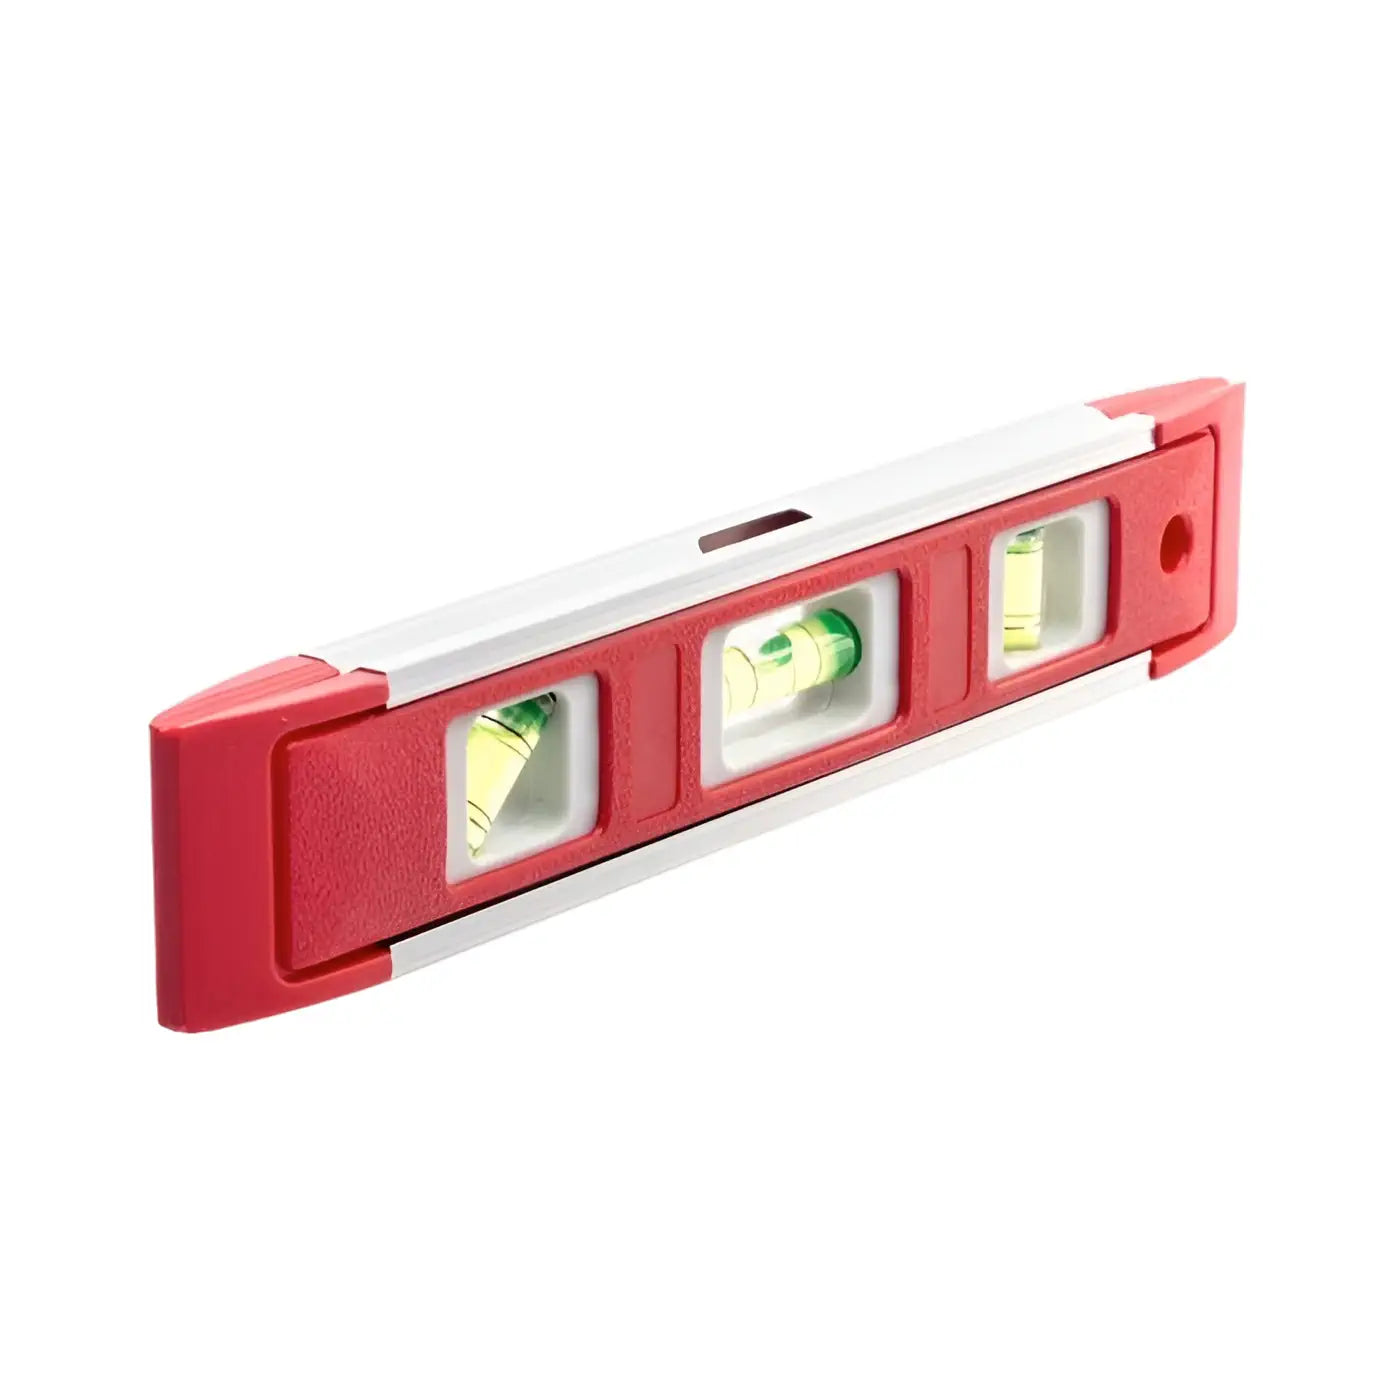
Ensure you have the necessary tools to properly install your sign with screw cap fixings. If you’re missing any, you can purchase them from us below (excluding the electric drill).


Ready to Begin?
Once you have all the required equipment, it's time to start. The average time to install a house sign with our screw cap fixings is approximately 10 minutes.
Step 1
Decide Where You Want the Sign to Go
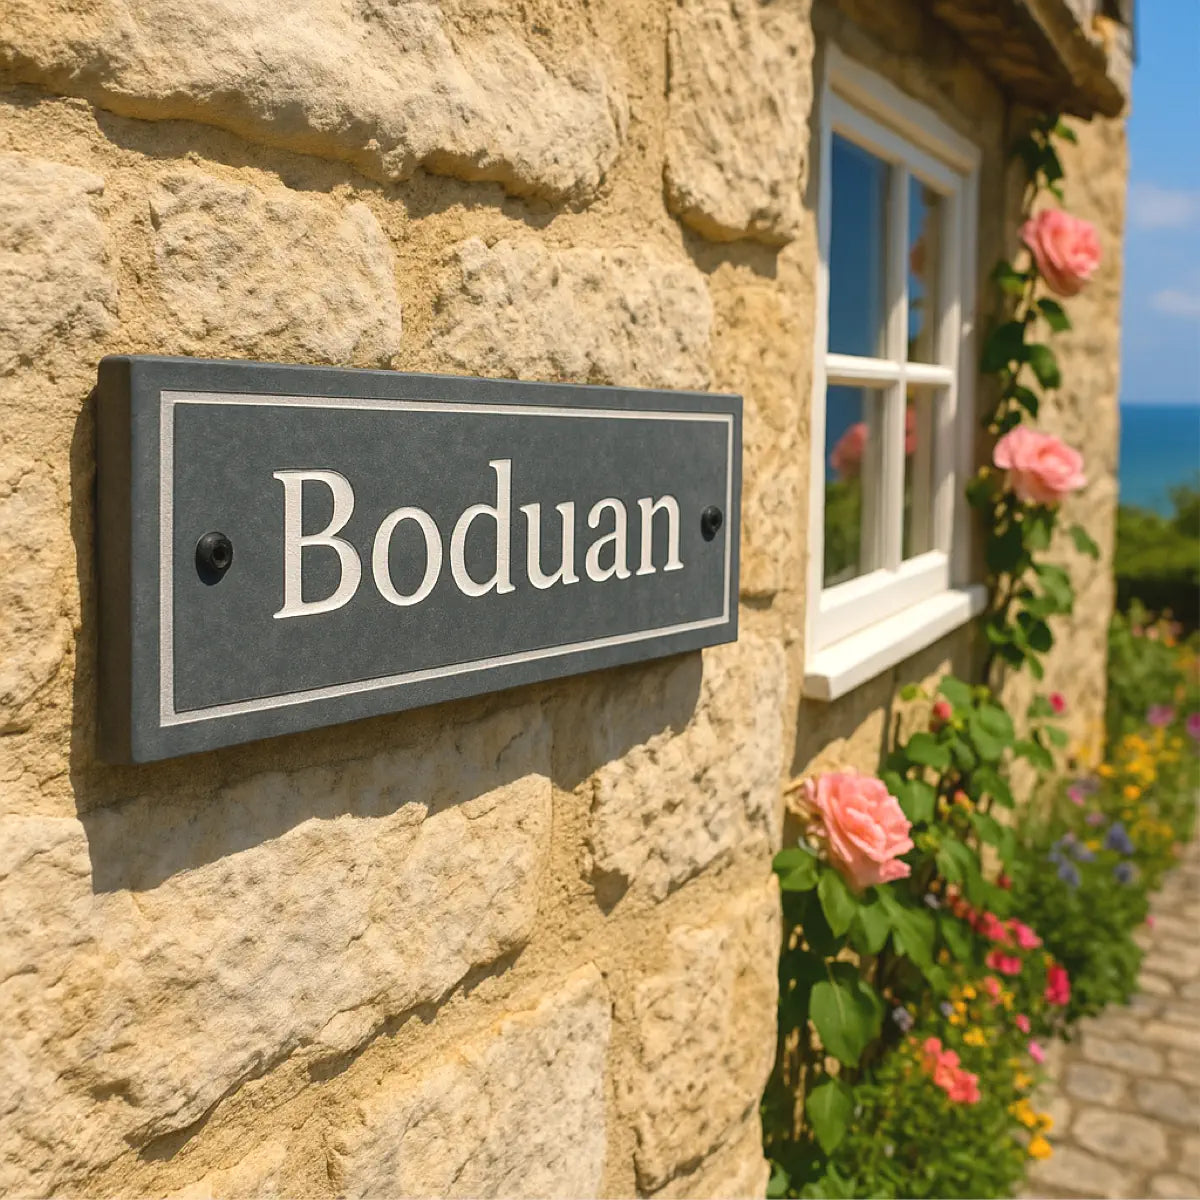
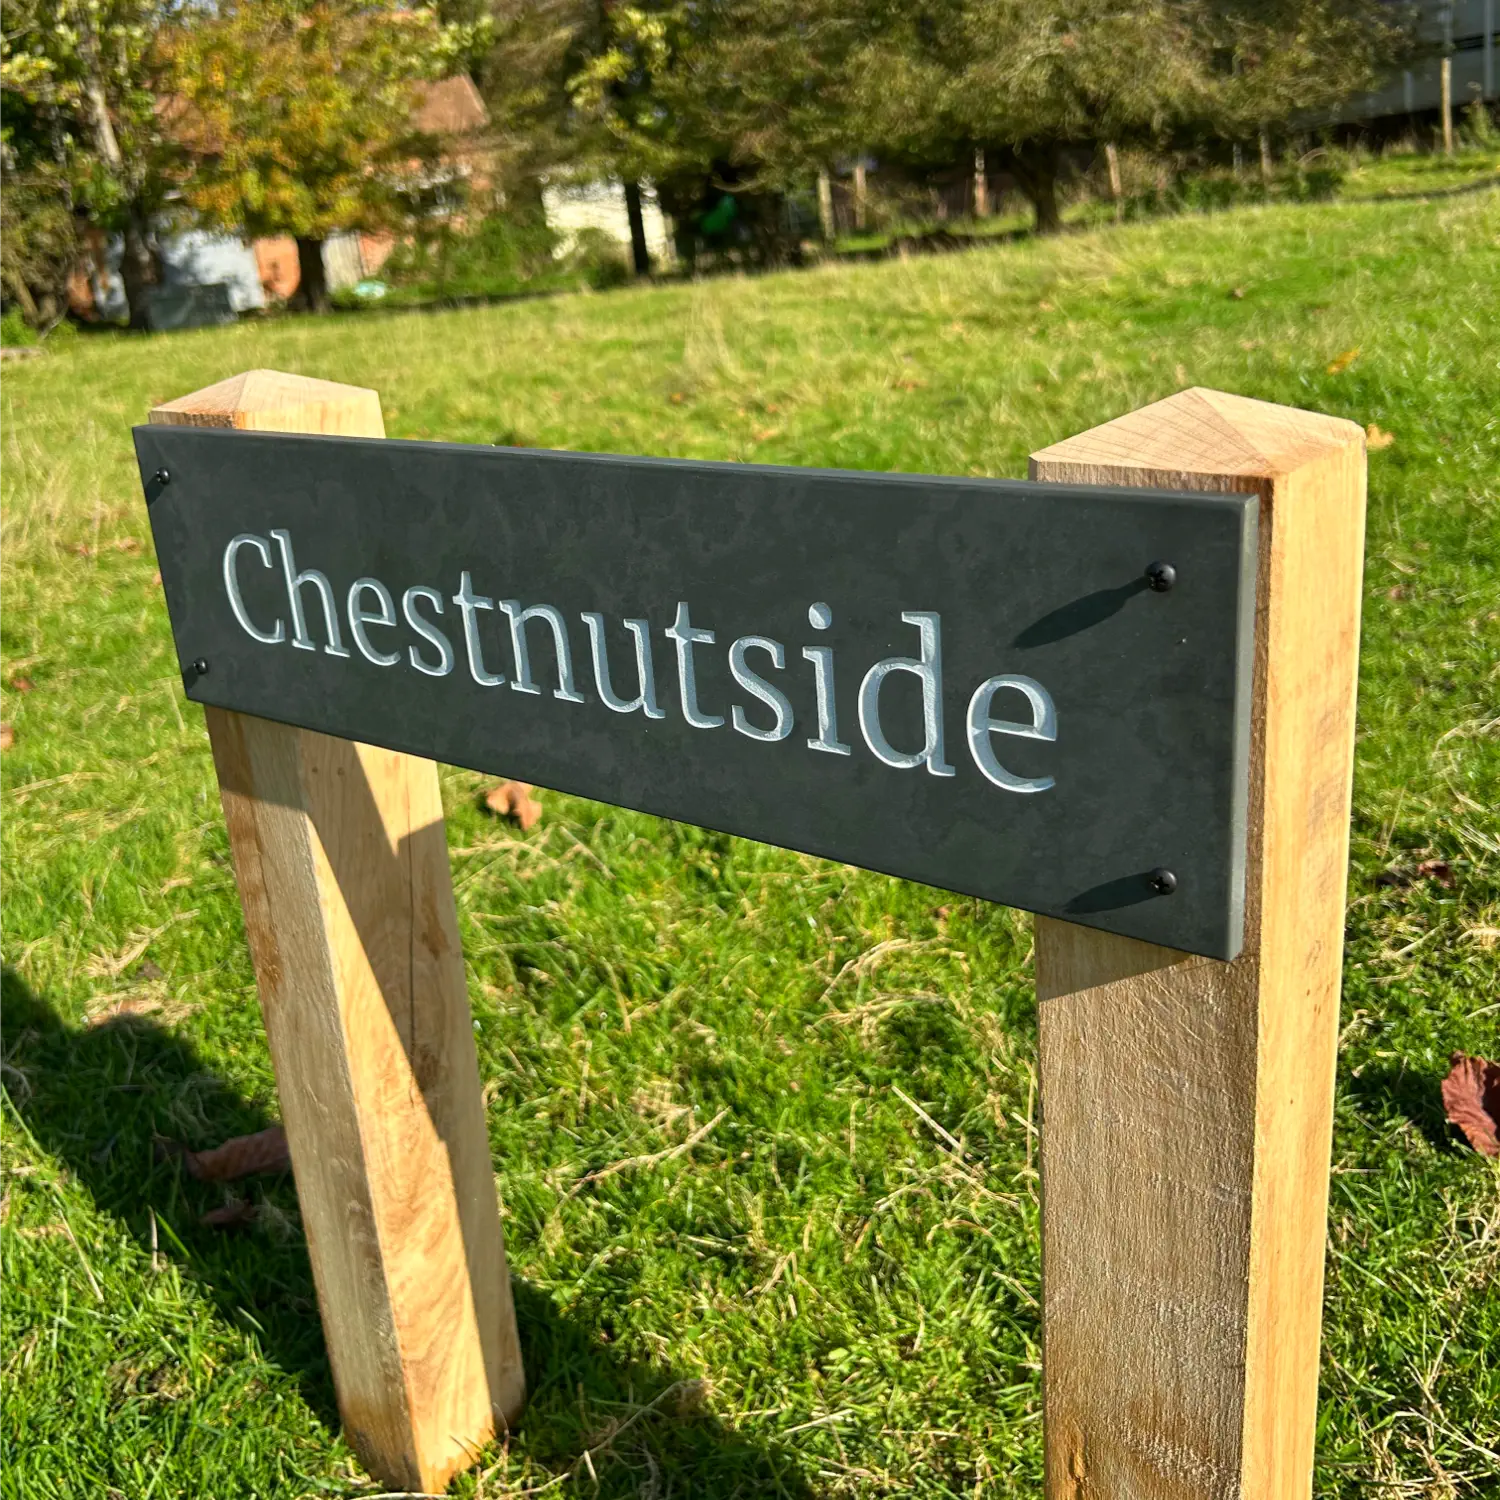
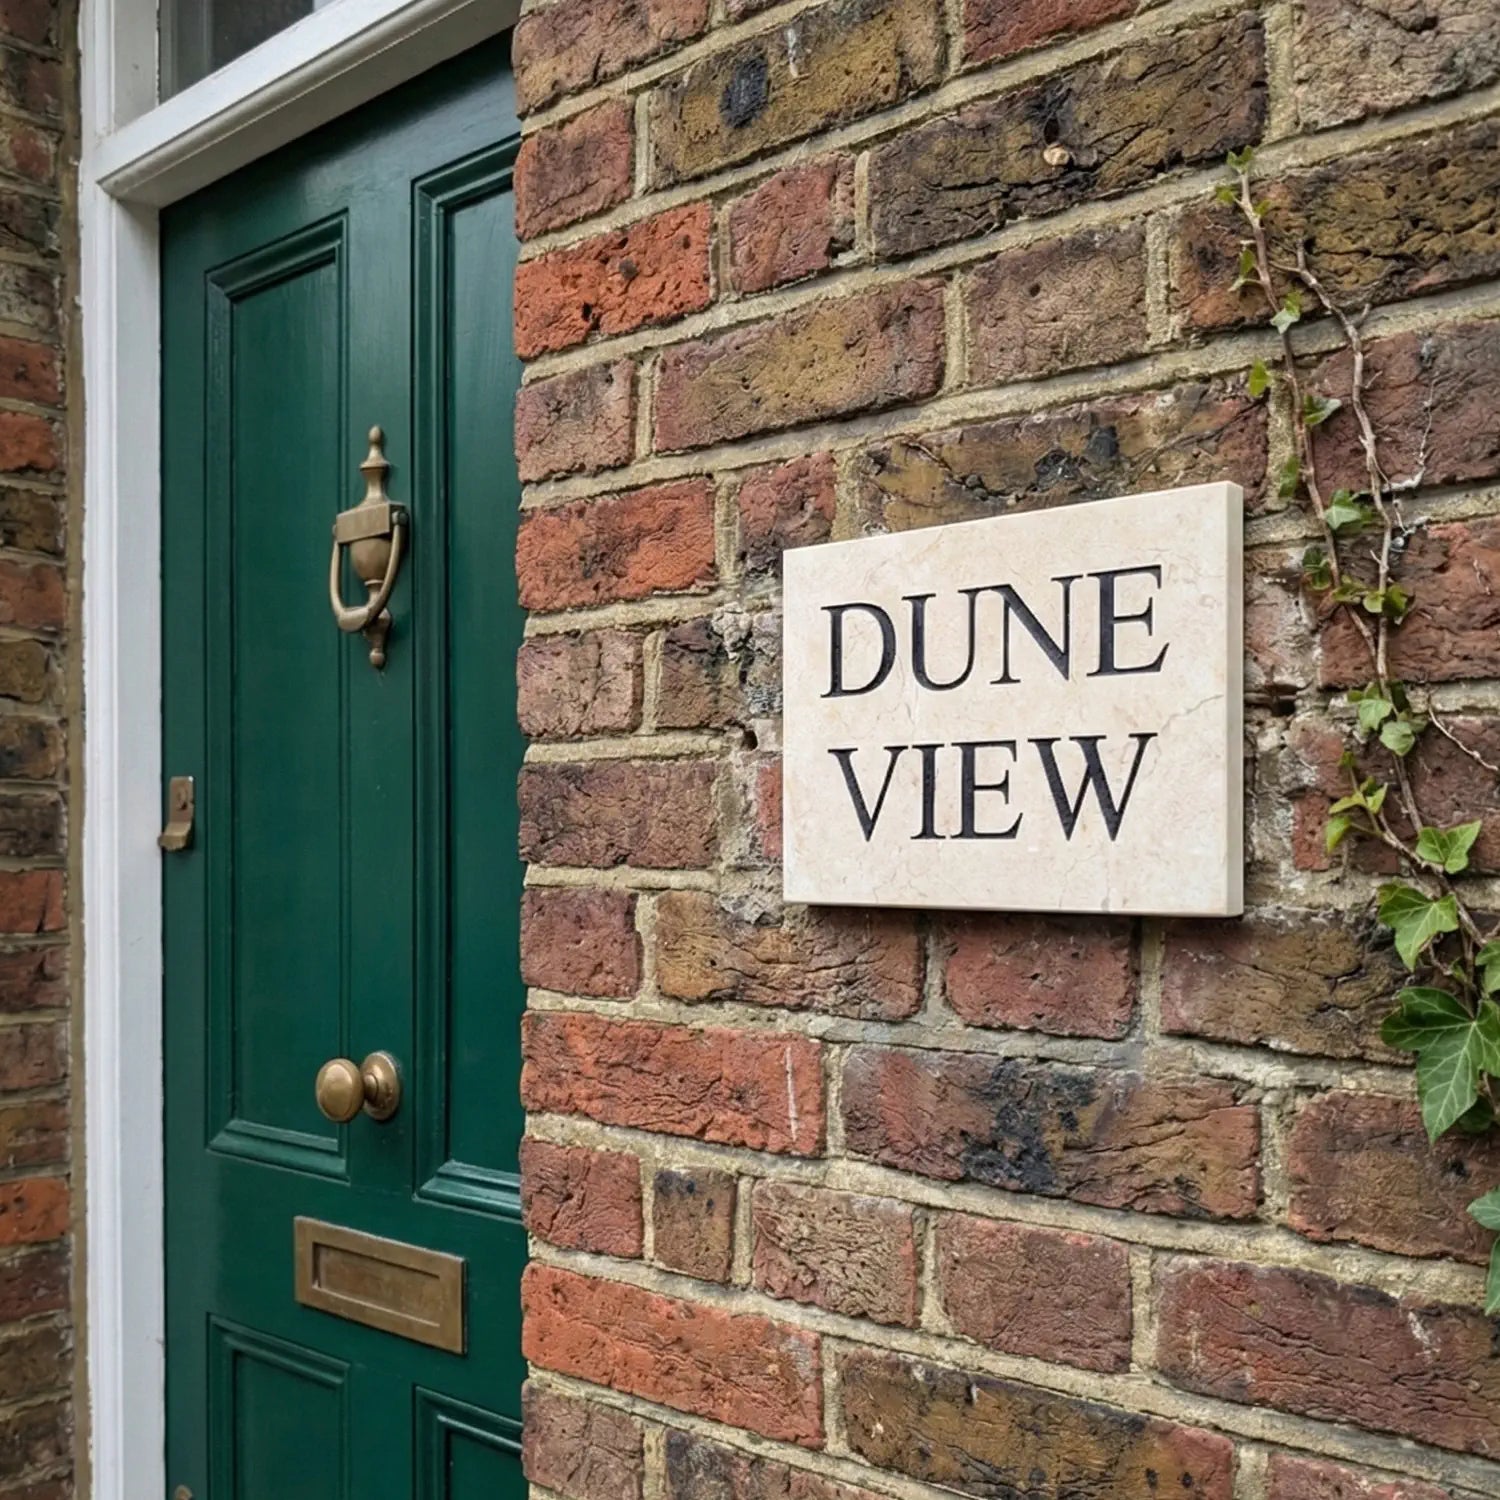
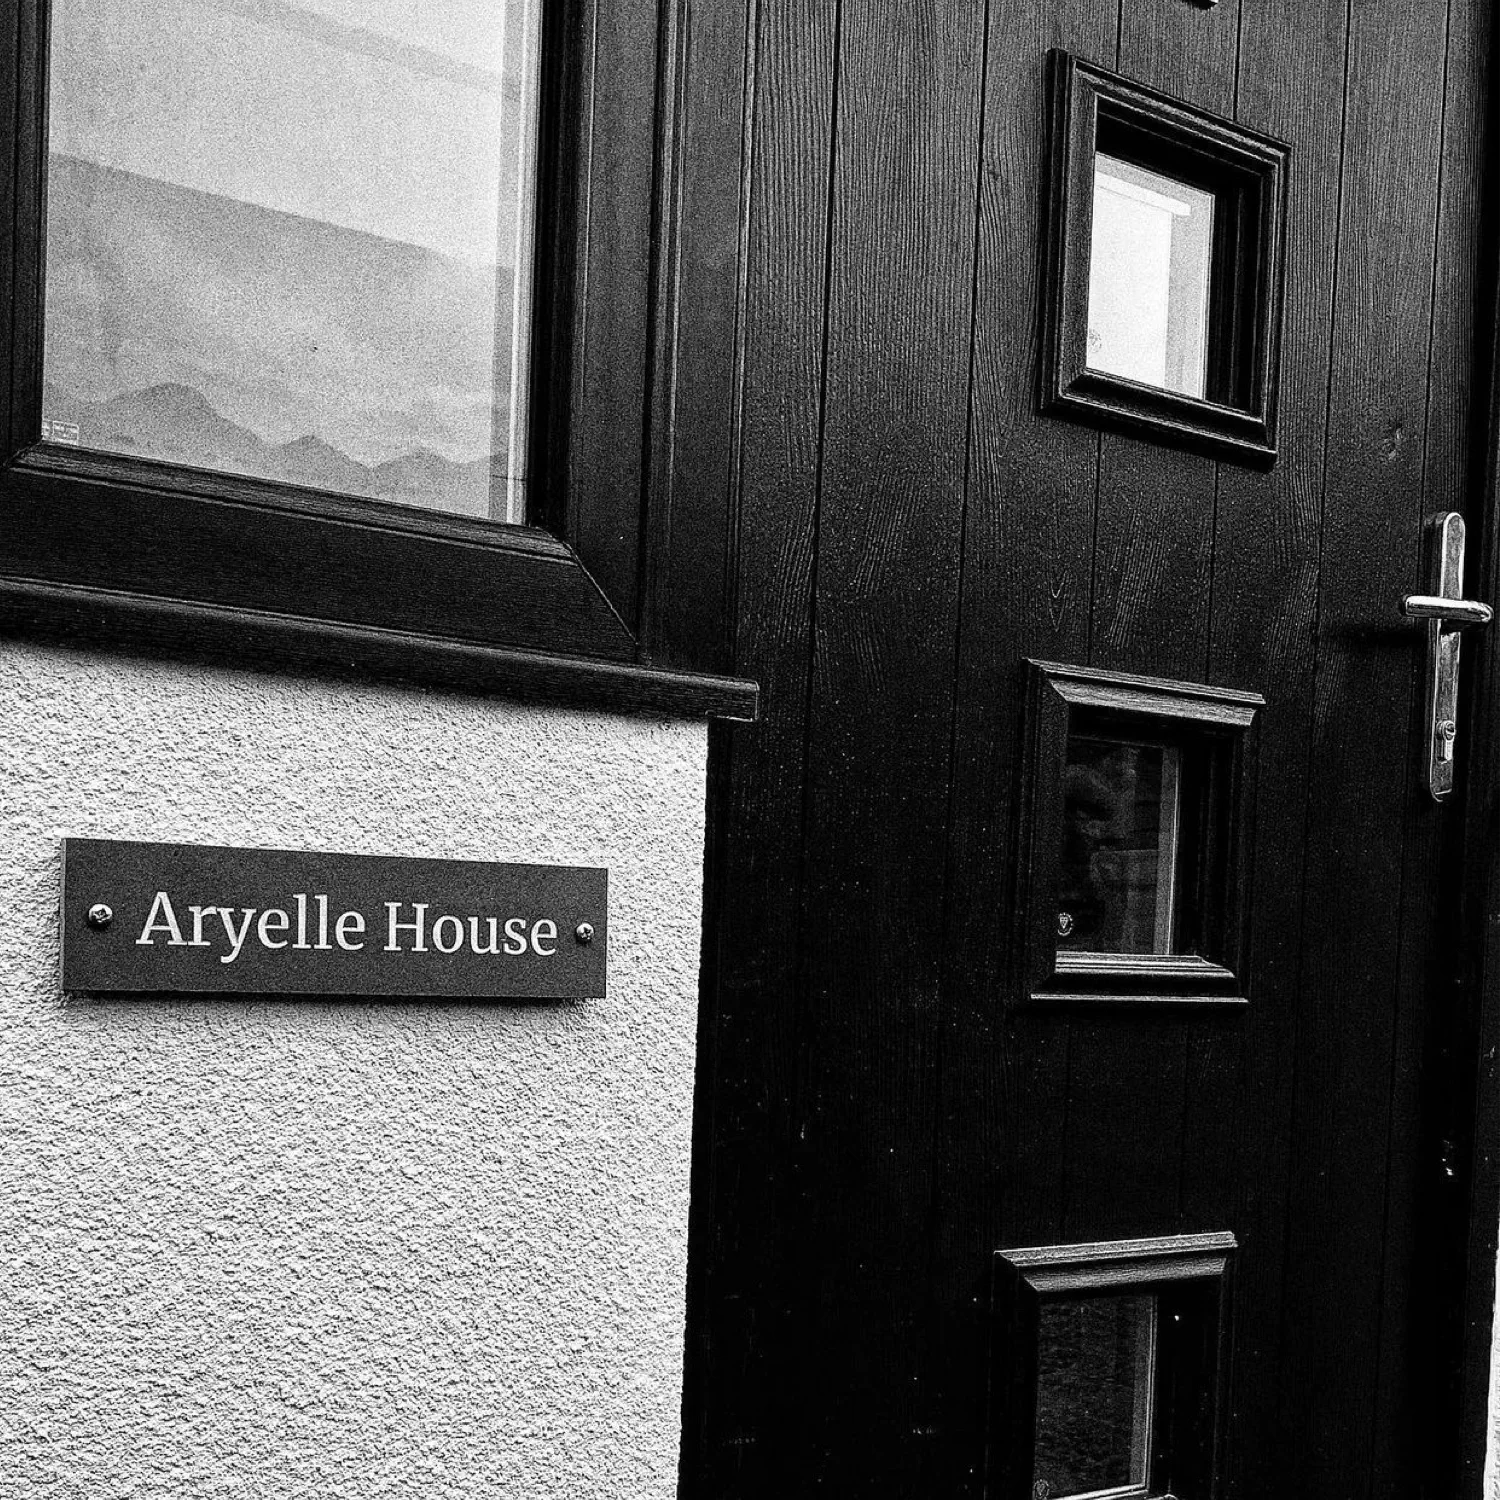
Your sign can go pretty much anywhere. You can install your sign into a brick/stone wall, a wooden gate or fence or even onto a door (we recommend not doing this unless your door is wooden).
Step 2
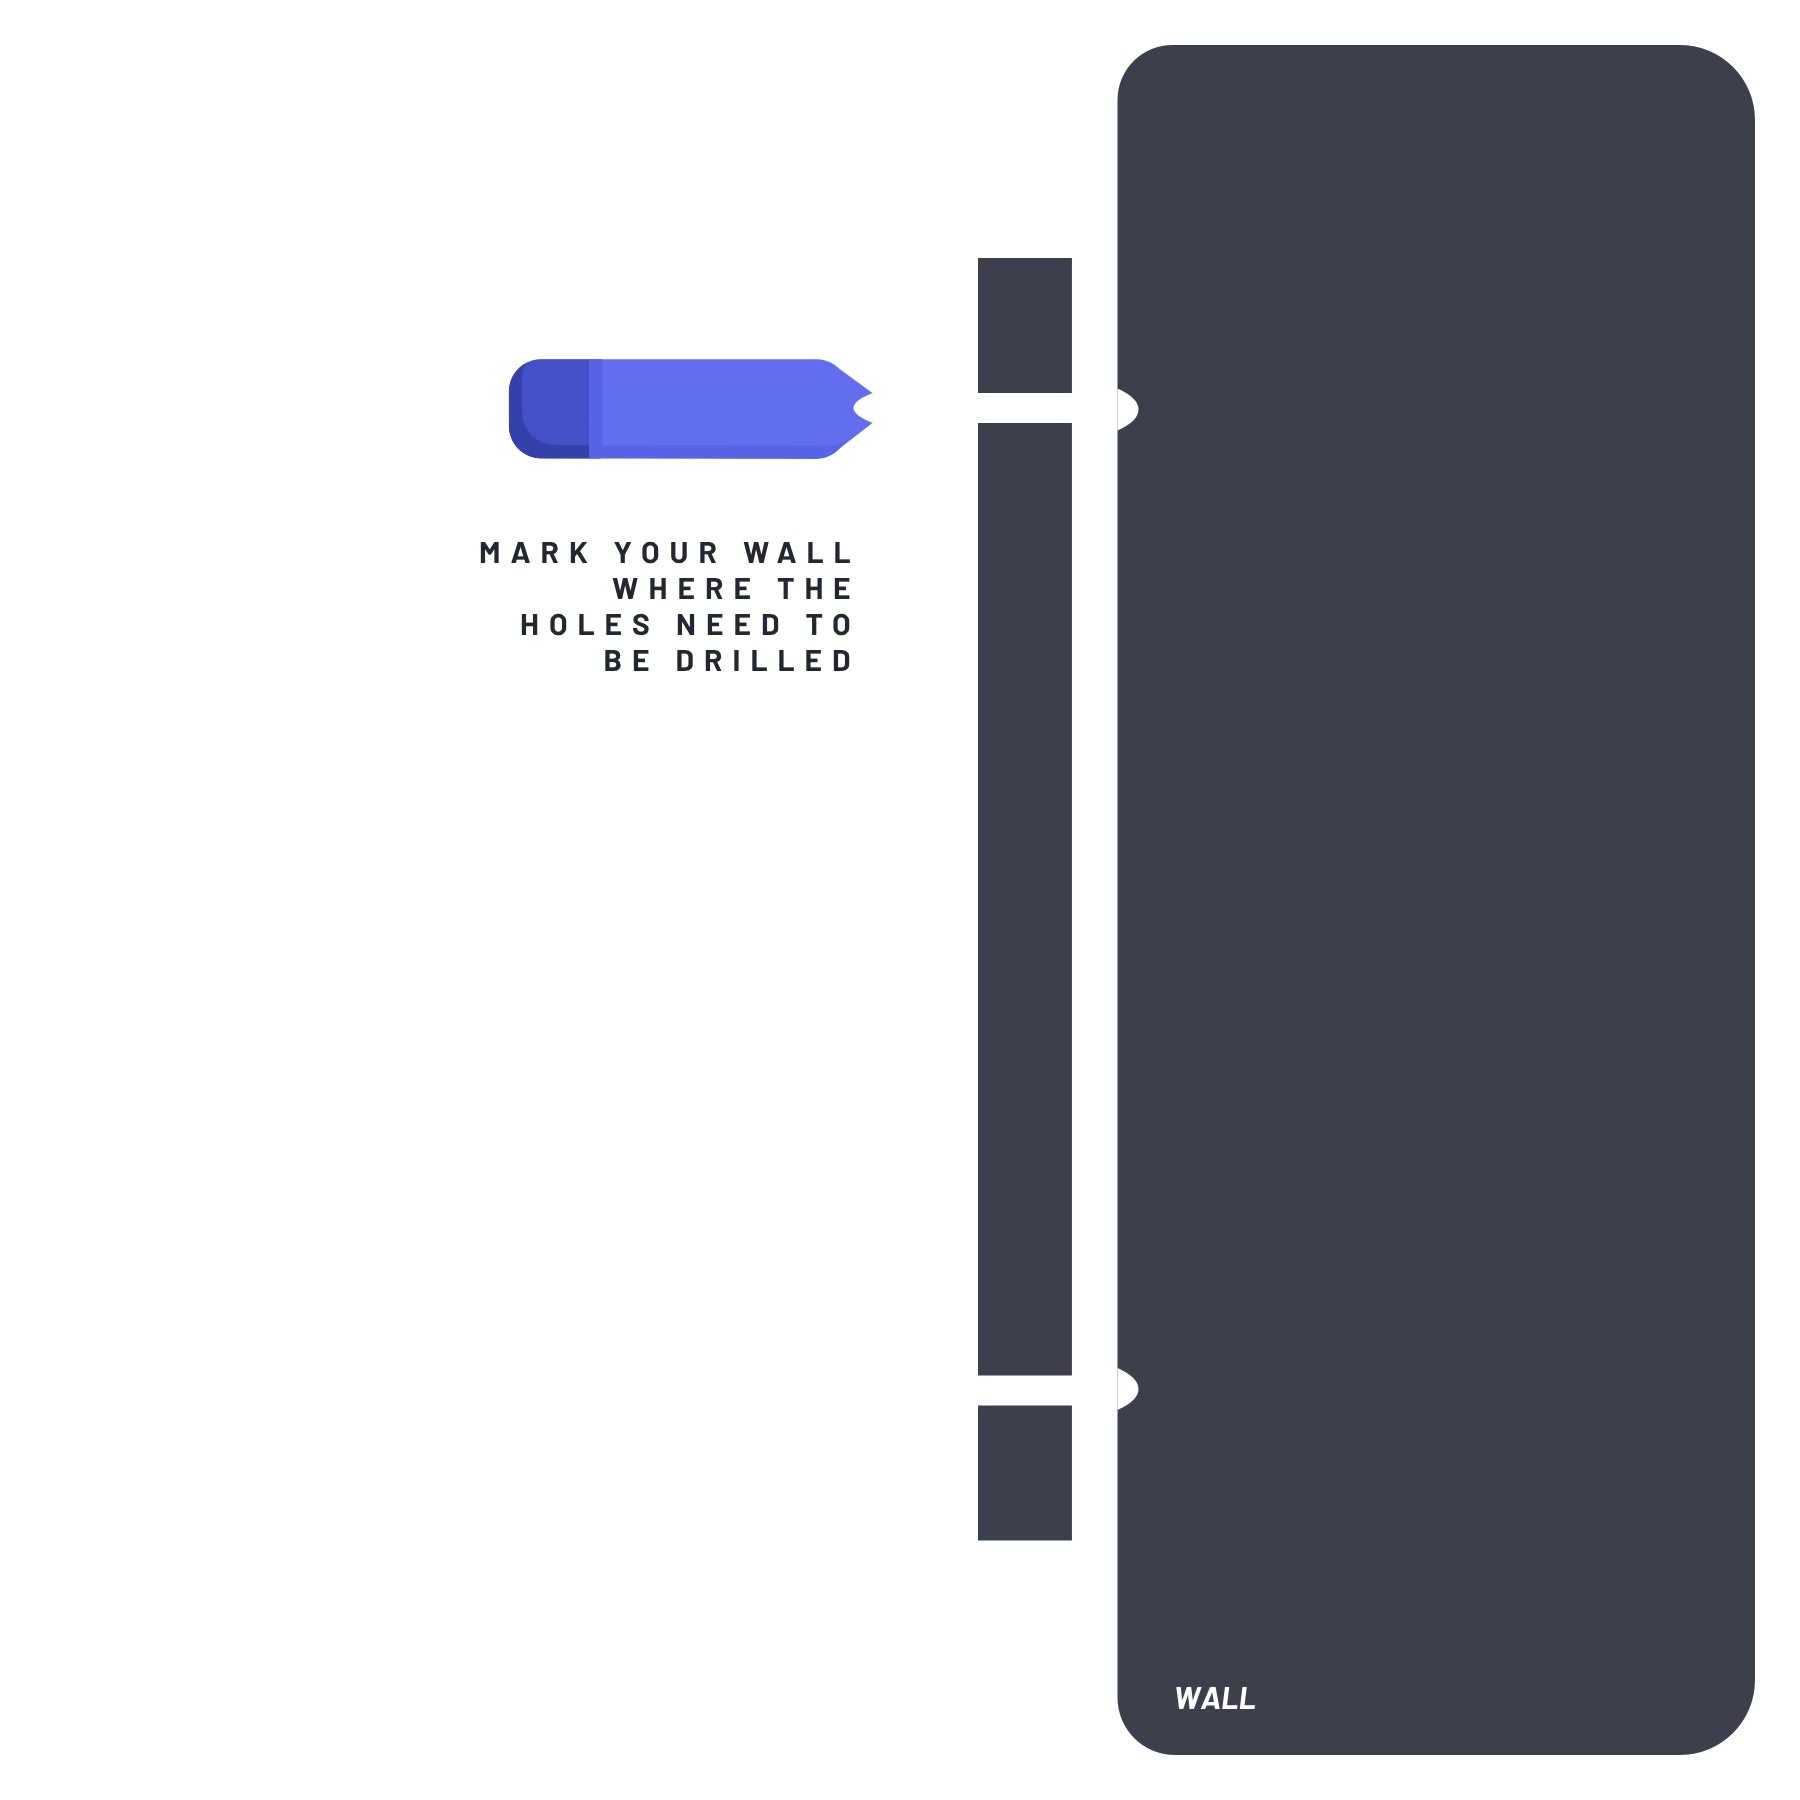
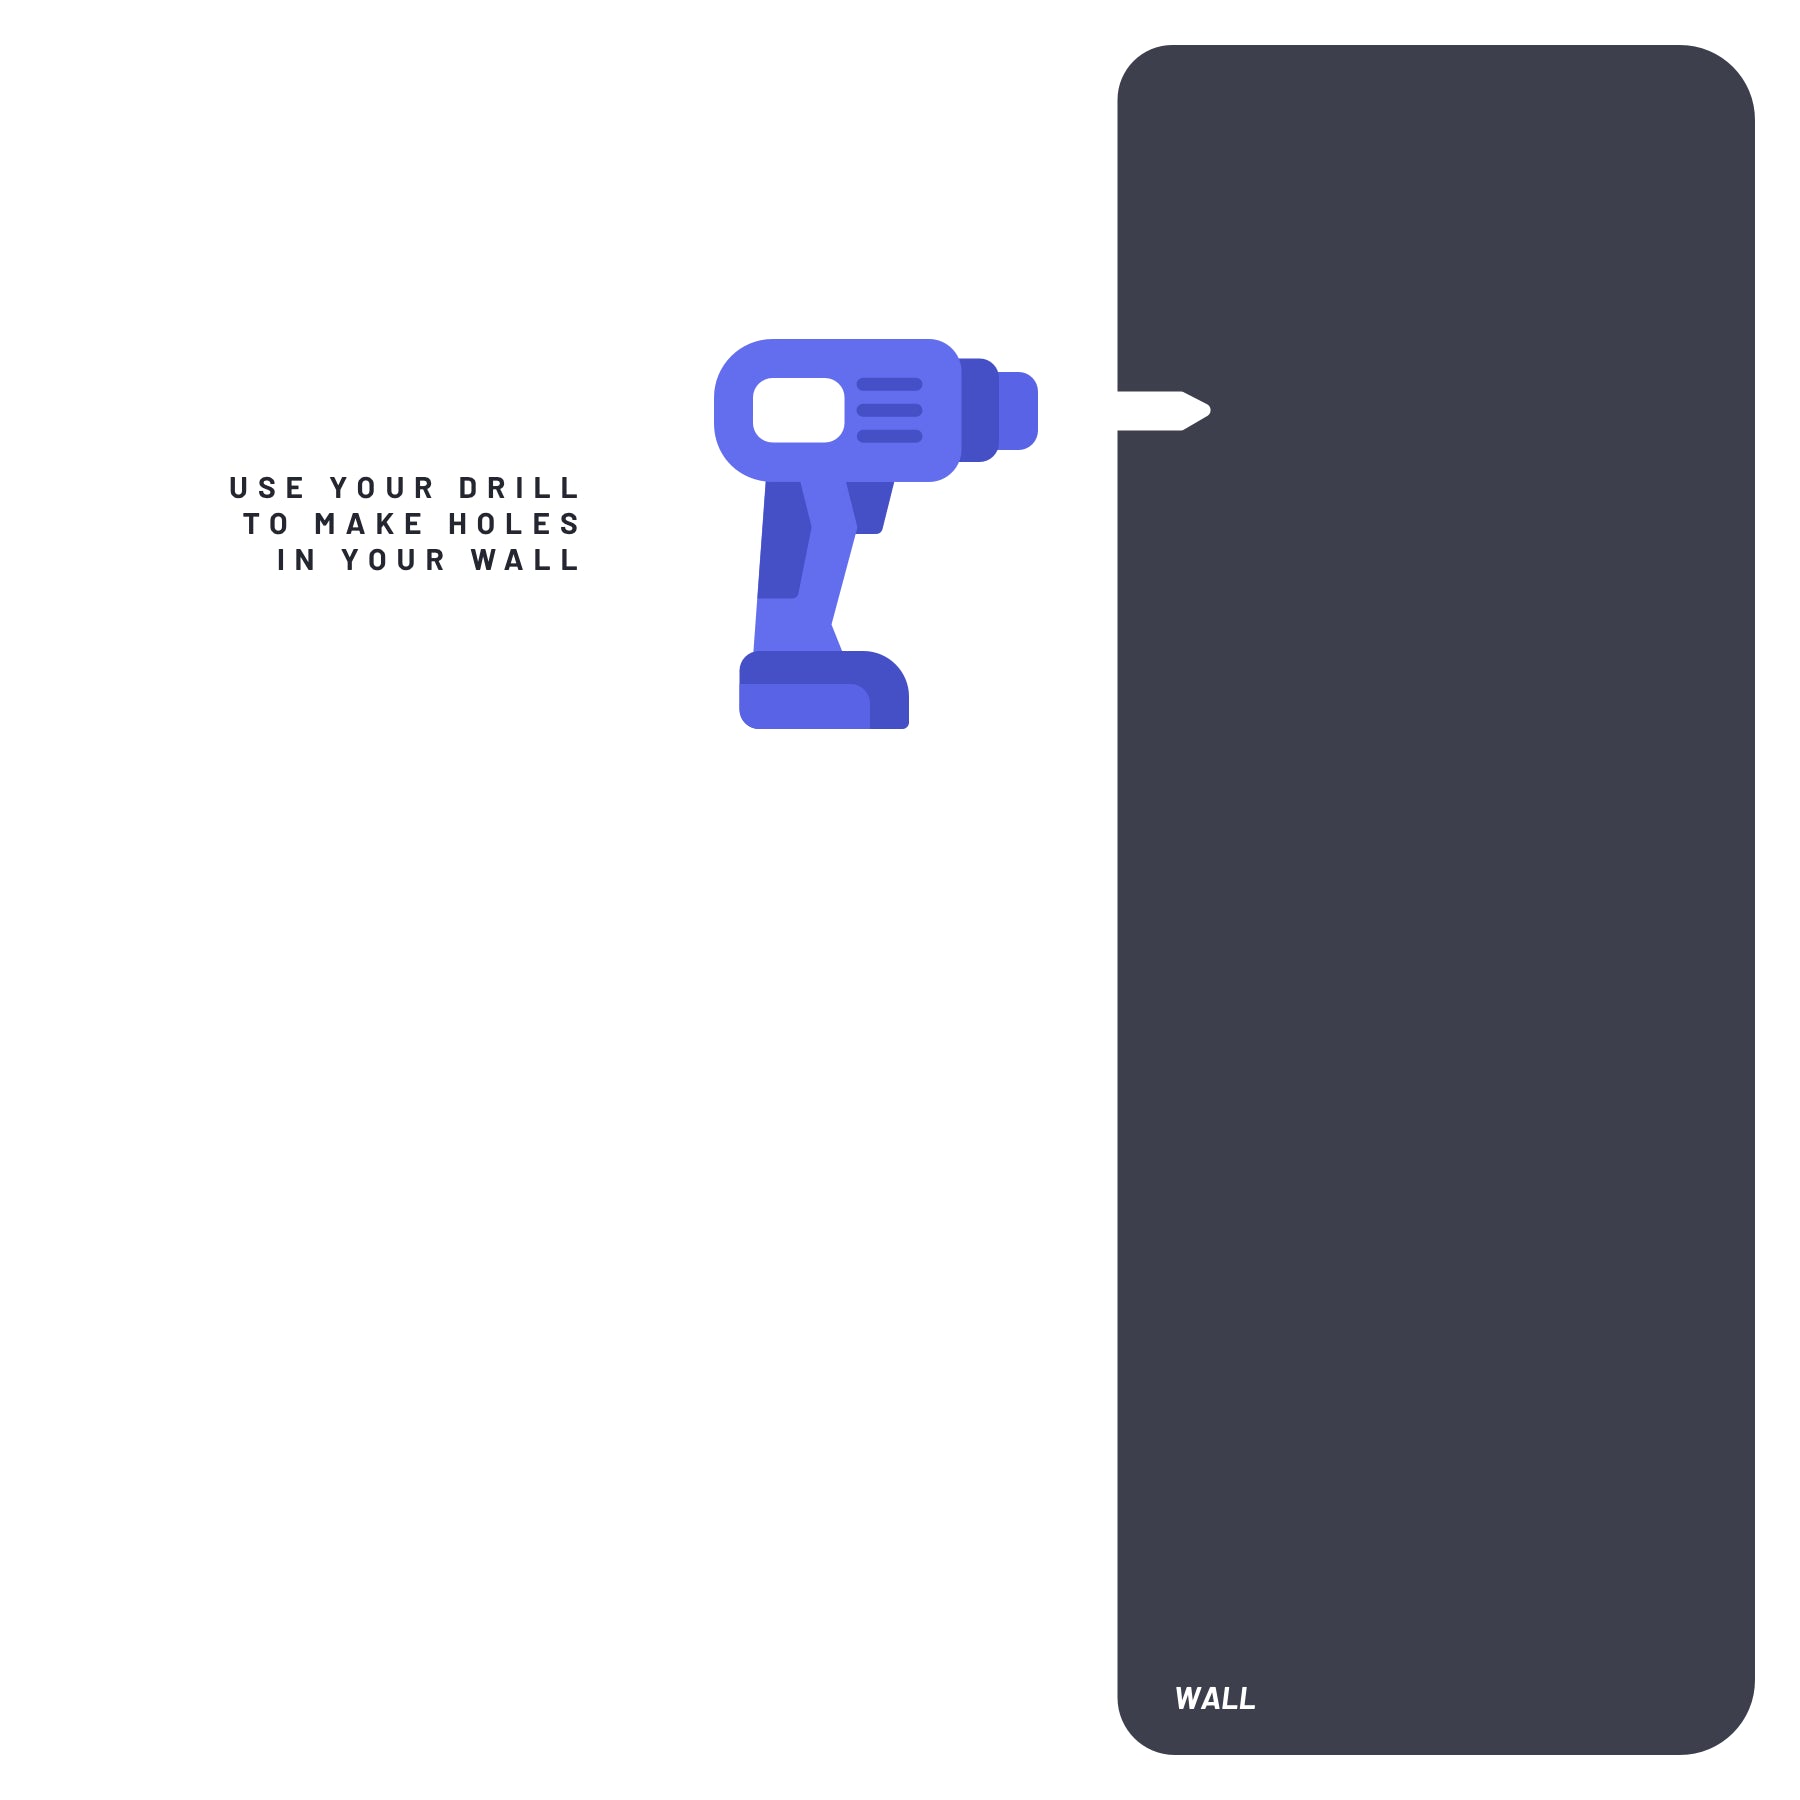
Drill Out the Holes in the Wall
Drill into the wall/surface where the dots are using an 5mm masonry drill bit. Drill nice and deep so the wall plugs sit flush in each hole.
Step 3
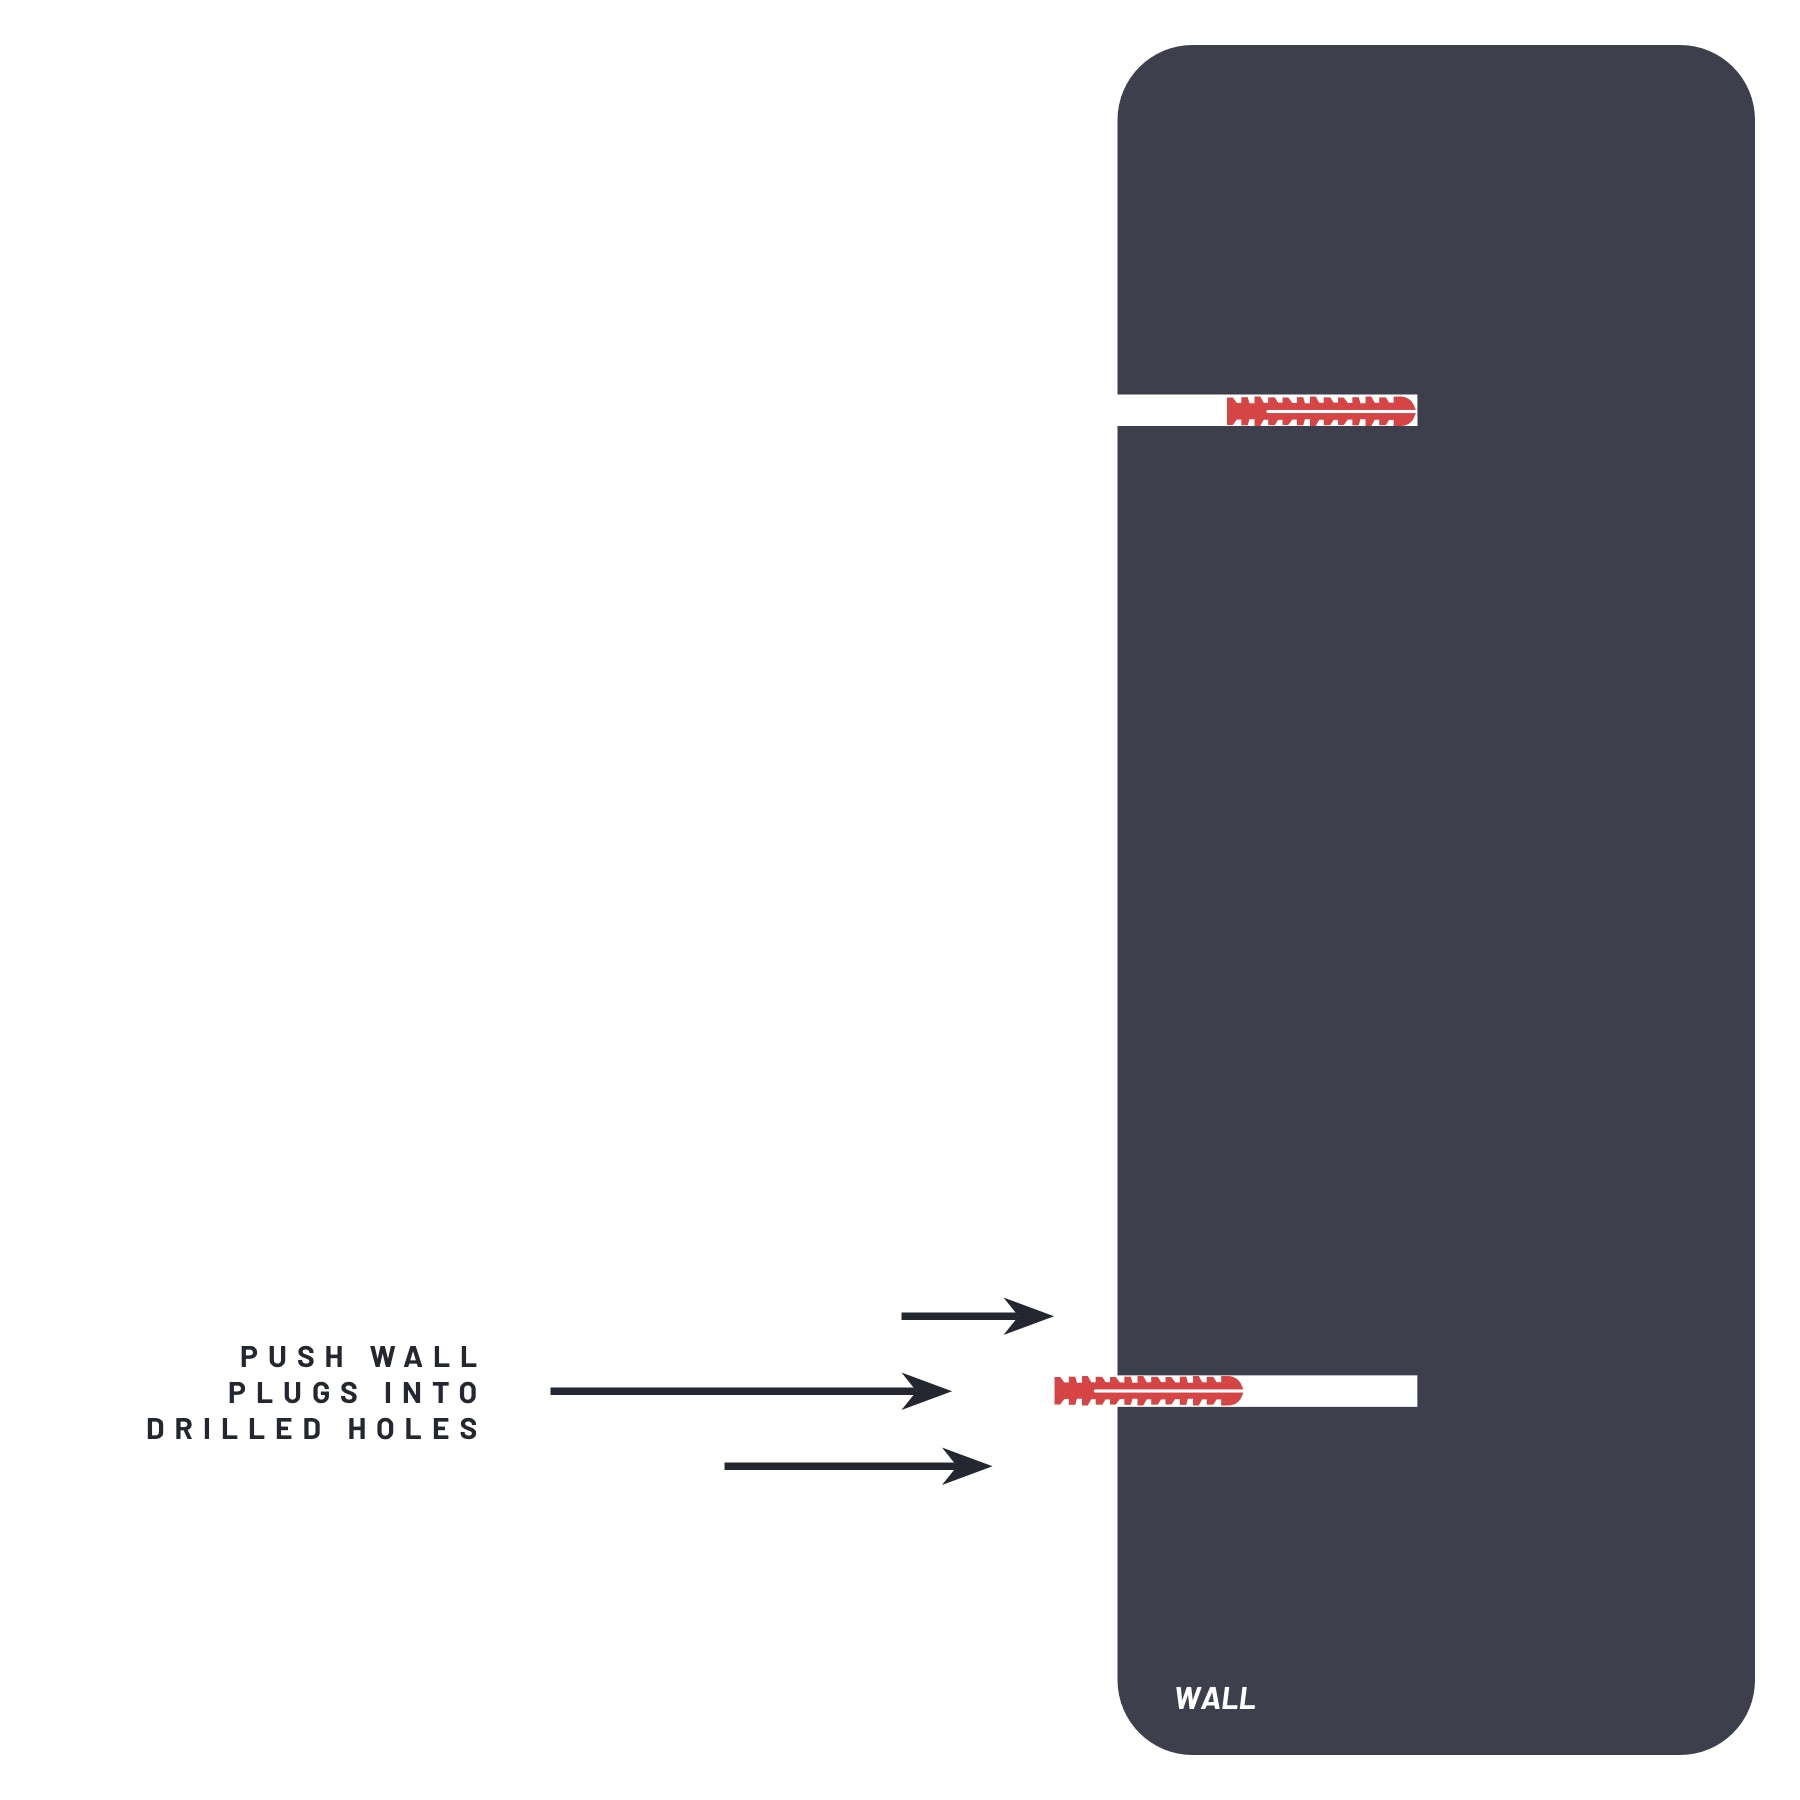
Insert the Wall Plugs in the Wall Holes
Push the wall plugs included in your signs package into the newly-drilled wall holes, until the entire wall plug sits flush against the wall.
Step 4
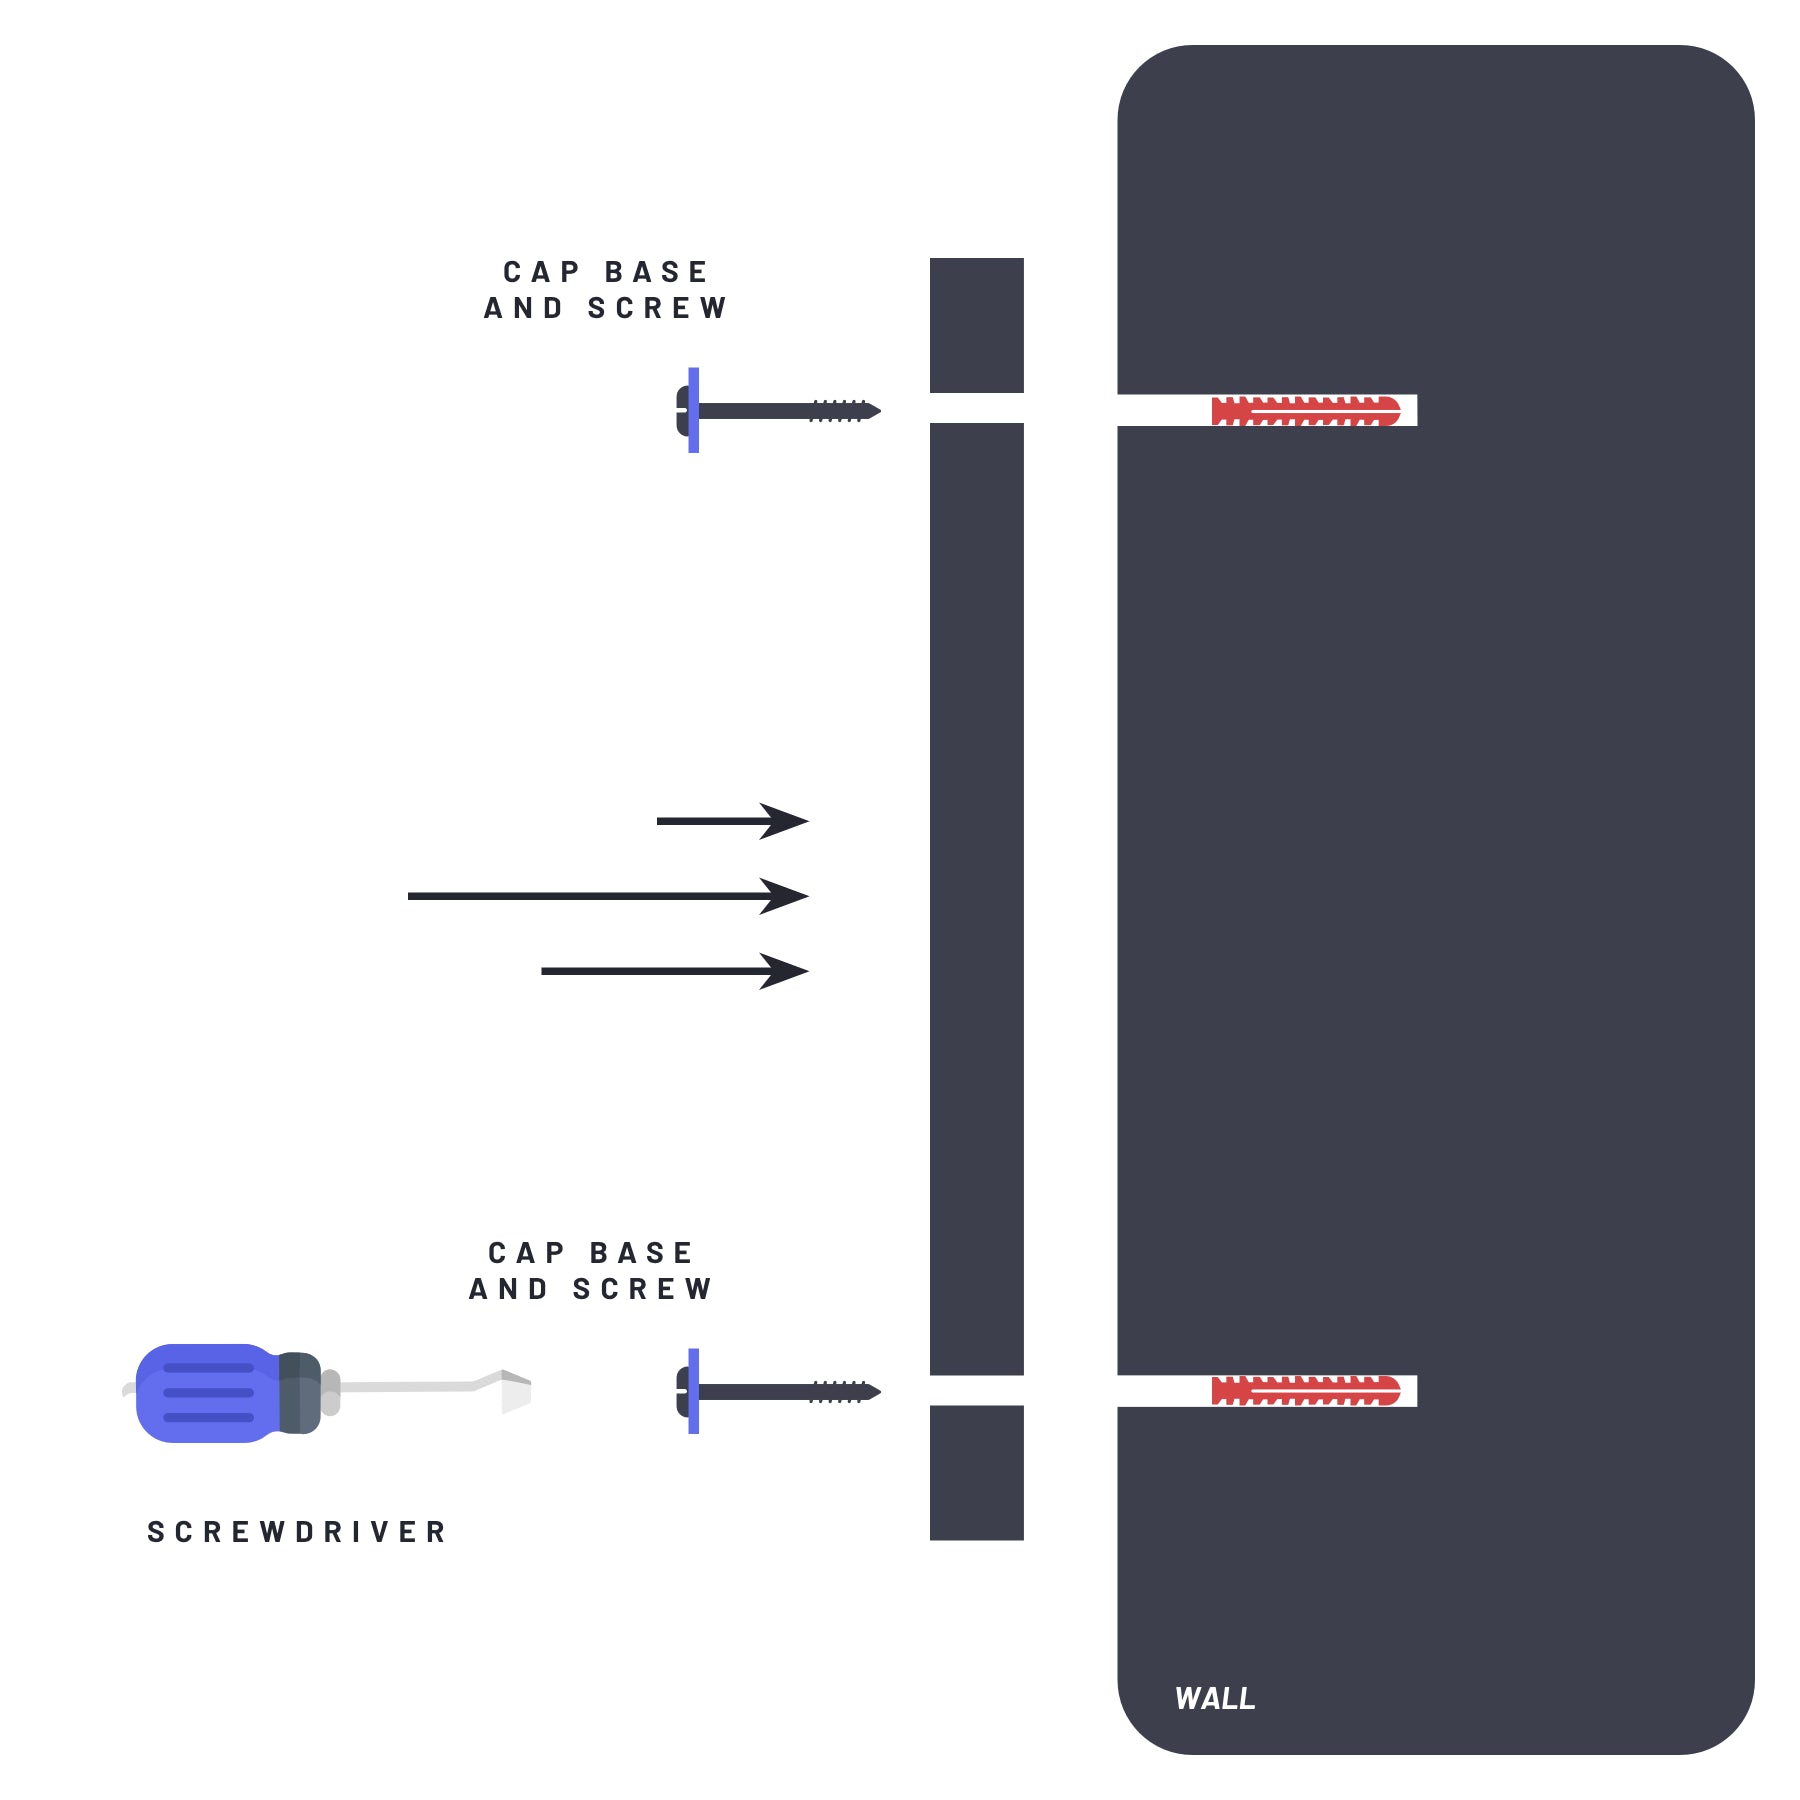
Unscrew the Metal Caps
The screws can be separated into two pieces: the thicker cap head and the thinner cap base. Thread the silver screws through the cap base, position your sign over the holes, and insert the screws with cap bases into the wall plugs. Secure them gently using a screwdriver.
Step 5
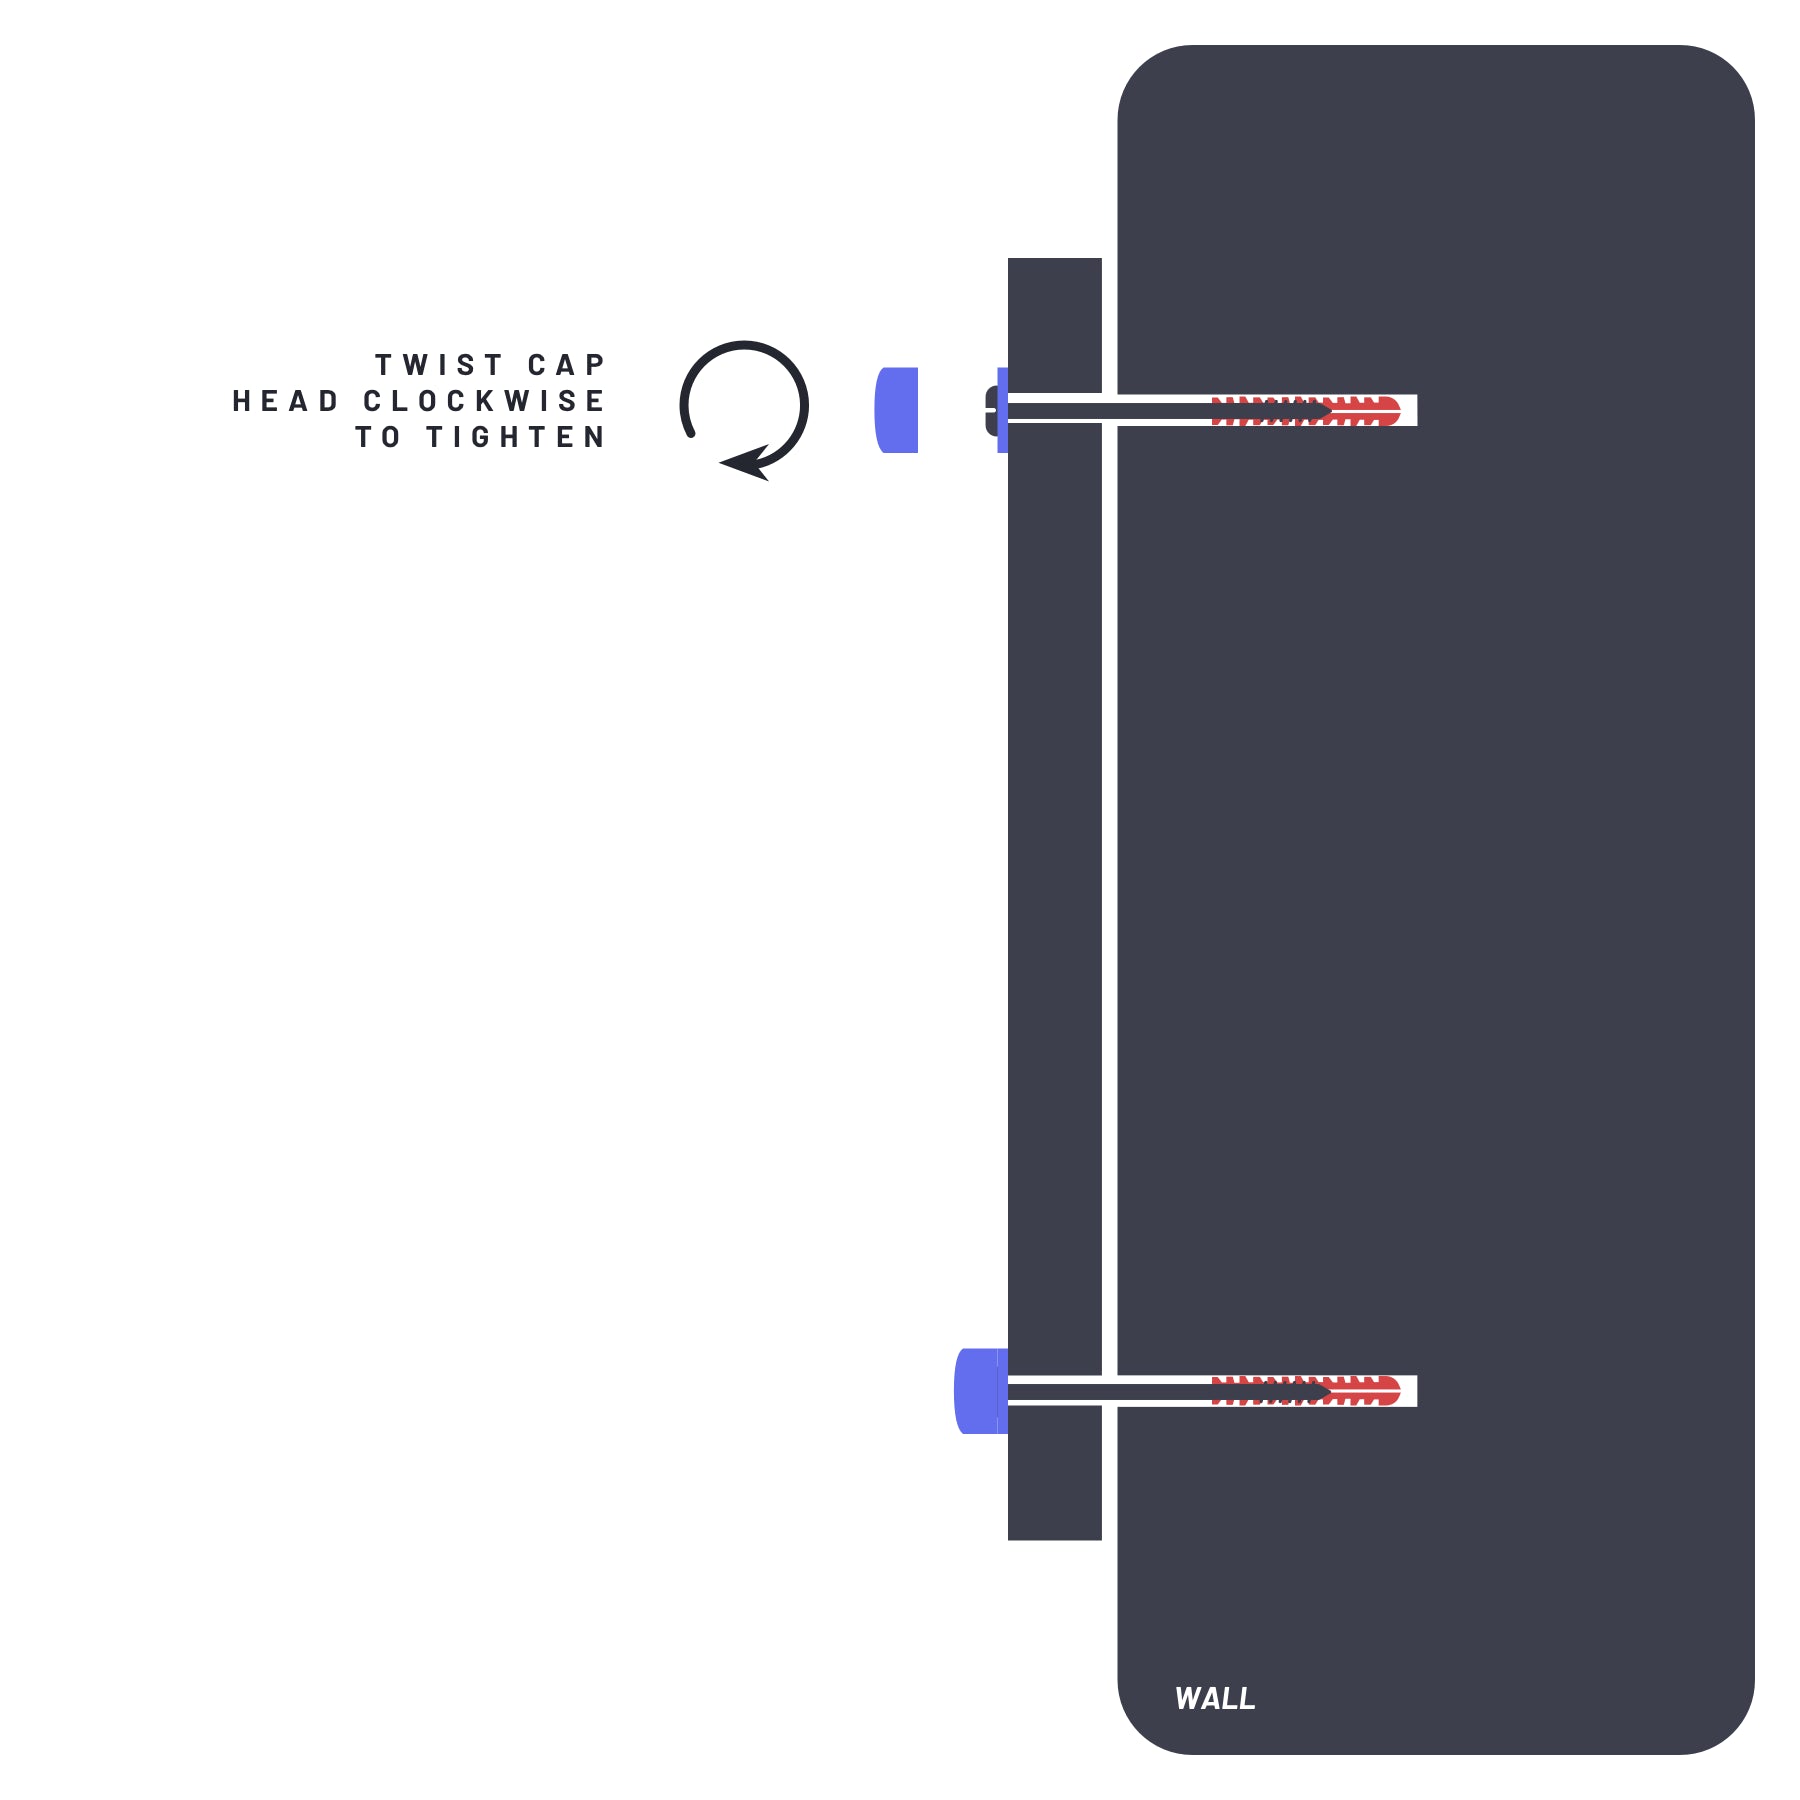
Put the Screw Cap Heads Back on the Bases
Simply attach the heads of the screw caps back onto the bases by screwing them back on. Once you've done that, the installation process is done!
Learning Before Ordering?
We admire the dedication! Now it’s time to get creative. Browse our most popular house sign designs and start customising.


Try out our handy house sign quiz to find the perfect sign to suit your homes address format. It'll only take 20 seconds!
