How to Install Your House Sign
- using Screws and Wall Plug Fixings
Collapsible content
What You'll Need
• Screws: these can be found in your package in a brown paper bag.
• Wall Plugs: these can be found in your package in a brown paper bag.
• Pen: or anything that'll help you dot the marks where you'll want to drill the holes.
• Electric Drill: we recommend using a 8mm masonry drill bit.
• Screwdriver: make sure it's a Phillips one.
• Spirit Level: this tool is optional, but best to be on the safe side.

STEP 1 / 5
PICK WHERE YOU'D LIKE YOUR SIGN TO GO
Your sign can go pretty much anywhere. If you've chosen screws and wall plugs for your sign, you can install your sign into a brick/stone wall, a wooden gate or fence or even onto a door (we recommend not doing this unless your door is old).

STEP 2 / 5
MARK OUT THE HOLE LOCATIONS
Align your sign into place and stick your pen through each of the screw holes on your sign to mark the wall.

STEP 3 / 5
DRILL OUT THE HOLES
Drill into the wall/surface where the dots are using an 8mm masonry drill bit. Drill nice and deep so the wall plugs sit flush in each hole.

STEP 4 / 5
SCREW GENTLY INTO PLACE
With your screwdriver and screws to hand, put the sign back onto the surface, aligning the screw holes with the newly-inserted wall plugs and carefully screw the sign into place.

STEP 5 / 5
ADMIRE YOUR LOVELY NEW SIGN
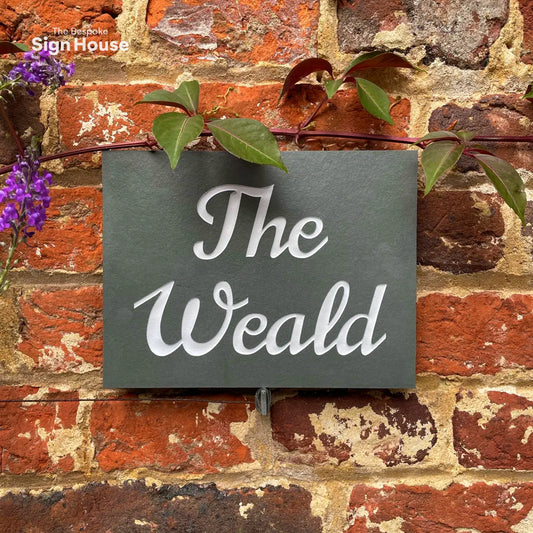
Once you've screwed all the screws into place, you're done. Now you can admire your new sign for many years to come!
Ready to personalise your a sign, or want another?
Whether you're looking for an laser printed or an engraved & painted sign, The Bespoke Sign House workshop can do it all. We have a wide array of design options available, view some of our best-selling house signs, pick your favourite and start designing your very own sign in seconds. With our online sign designer, you get a live preview before it is handcrafted by our team, wrapped and delivered to your door.
-
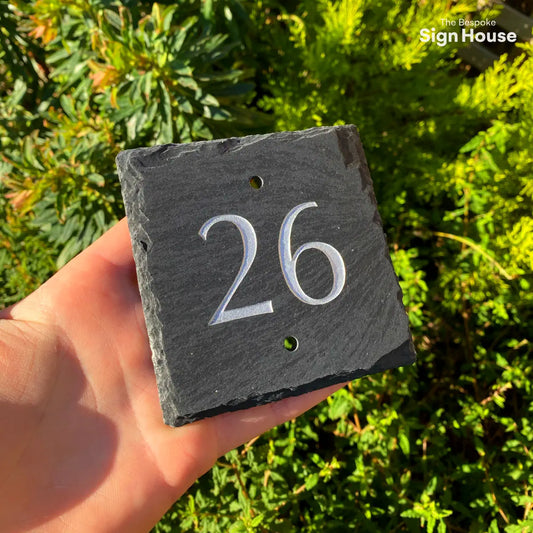
Welsh Slate Door Number Plaque
Regular price €38,95Regular priceUnit price per -
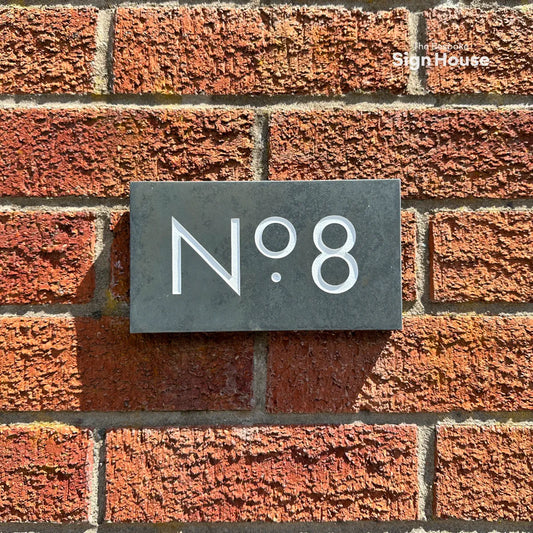
Modern Slate House Number Sign
Regular price €54,95Regular priceUnit price per -
Contemporary Slate House Sign
Regular price €57,95Regular priceUnit price per -
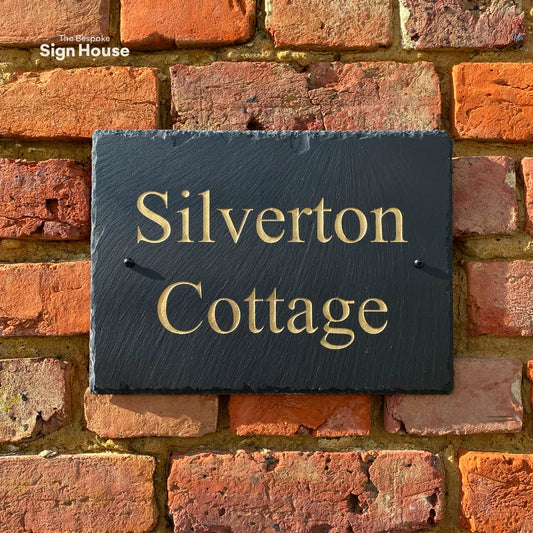
Welsh Slate House Name Sign
Regular price €48,95Regular priceUnit price per -
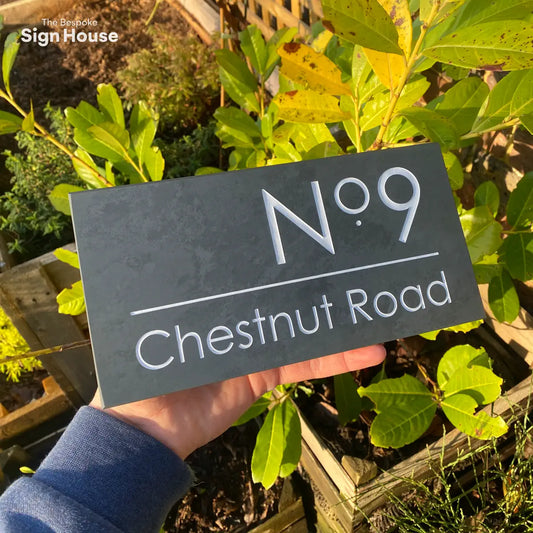
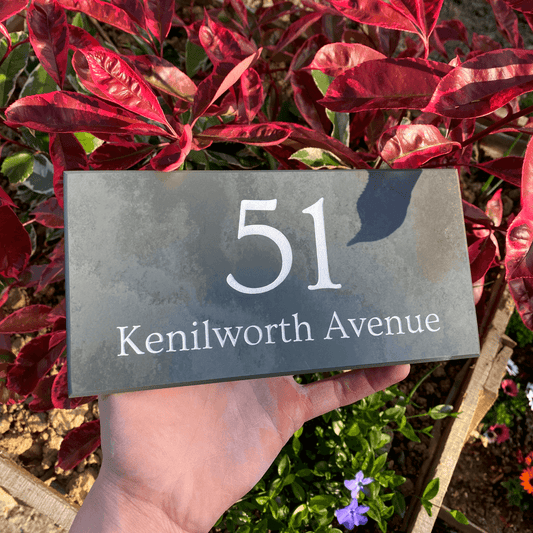
Slate Rectangle Number and Name Sign
Regular price €57,95Regular priceUnit price per -
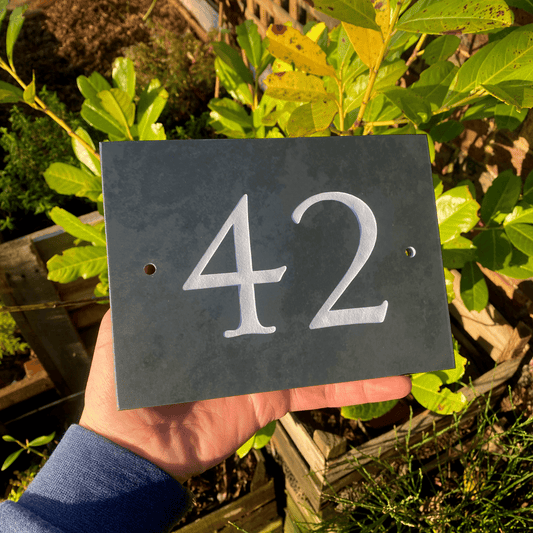
Wide Slate House Number Sign
Regular price €44,95Regular priceUnit price per -
Slate Long House Sign
Regular price €57,95Regular priceUnit price per -
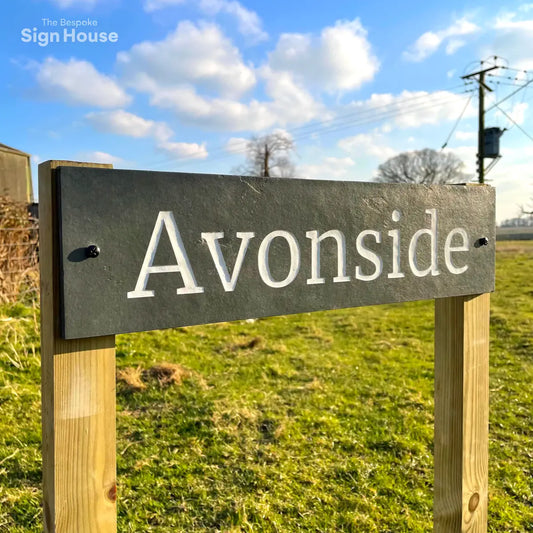
Natural Slate Long Address Sign with Wooden Posts
Regular price €122,95Regular priceUnit price per -
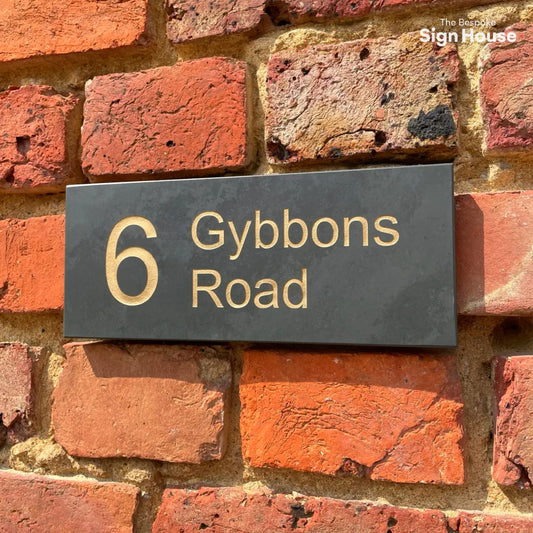
Slate House Sign with Aligned Address
Regular price €57,95Regular priceUnit price per -
Wide Slate House Sign
Regular price €61,95Regular priceUnit price per