

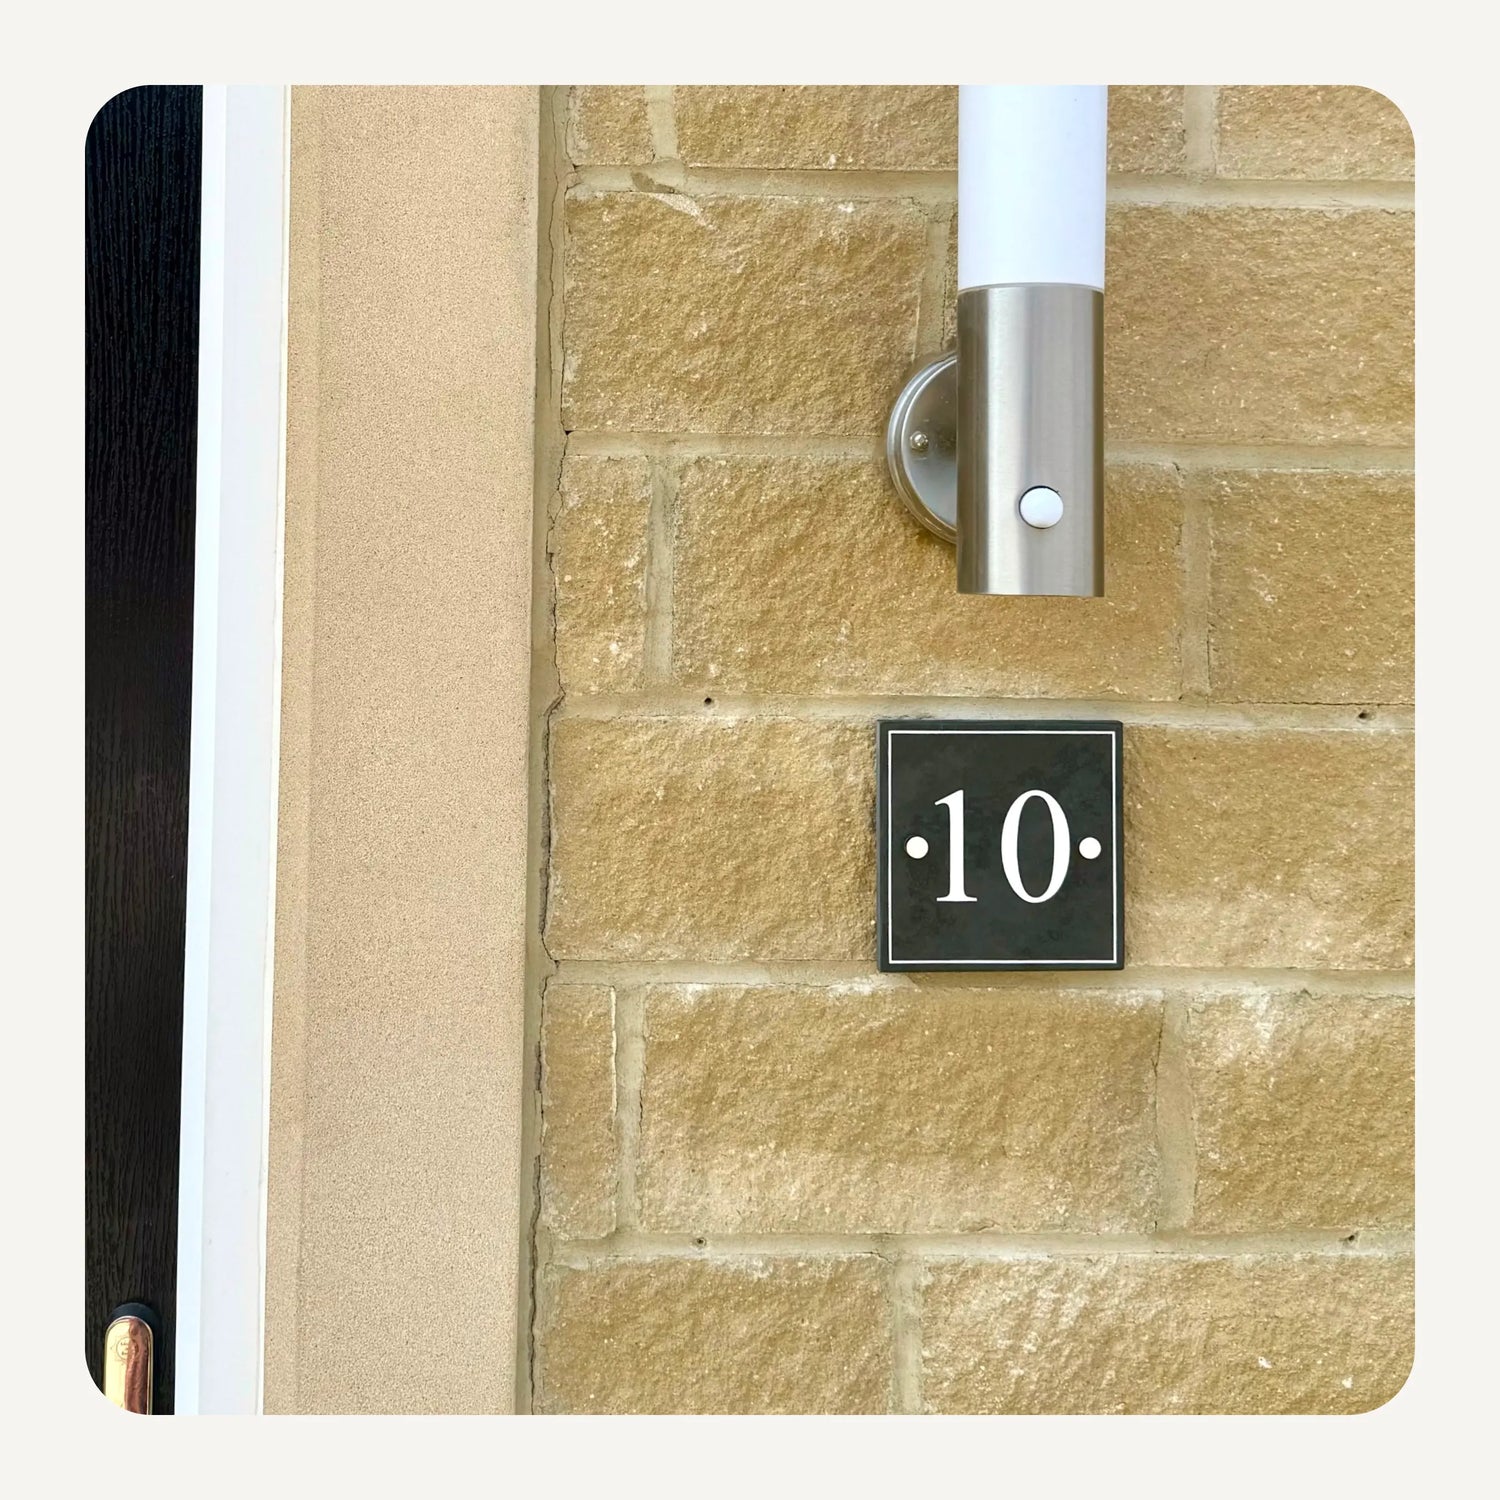
What's Required?
Click an image below to order any missing items before continuing.
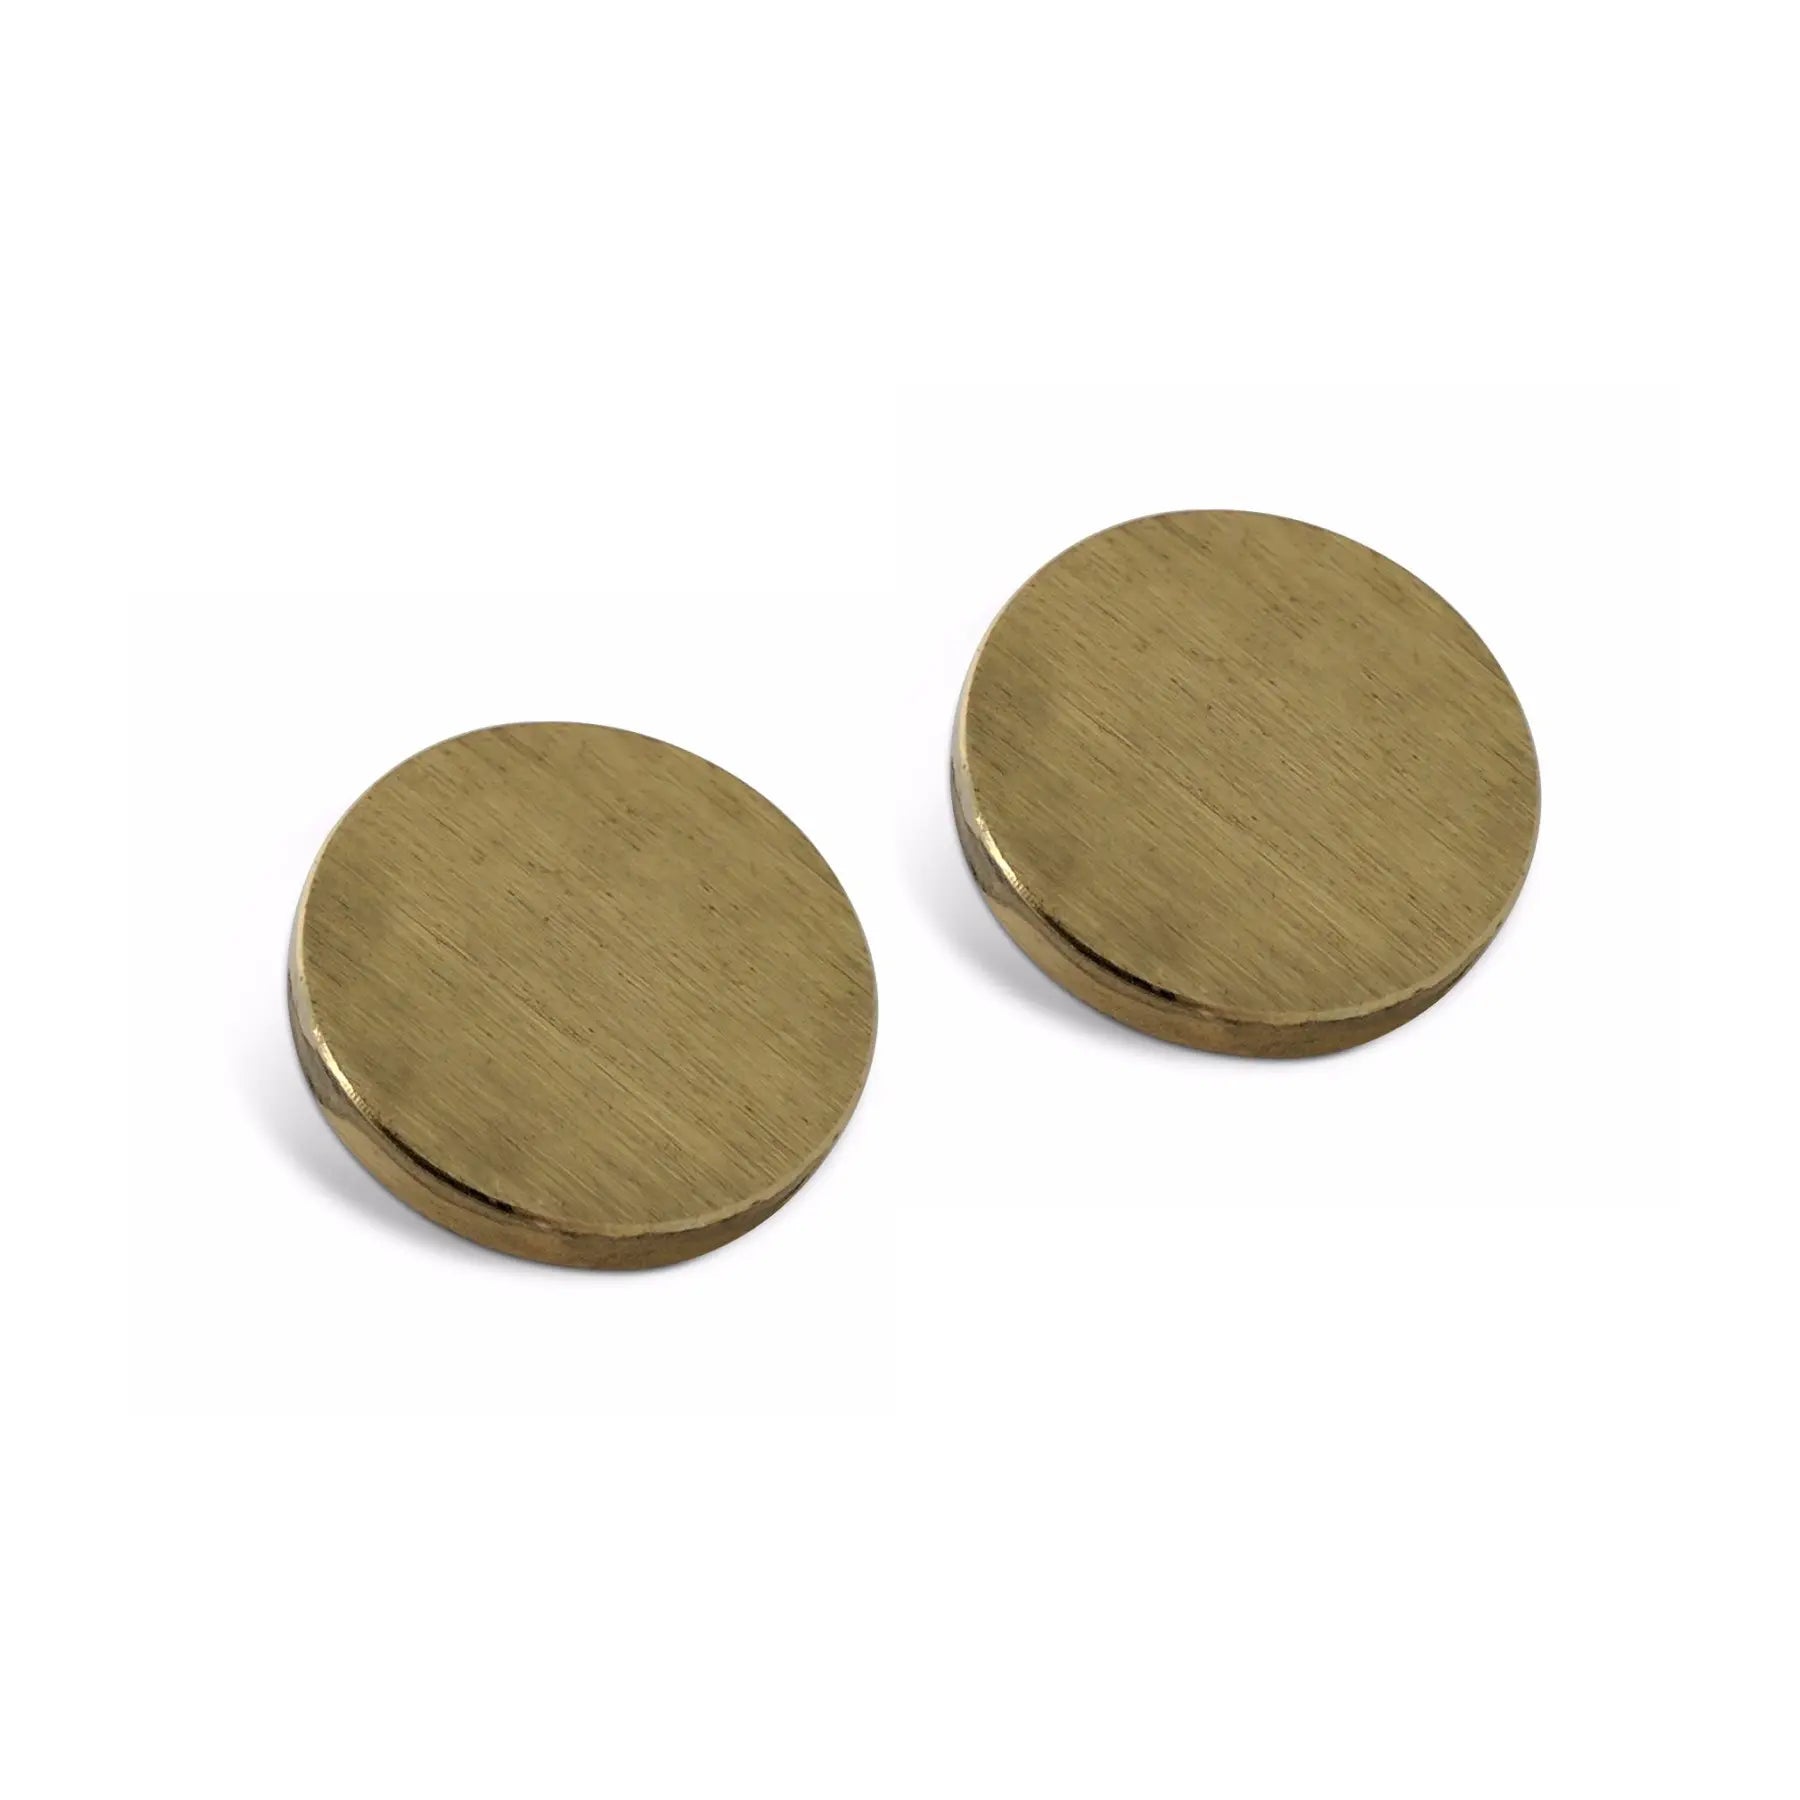
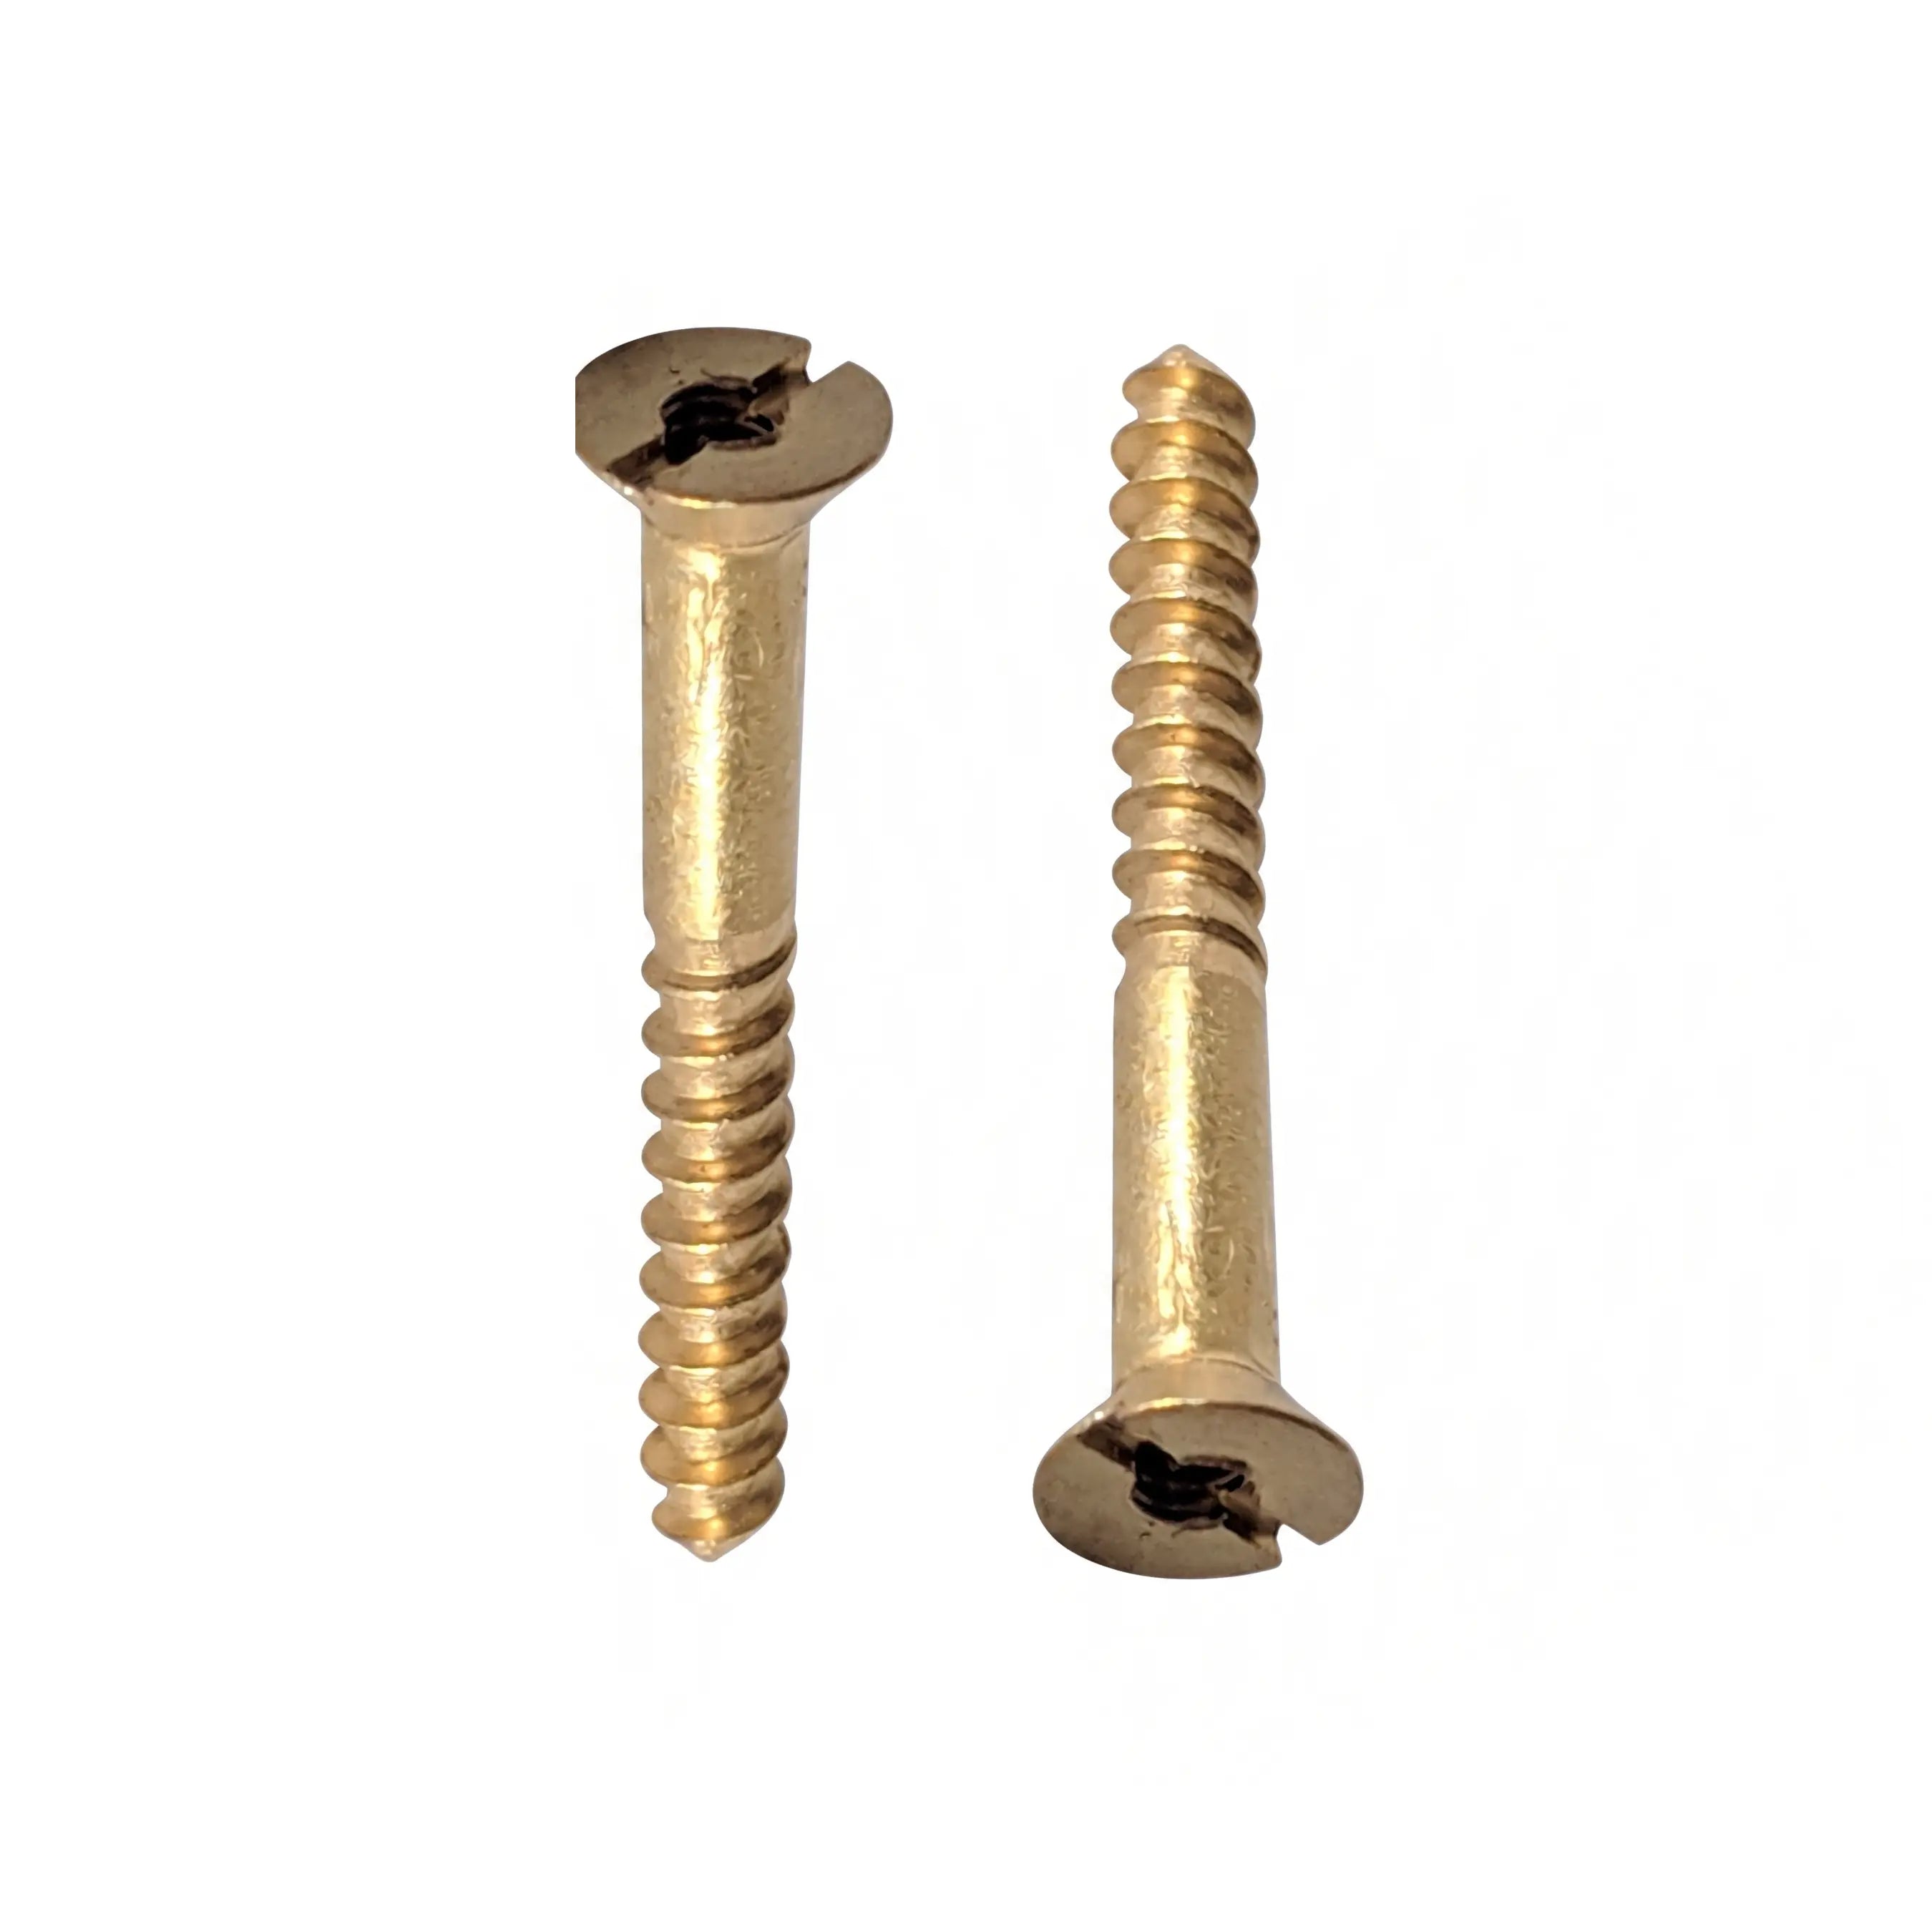
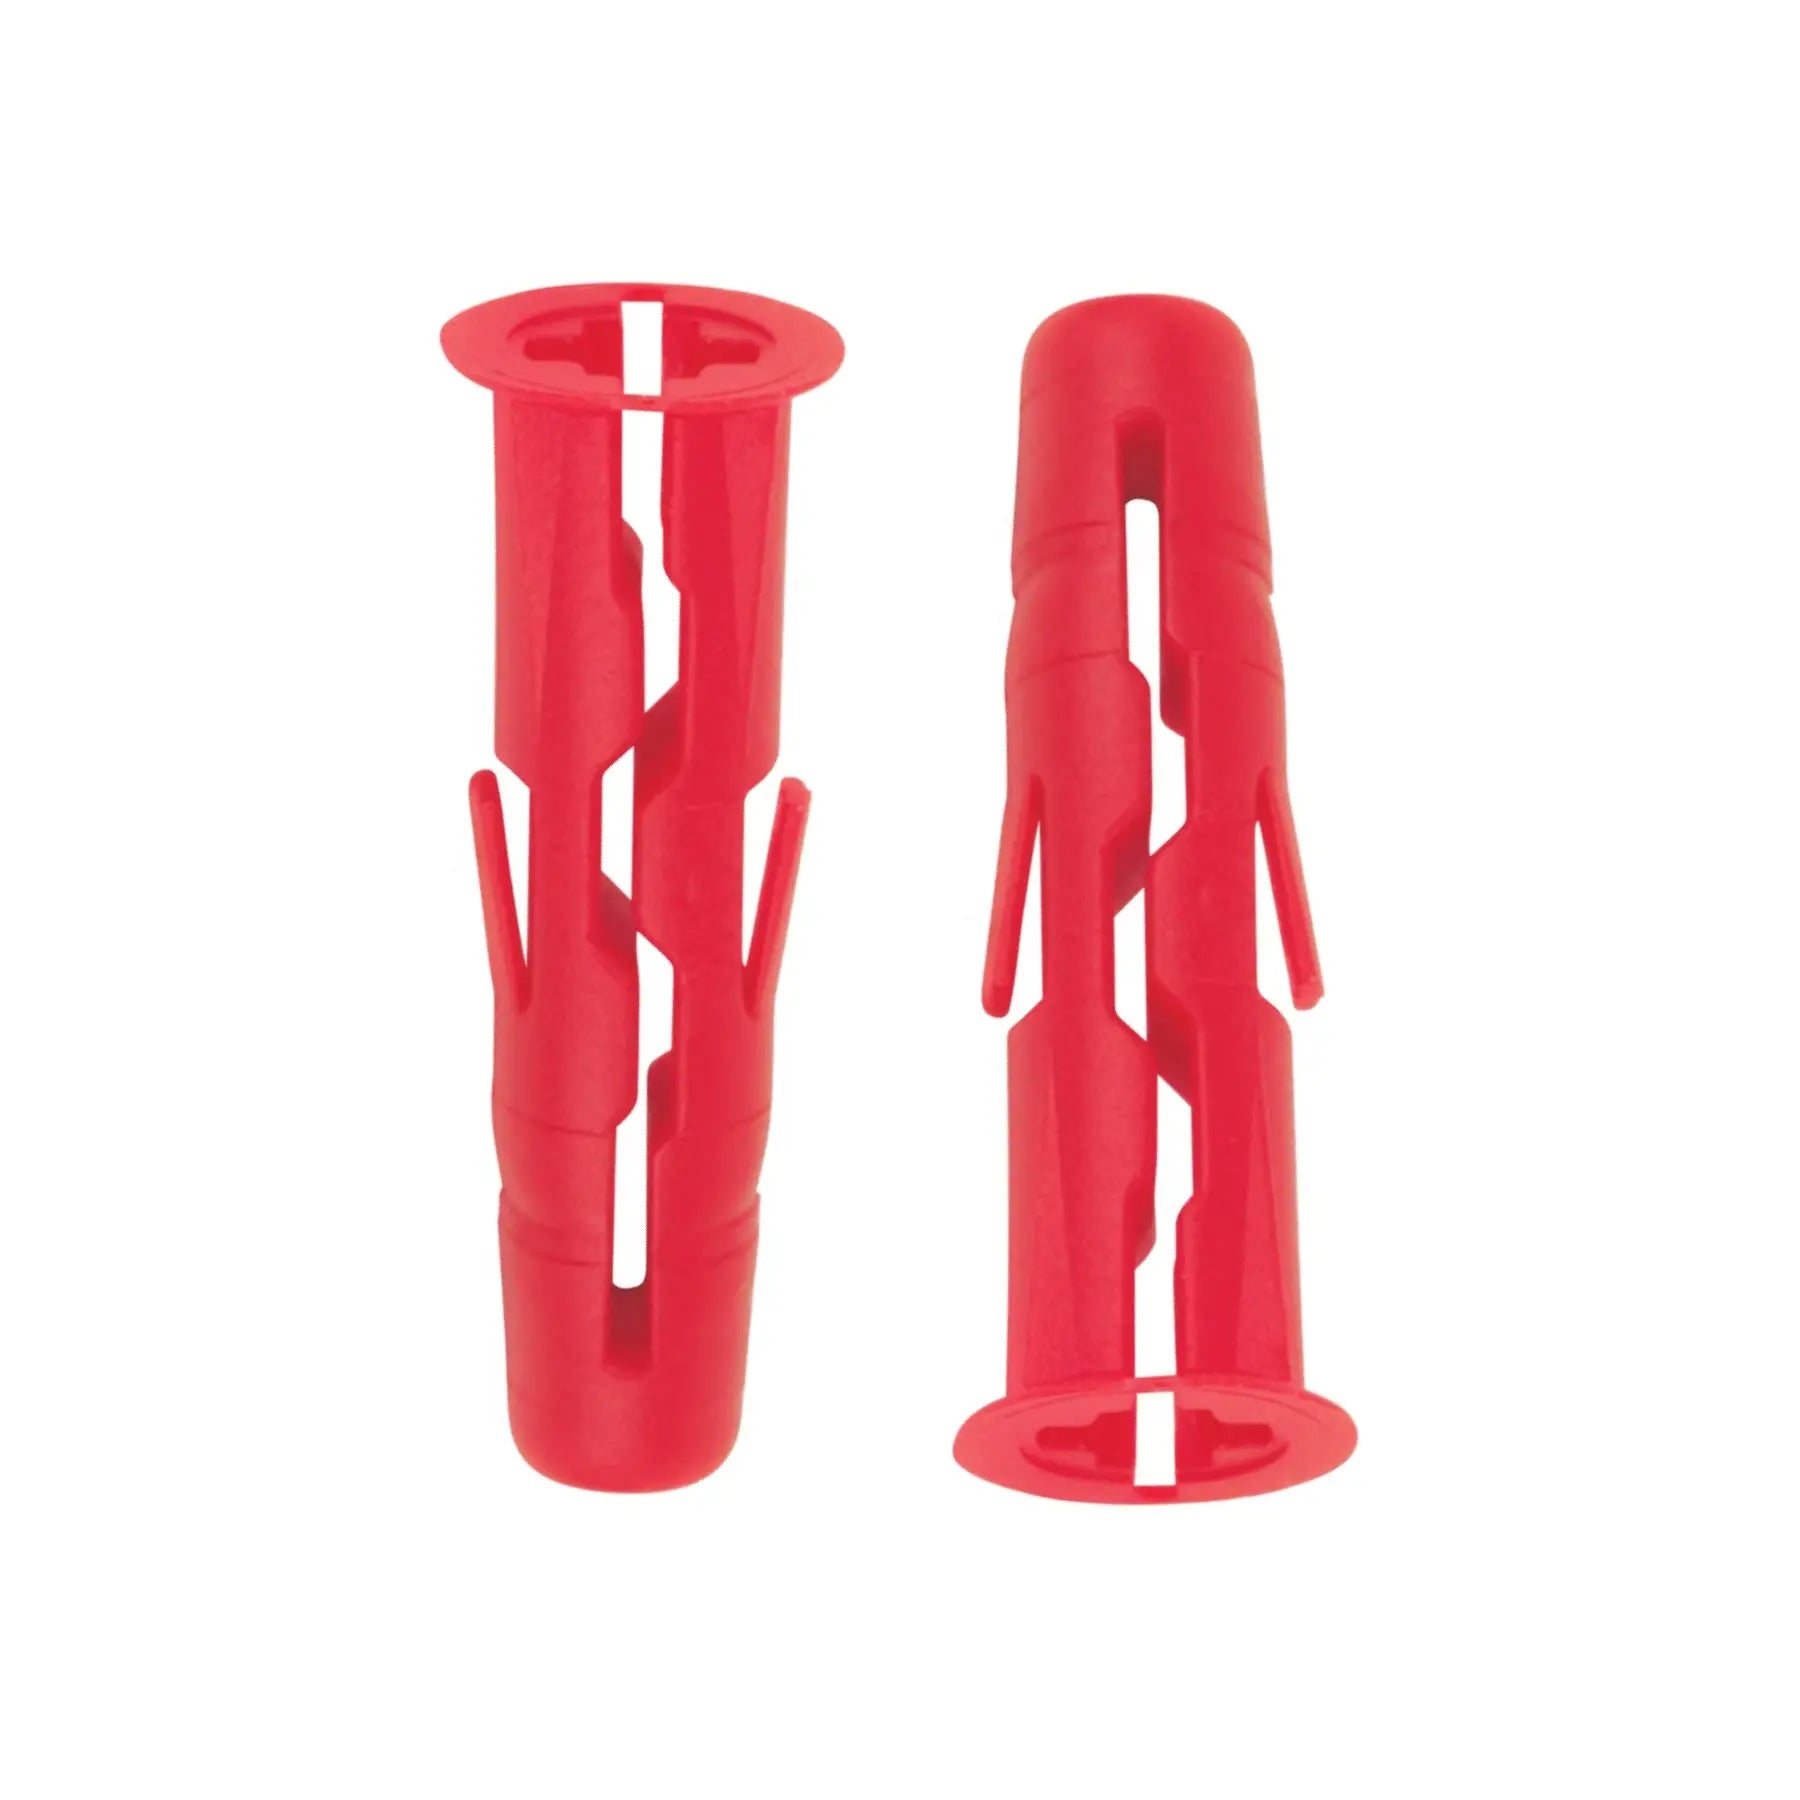
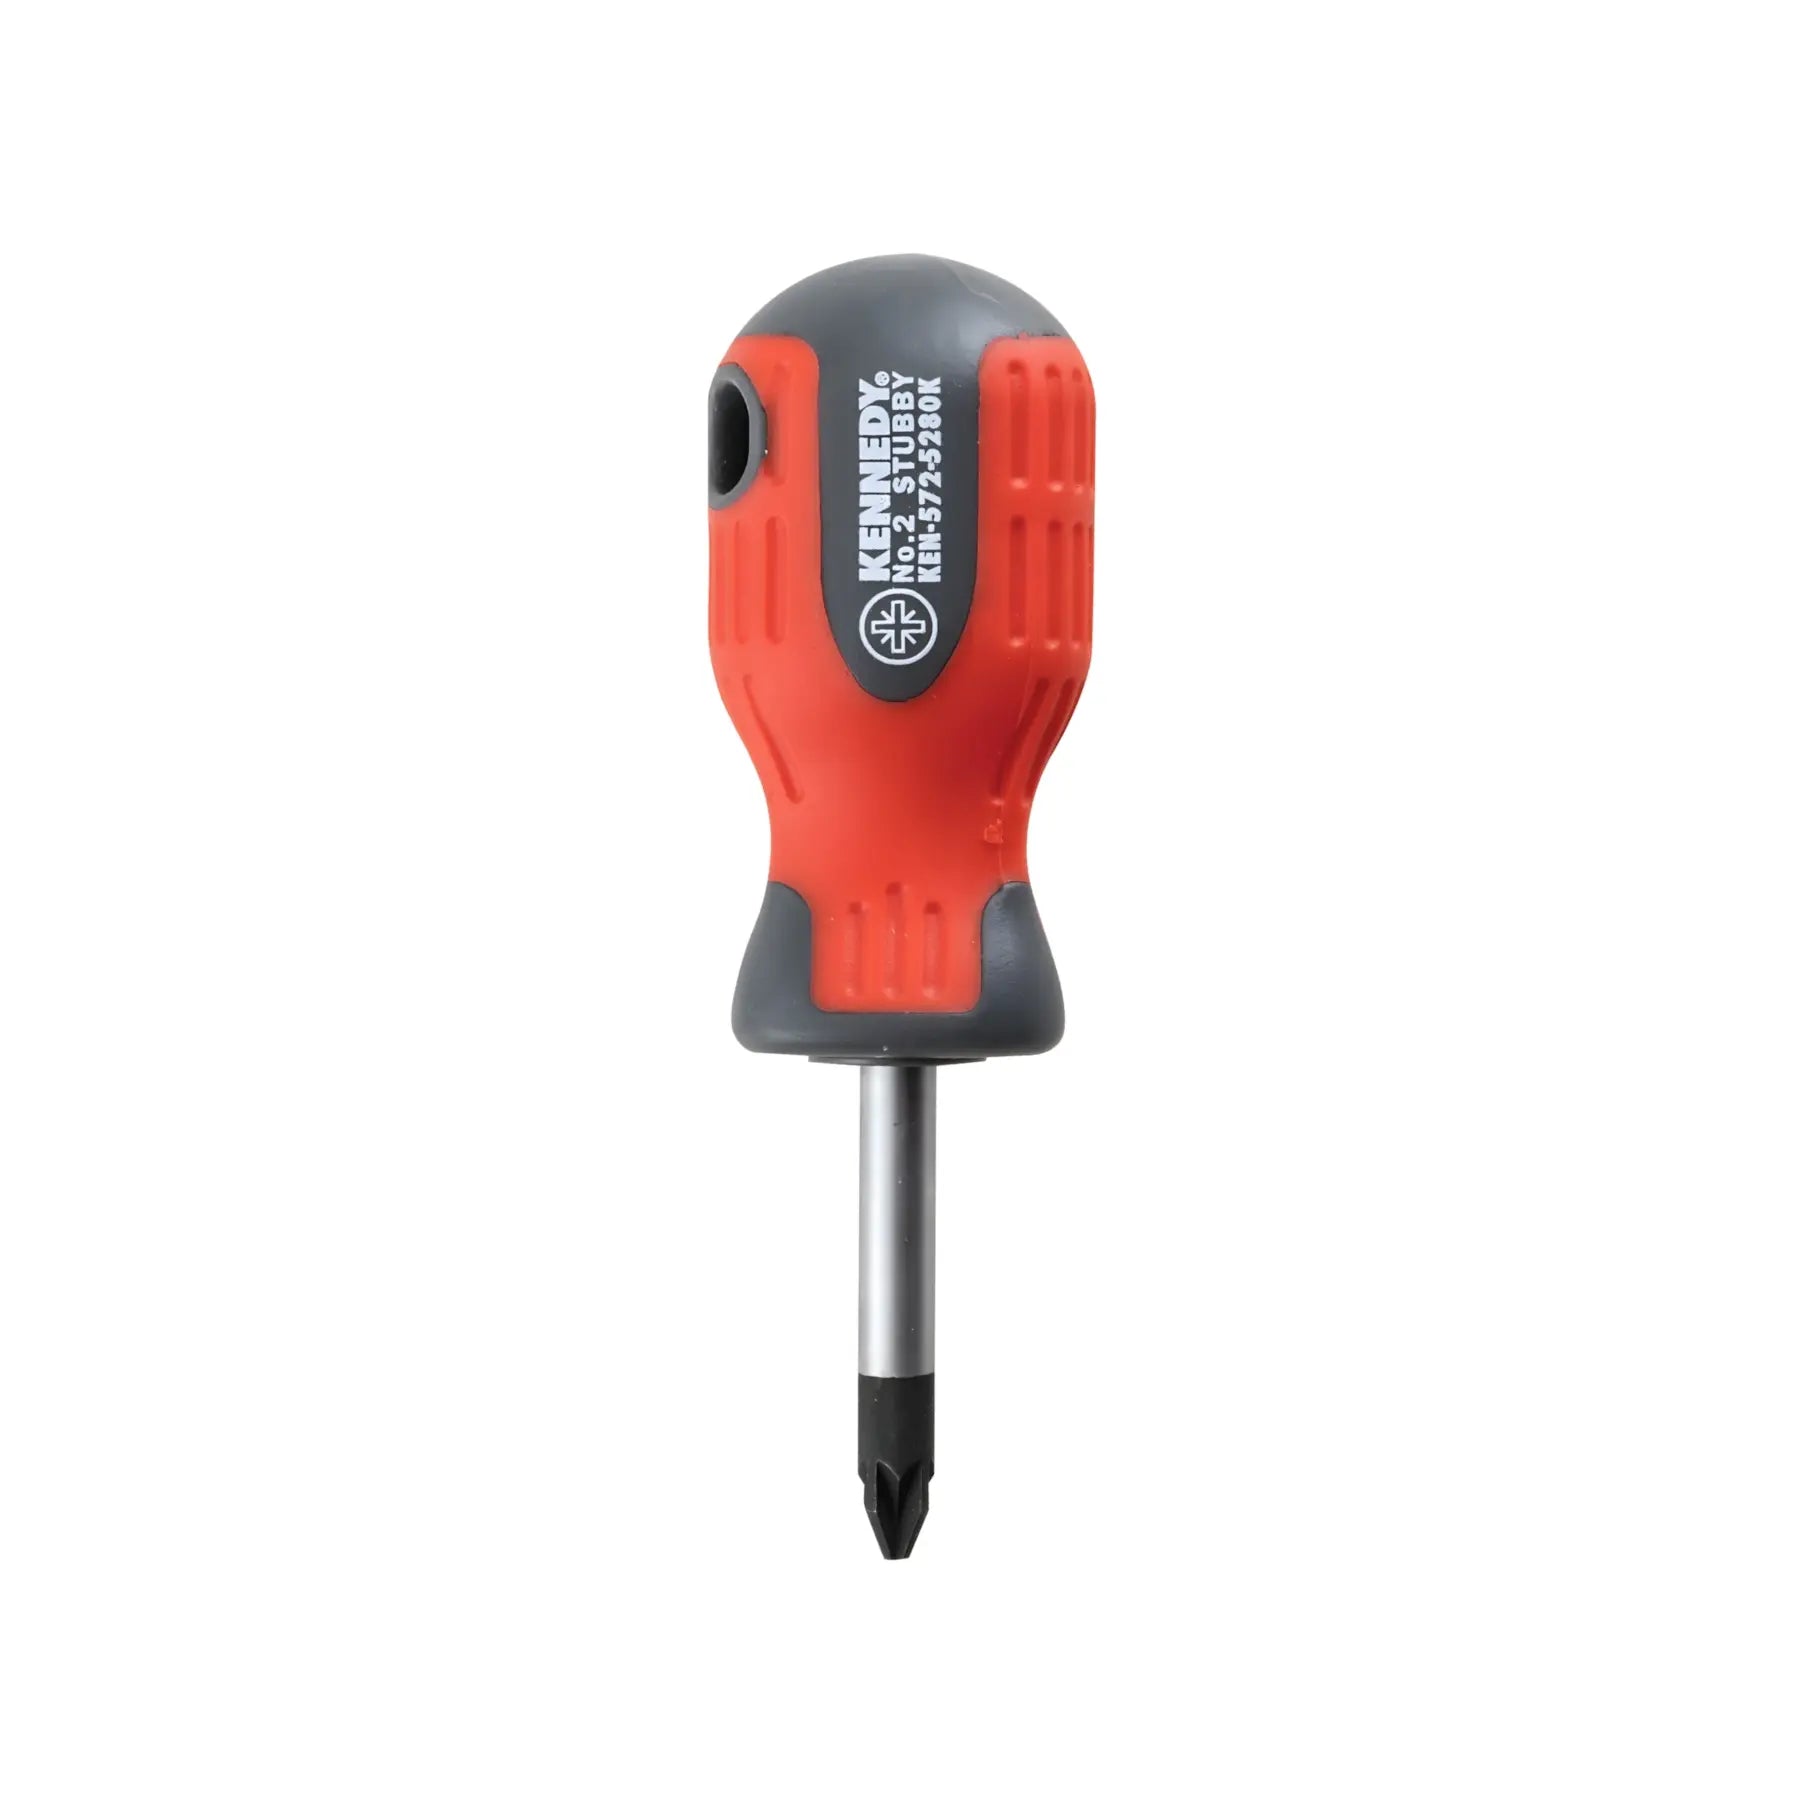
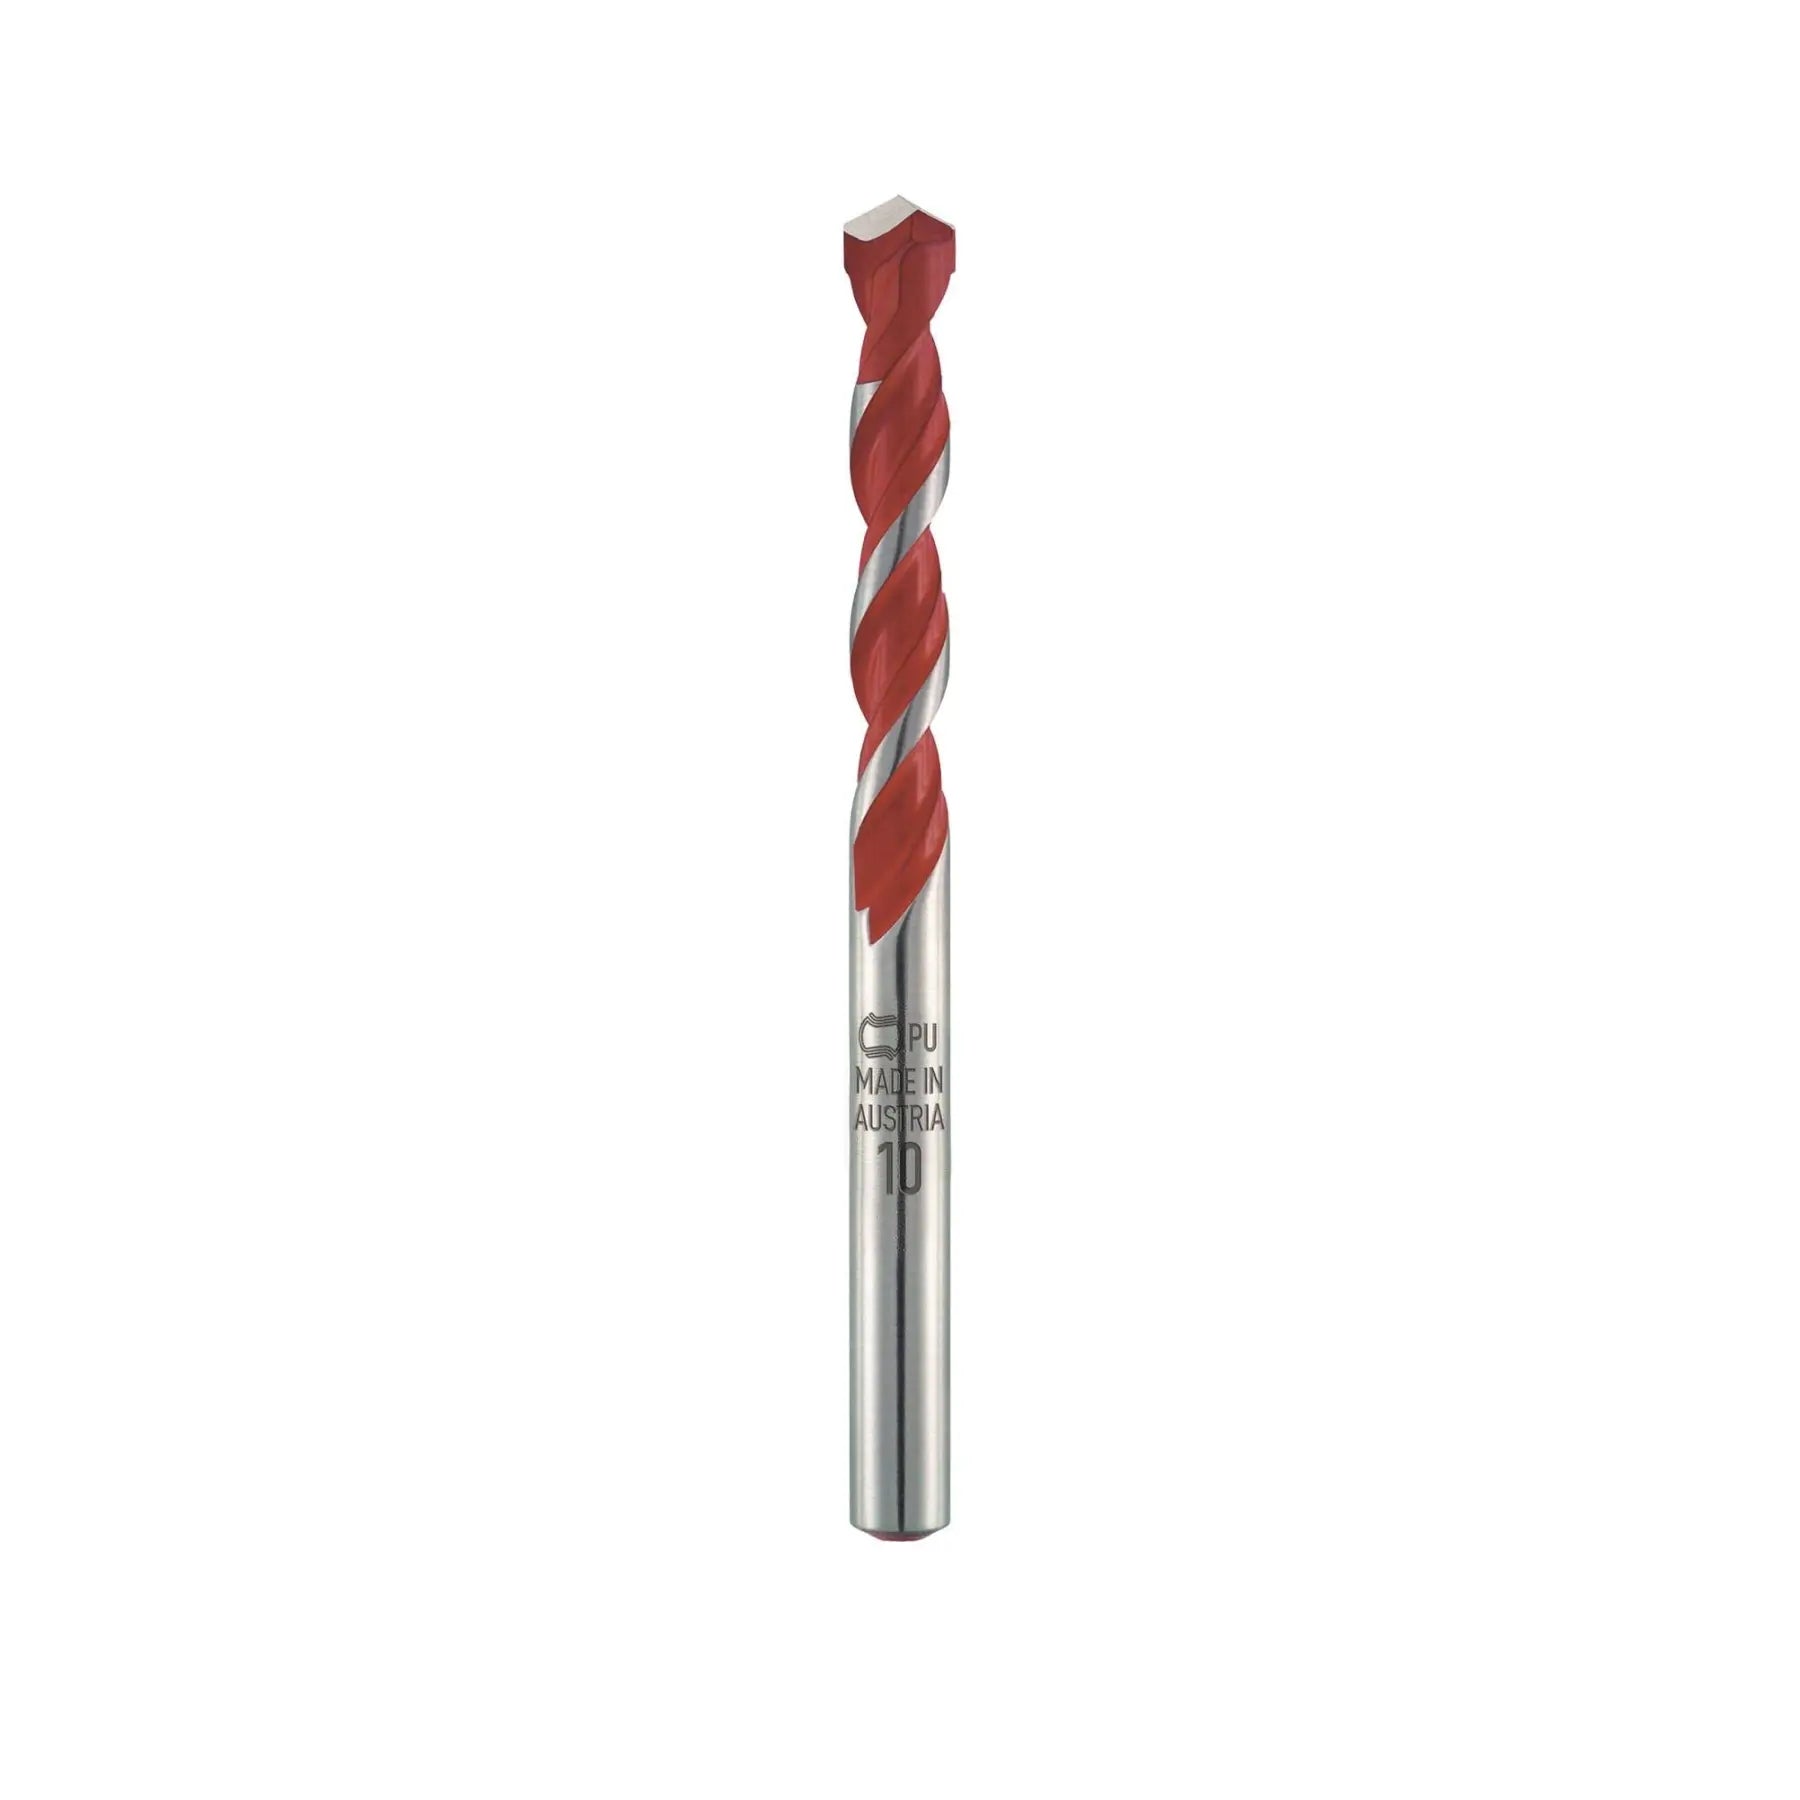
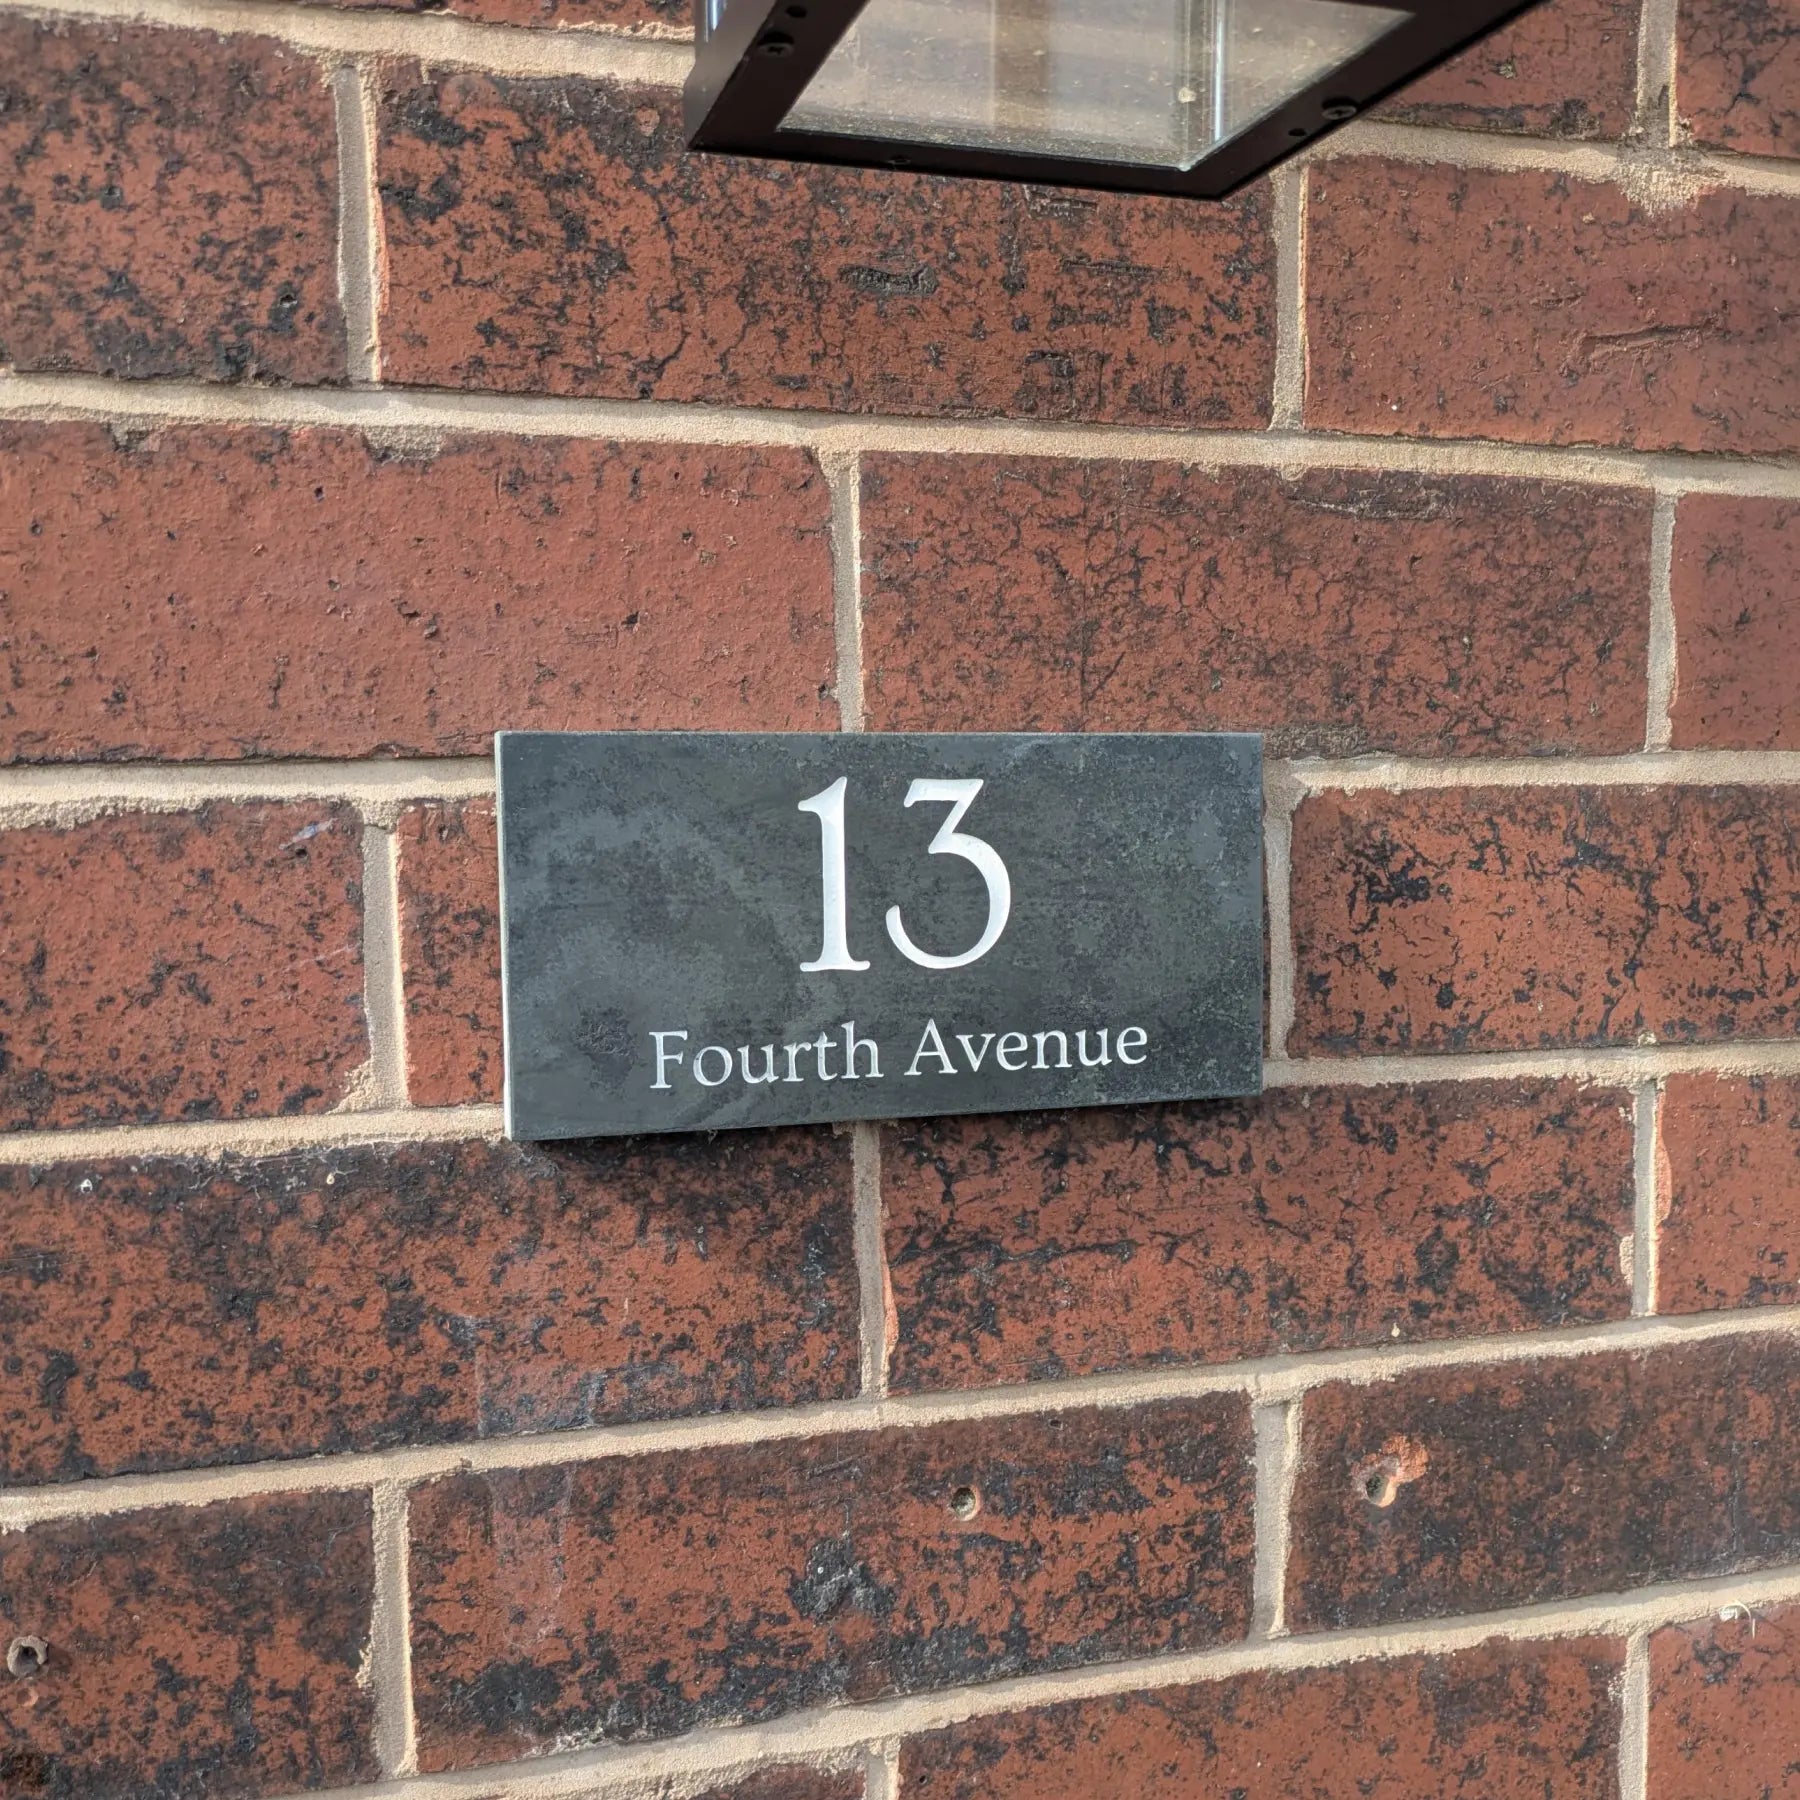
Step one
Check You Have Everything
To install your house sign, you will need the sign itself, caps, cap screws, wall plugs, a drill equipped with a 6.5mm masonry bit, and a 6mm flathead screwdriver.
Step two
Decide Where You Want the Sign to Go
You can install your new sign on most walls such as brick and stone, and into wood too.
If you're attaching it to something wooden like a door, gate, or fence, you can skip the wall plugs altogether and just drill a quick pilot hole and screw it right in.
Step three
Drill Out the Holes in the Wall
Drill into the wall/surface where the dots are using an 6.5mm masonry drill bit. Drill nice and deep so the wall plugs sit flush in each hole.
Step four
Push the Wall Plugs in the Holes
Push the wall plugs into the newly-drilled wall holes, until the entire wall plug sits flush against the wall. If they don't fit flush, use your drill to make the holes deeper.
Step five
Secure the Sign to the Wall
Gently tighten the screws provided using a 6mm flathead screwdriver. Do not use a drill as you may risk over-tightening them, breaking the sign.
Step six
Attach the Caps
Insert the caps into the screw holes and turn them clockwise until they stop. These caps are available in black, white, brass, and silver.
If you ever want to change colours, simply unscrew them and attach the new set. You can shop the other colours below.
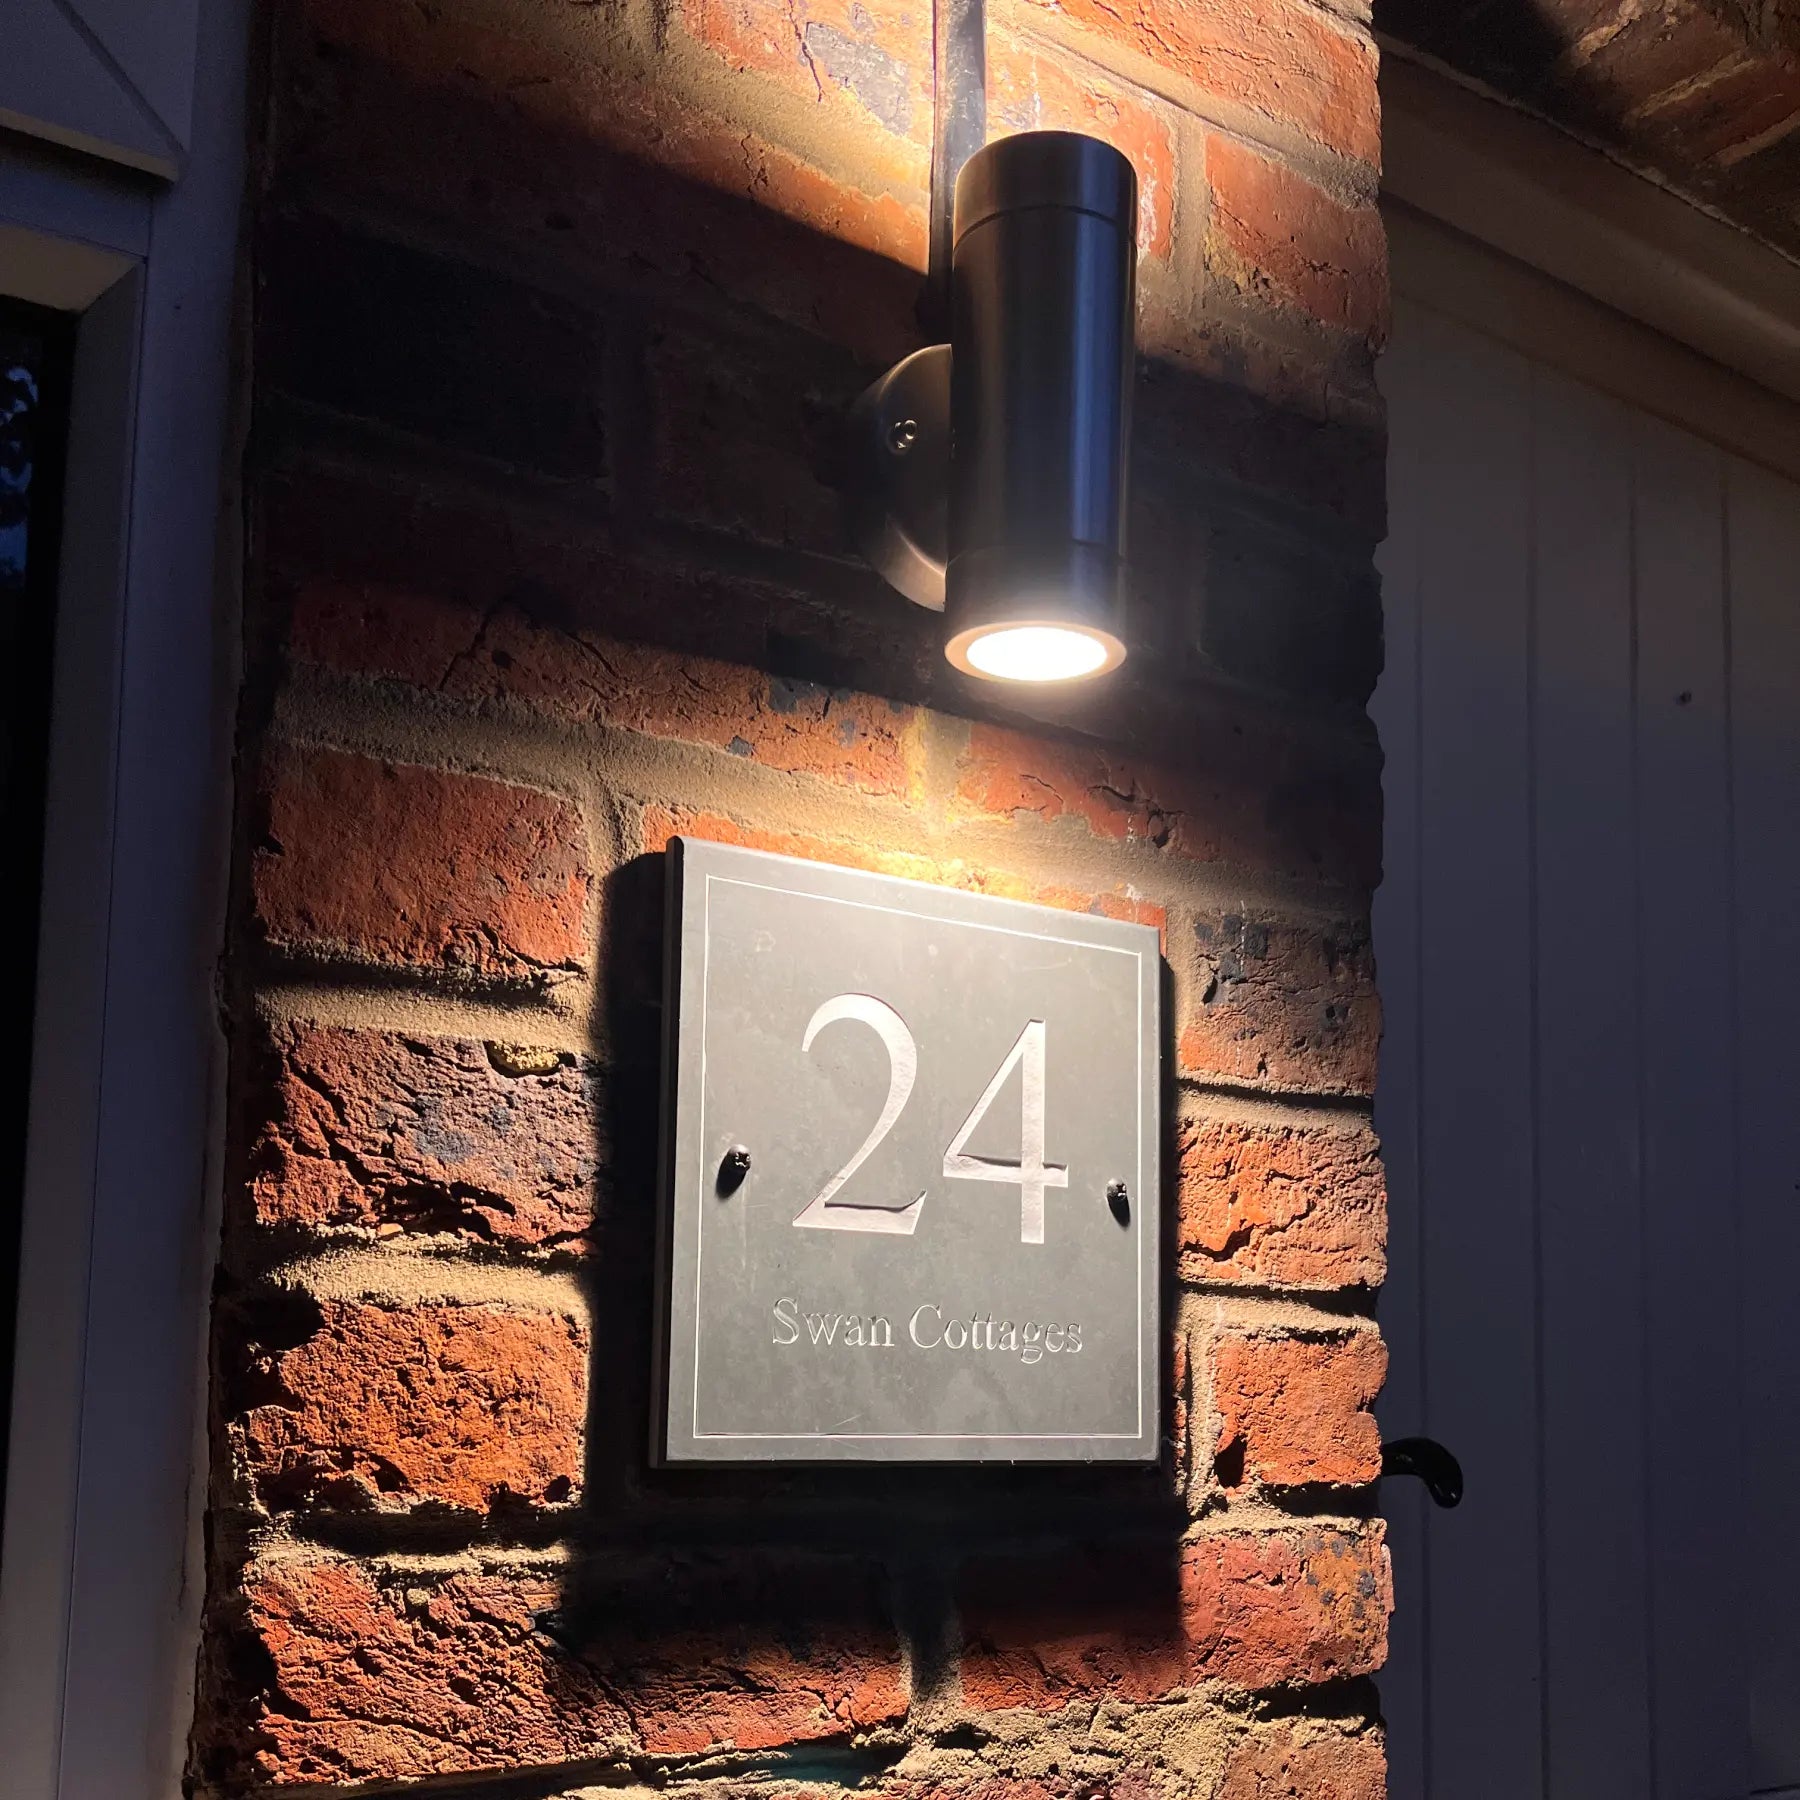
OTHER CAP COLOURSKeep Your Sign Lit Up!

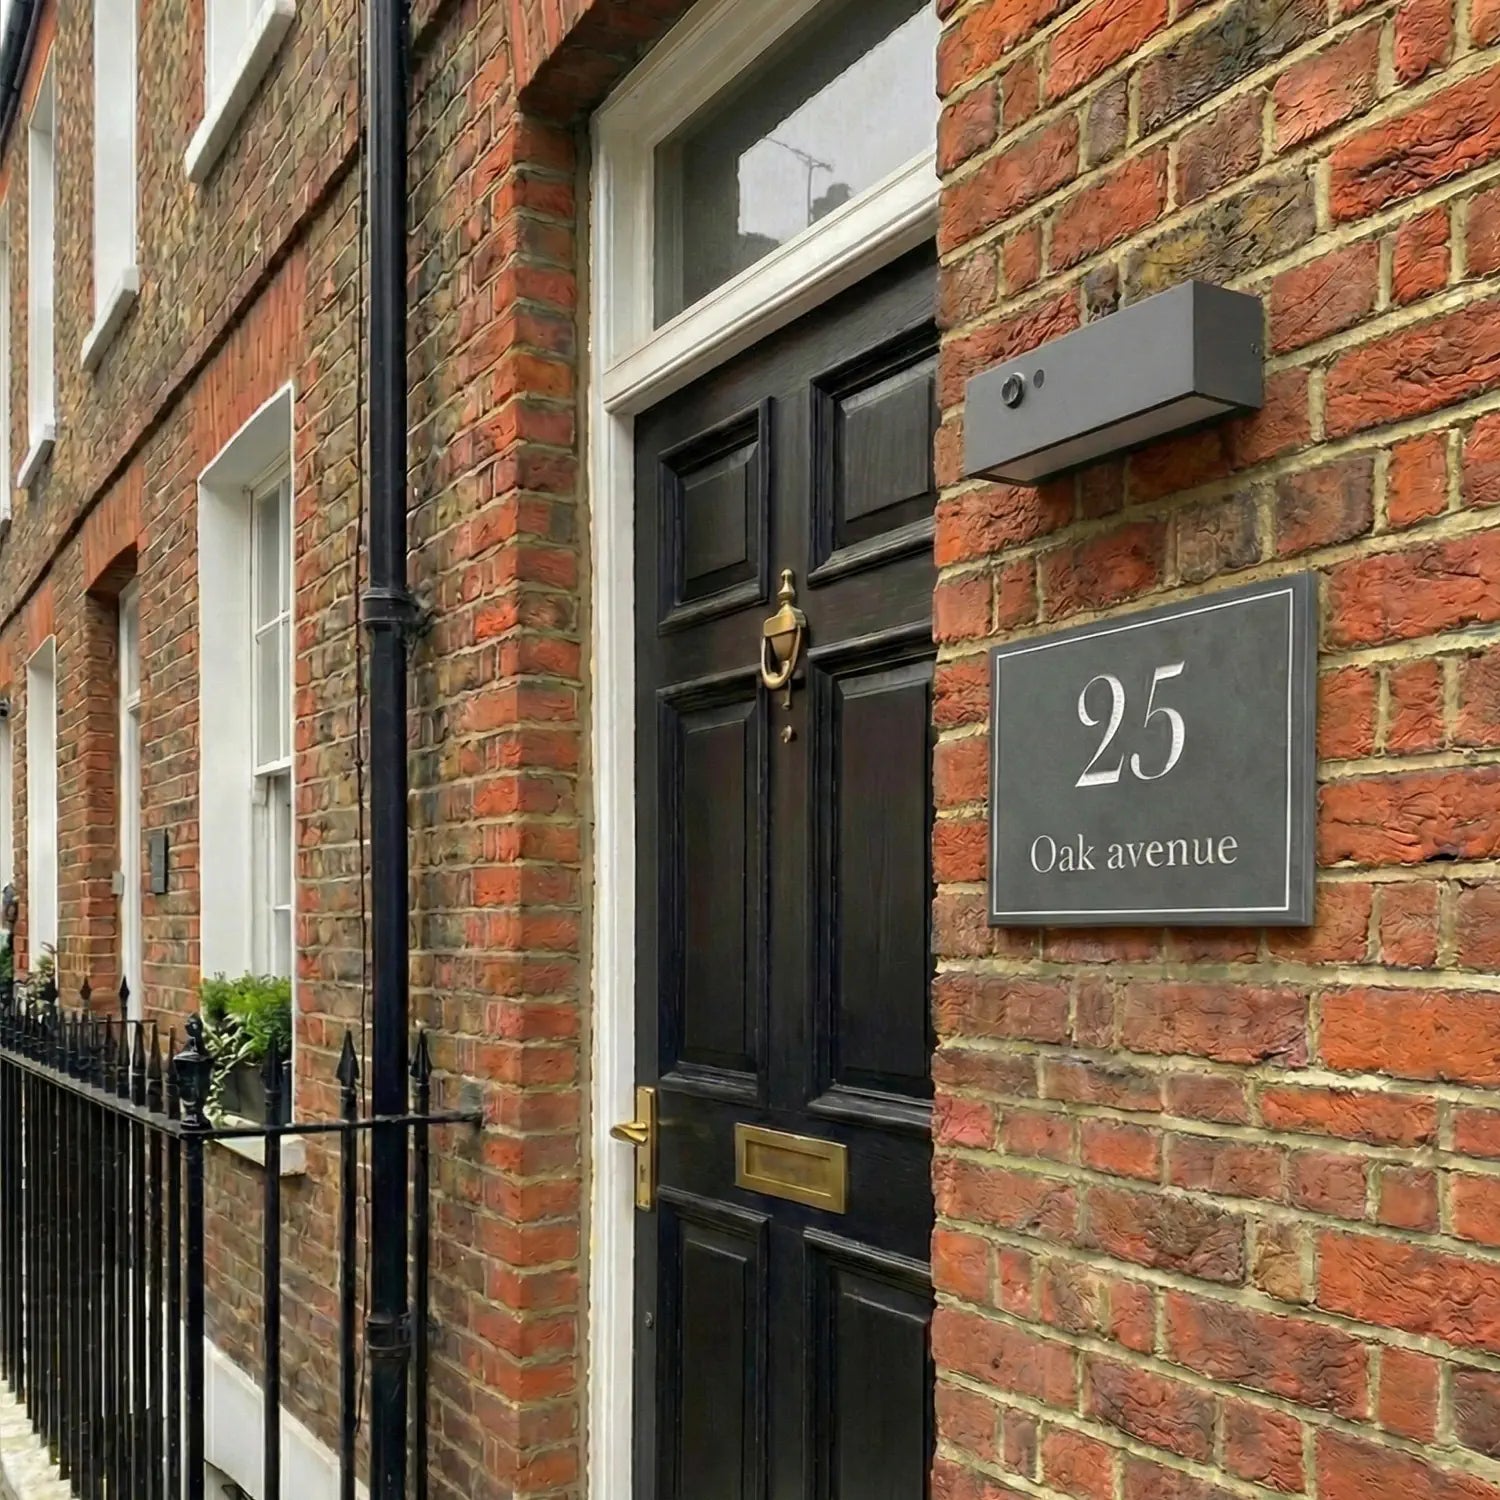
Solar | Down Light Bar
Sale price€53,95
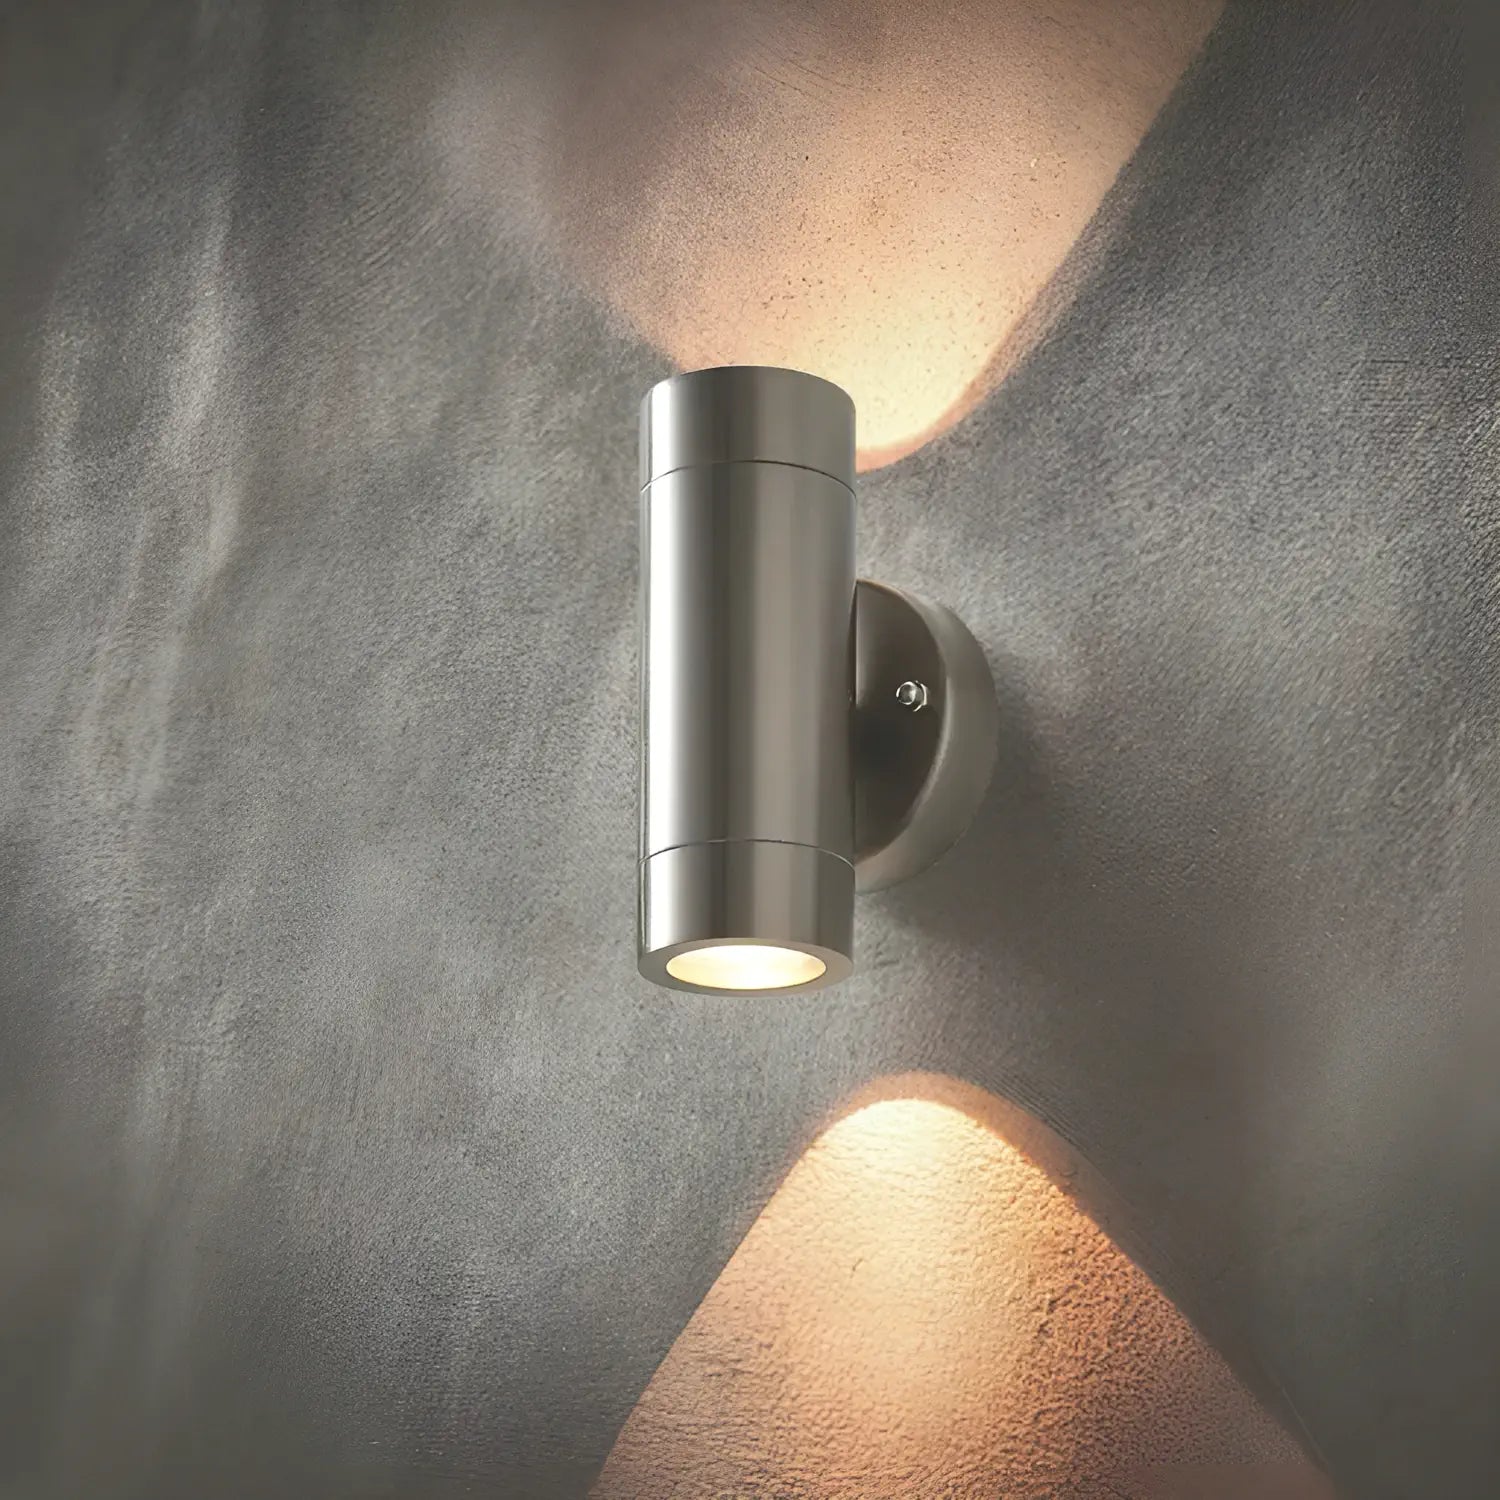
Mains | Up & Down Light
Sale price€40,95

Solar Down Light for Limestone Signs
Sale price€53,95
Rated 4.80 / 5 (1,010 Reviews)
Our Customers Love Their Signs
And we think you will too!
First time I have used this business, I am pleased with my purchase. My house plaque looks stylish and unique. Good customer service. Experienced no issues. Would recommend.
Judith Geddes-Smith
Excellent communications and a quality product at a good price. Far better than the other companies who couldn’t even be bothered to reply to my messages. Great job everyone at Sign House 👍👍👍
PhilnG
As advertised - quality on two items is consistent.
Bennett
Fabulous quality and extremely fast turnaround. Very smart and feels weighty and substantial. Very impressed.
Jeremy Ward
Every thing was made very easy from choosing the materials, the size etc. You got a view of what your sign would look like and it appeared on time and looks great. Would definitely recommend this company.
Mr Marc Blackmore
First time I have used this business, I am pleased with my purchase. My house plaque looks stylish and unique. Good customer service. Experienced no issues. Would recommend.
Judith Geddes-Smith
Excellent communications and a quality product at a good price. Far better than the other companies who couldn’t even be bothered to reply to my messages. Great job everyone at Sign House 👍👍👍
PhilnG
As advertised - quality on two items is consistent.
Bennett
Fabulous quality and extremely fast turnaround. Very smart and feels weighty and substantial. Very impressed.
Jeremy Ward
Every thing was made very easy from choosing the materials, the size etc. You got a view of what your sign would look like and it appeared on time and looks great. Would definitely recommend this company.
Mr Marc Blackmore
First time I have used this business, I am pleased with my purchase. My house plaque looks stylish and unique. Good customer service. Experienced no issues. Would recommend.
Judith Geddes-Smith
Excellent communications and a quality product at a good price. Far better than the other companies who couldn’t even be bothered to reply to my messages. Great job everyone at Sign House 👍👍👍
PhilnG
As advertised - quality on two items is consistent.
Bennett
Fabulous quality and extremely fast turnaround. Very smart and feels weighty and substantial. Very impressed.
Jeremy Ward
Every thing was made very easy from choosing the materials, the size etc. You got a view of what your sign would look like and it appeared on time and looks great. Would definitely recommend this company.
Mr Marc Blackmore
First time I have used this business, I am pleased with my purchase. My house plaque looks stylish and unique. Good customer service. Experienced no issues. Would recommend.
Judith Geddes-Smith
Excellent communications and a quality product at a good price. Far better than the other companies who couldn’t even be bothered to reply to my messages. Great job everyone at Sign House 👍👍👍
PhilnG
As advertised - quality on two items is consistent.
Bennett
Fabulous quality and extremely fast turnaround. Very smart and feels weighty and substantial. Very impressed.
Jeremy Ward
Every thing was made very easy from choosing the materials, the size etc. You got a view of what your sign would look like and it appeared on time and looks great. Would definitely recommend this company.
Mr Marc Blackmore
First time I have used this business, I am pleased with my purchase. My house plaque looks stylish and unique. Good customer service. Experienced no issues. Would recommend.
Judith Geddes-Smith
Excellent communications and a quality product at a good price. Far better than the other companies who couldn’t even be bothered to reply to my messages. Great job everyone at Sign House 👍👍👍
PhilnG
As advertised - quality on two items is consistent.
Bennett
Fabulous quality and extremely fast turnaround. Very smart and feels weighty and substantial. Very impressed.
Jeremy Ward
Every thing was made very easy from choosing the materials, the size etc. You got a view of what your sign would look like and it appeared on time and looks great. Would definitely recommend this company.
Mr Marc Blackmore
First time I have used this business, I am pleased with my purchase. My house plaque looks stylish and unique. Good customer service. Experienced no issues. Would recommend.
Judith Geddes-Smith
Excellent communications and a quality product at a good price. Far better than the other companies who couldn’t even be bothered to reply to my messages. Great job everyone at Sign House 👍👍👍
PhilnG
As advertised - quality on two items is consistent.
Bennett
Fabulous quality and extremely fast turnaround. Very smart and feels weighty and substantial. Very impressed.
Jeremy Ward
Every thing was made very easy from choosing the materials, the size etc. You got a view of what your sign would look like and it appeared on time and looks great. Would definitely recommend this company.
Mr Marc Blackmore
First time I have used this business, I am pleased with my purchase. My house plaque looks stylish and unique. Good customer service. Experienced no issues. Would recommend.
Judith Geddes-Smith
Excellent communications and a quality product at a good price. Far better than the other companies who couldn’t even be bothered to reply to my messages. Great job everyone at Sign House 👍👍👍
PhilnG
As advertised - quality on two items is consistent.
Bennett
Fabulous quality and extremely fast turnaround. Very smart and feels weighty and substantial. Very impressed.
Jeremy Ward
Every thing was made very easy from choosing the materials, the size etc. You got a view of what your sign would look like and it appeared on time and looks great. Would definitely recommend this company.
Mr Marc Blackmore
First time I have used this business, I am pleased with my purchase. My house plaque looks stylish and unique. Good customer service. Experienced no issues. Would recommend.
Judith Geddes-Smith
Excellent communications and a quality product at a good price. Far better than the other companies who couldn’t even be bothered to reply to my messages. Great job everyone at Sign House 👍👍👍
PhilnG
As advertised - quality on two items is consistent.
Bennett
Fabulous quality and extremely fast turnaround. Very smart and feels weighty and substantial. Very impressed.
Jeremy Ward
Every thing was made very easy from choosing the materials, the size etc. You got a view of what your sign would look like and it appeared on time and looks great. Would definitely recommend this company.
Mr Marc Blackmore
First time I have used this business, I am pleased with my purchase. My house plaque looks stylish and unique. Good customer service. Experienced no issues. Would recommend.
Judith Geddes-Smith
Excellent communications and a quality product at a good price. Far better than the other companies who couldn’t even be bothered to reply to my messages. Great job everyone at Sign House 👍👍👍
PhilnG
As advertised - quality on two items is consistent.
Bennett
Fabulous quality and extremely fast turnaround. Very smart and feels weighty and substantial. Very impressed.
Jeremy Ward
Every thing was made very easy from choosing the materials, the size etc. You got a view of what your sign would look like and it appeared on time and looks great. Would definitely recommend this company.
Mr Marc Blackmore
First time I have used this business, I am pleased with my purchase. My house plaque looks stylish and unique. Good customer service. Experienced no issues. Would recommend.
Judith Geddes-Smith
Excellent communications and a quality product at a good price. Far better than the other companies who couldn’t even be bothered to reply to my messages. Great job everyone at Sign House 👍👍👍
PhilnG
As advertised - quality on two items is consistent.
Bennett
Fabulous quality and extremely fast turnaround. Very smart and feels weighty and substantial. Very impressed.
Jeremy Ward
Every thing was made very easy from choosing the materials, the size etc. You got a view of what your sign would look like and it appeared on time and looks great. Would definitely recommend this company.
Mr Marc Blackmore
© 2026, The Bespoke Sign House • Company Registration Number: 13419466 (Registered in England and Wales) • VAT Registration Number: GB422044935
Trading Address: Friezingham Farmyard, Rolvenden Layne, Cranbrook, Kent, TN17 4PU