

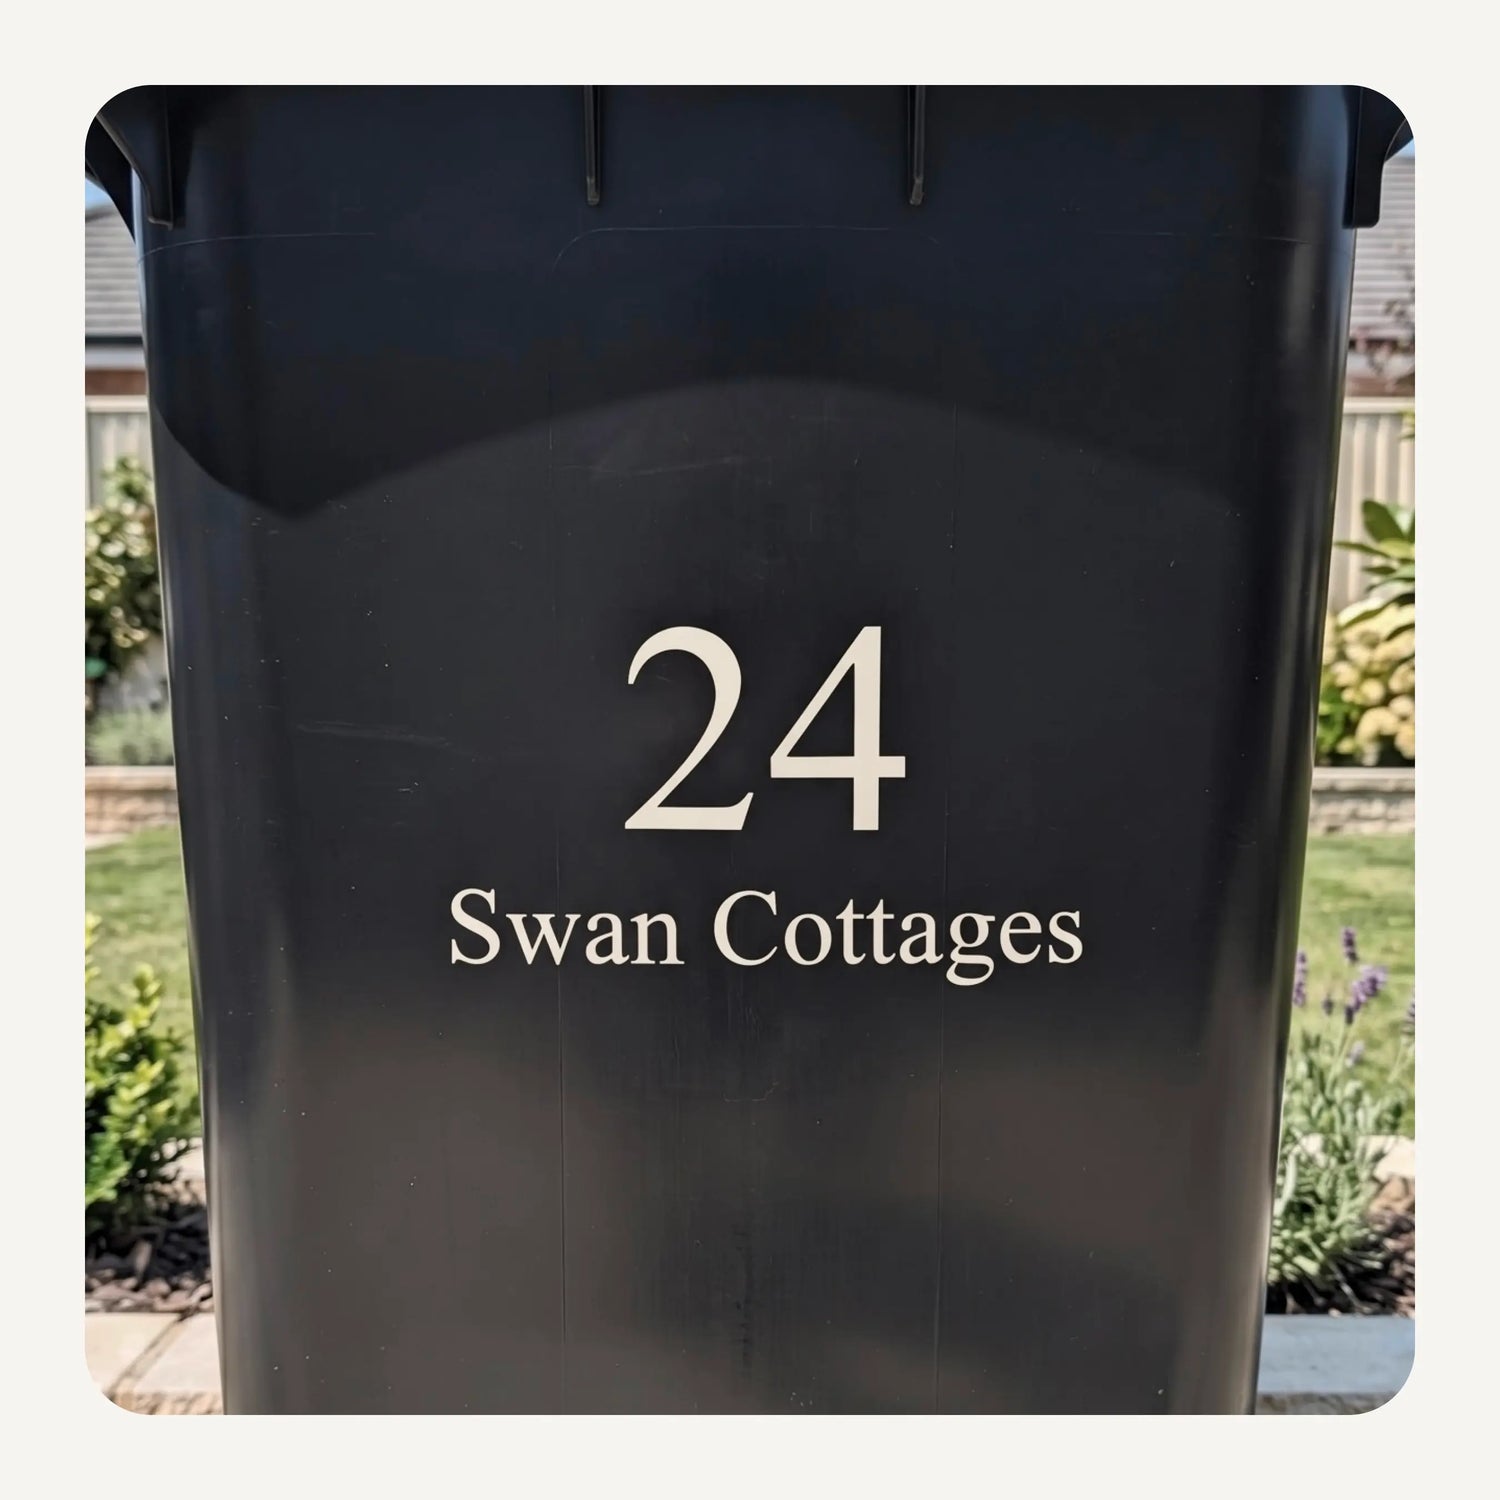
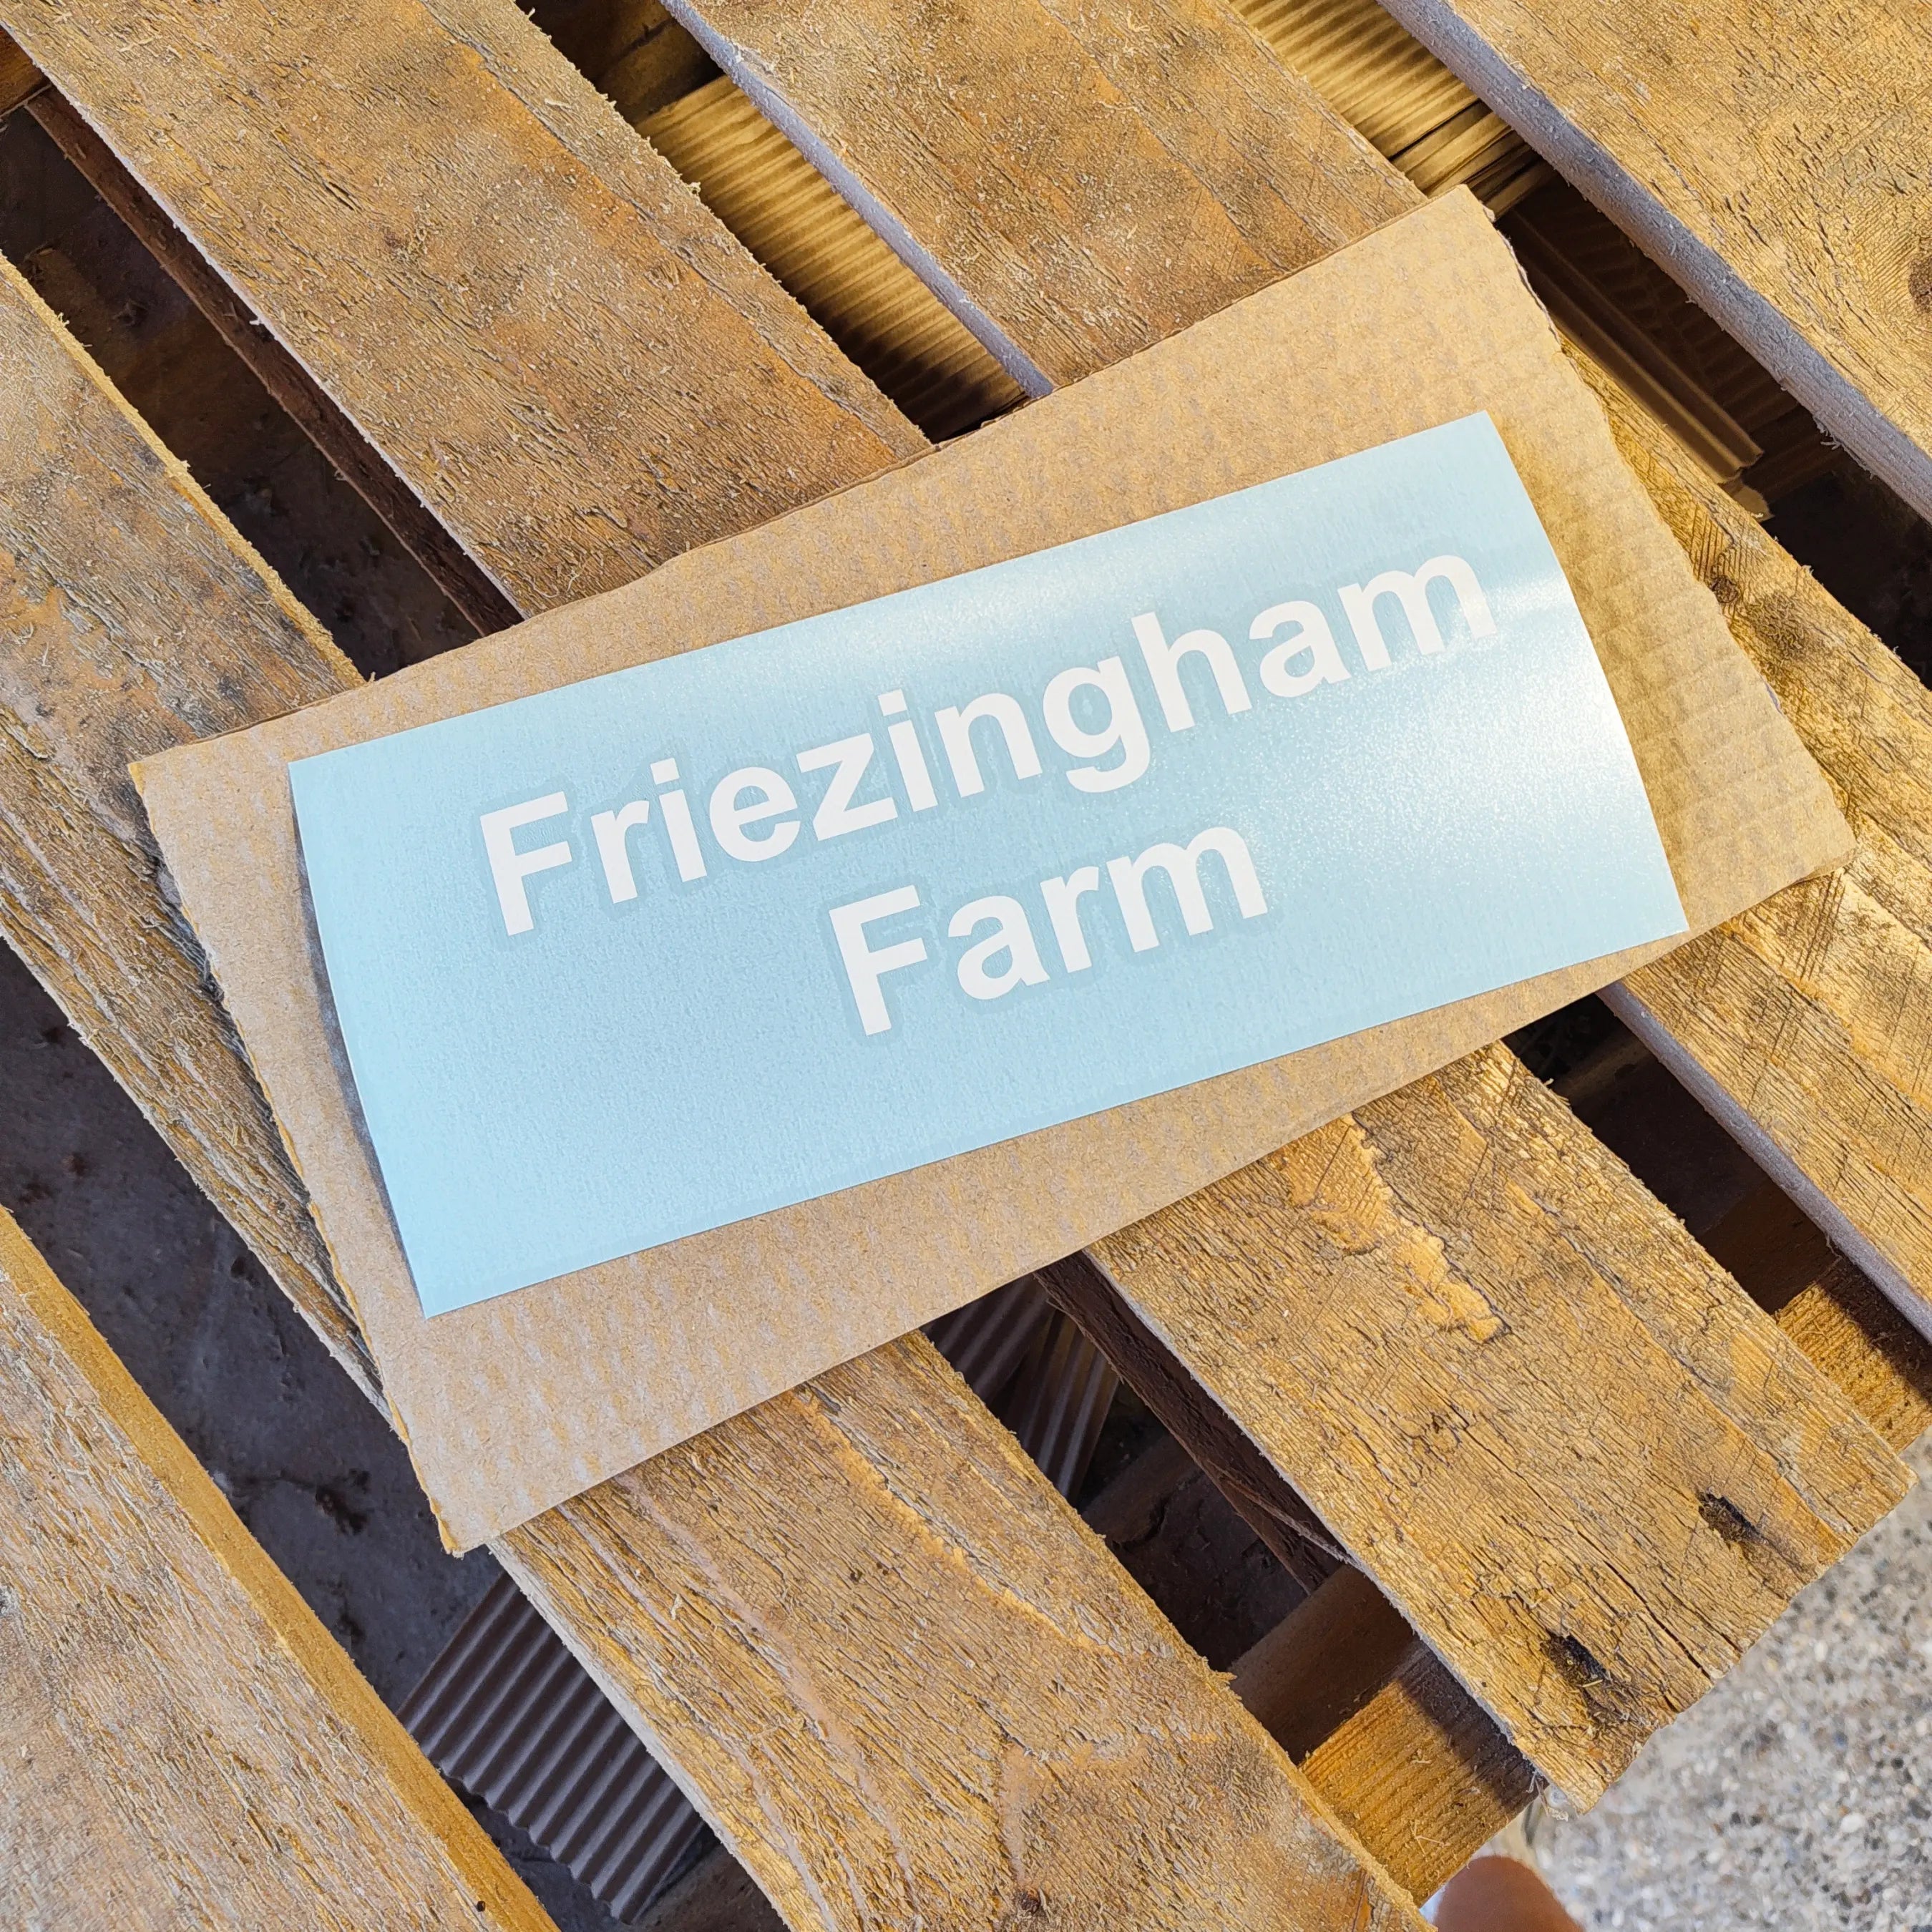
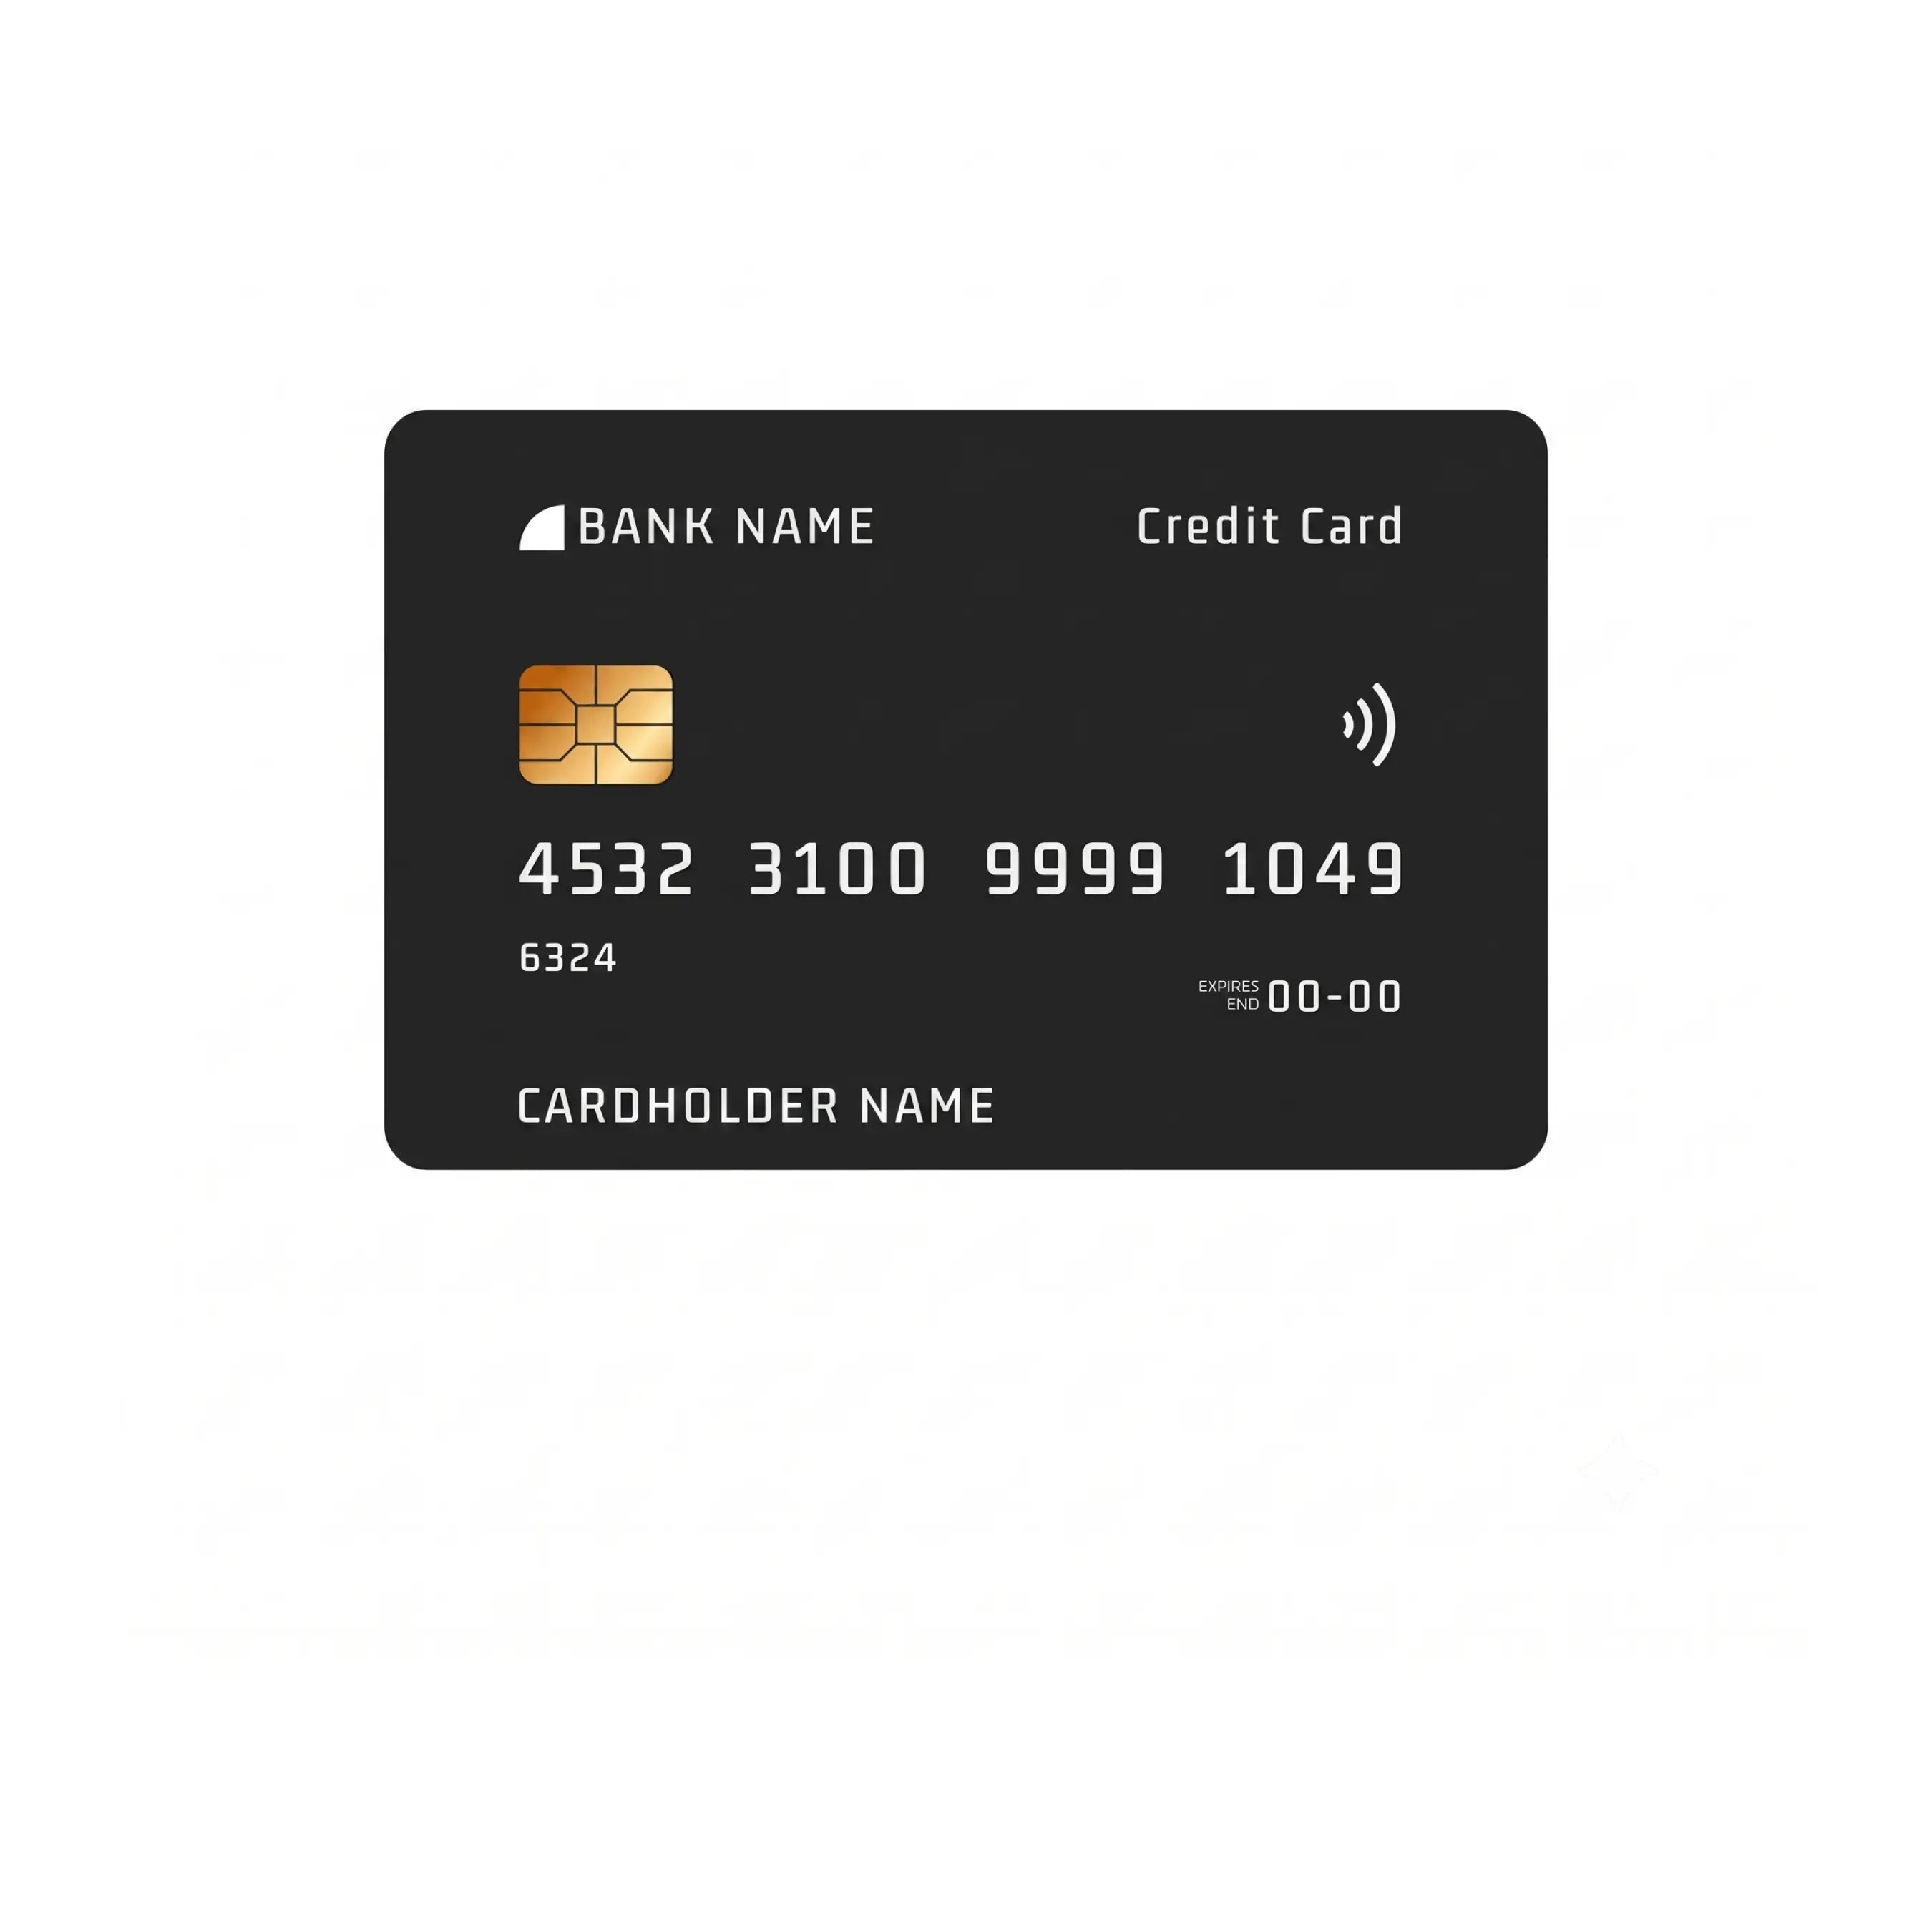
What's Required?
Click an image below to order any missing items before continuing.
Step one
Brush the Sticker with a Plastic Card
Using a rigid plastic card (such as a bank or voucher card), gently brush over the surface of the decal applying even pressure. This ensures proper adhesion between the vinyl sticker and the clear top application tape.
Step two
Decide Where the Sticker Will Go
The sticker can be applied to anywhere on the bin, including the front, sides, back, lid, or all five! Prior to application, ensure the surface is thoroughly cleaned and free of any water, dust, and debris.
Step three
Separate the Sticker and Tape from the Paper Back
Carefully separate the application tape and vinyl decal from the paper backing at an approximate 45-degree angle. Handle only the edges of the tape to prevent debris from contaminating the adhesive. The paper backing can be binned afterwards.
Step four
Stick it Down
Stick the top edge of the application tape to the bin, carefully lowering the remainder of the sticker into place from top to bottom. Using the rigid plastic card again, apply firm, even pressure starting from the center and smoothing outward in all directions (horizontally and vertically) to eliminate air bubbles and ensure full adhesion. Then gently brush all over to finish sticking.
Step five
Remove the Application Tape
Begin at one corner and slowly fully remove the application tape at an approximate 45-degree angle.
Should the vinyl decal lift with the tape, simply press the tape back into place, reapply firm pressure with the plastic card, and attempt removal once more.
Step six
Job Done!
Our bin stickers are rated to last 7-10 years outdoors - if you ever need more and wish to match with any existing sign, please contact us with your order number. You can also design your own bin stickers from scratch too!
Rated 4.80 / 5 (1,010 Reviews)
Our Customers Love Their Signs
And we think you will too!
First time I have used this business, I am pleased with my purchase. My house plaque looks stylish and unique. Good customer service. Experienced no issues. Would recommend.
Judith Geddes-Smith
Excellent communications and a quality product at a good price. Far better than the other companies who couldn’t even be bothered to reply to my messages. Great job everyone at Sign House 👍👍👍
PhilnG
As advertised - quality on two items is consistent.
Bennett
Fabulous quality and extremely fast turnaround. Very smart and feels weighty and substantial. Very impressed.
Jeremy Ward
Every thing was made very easy from choosing the materials, the size etc. You got a view of what your sign would look like and it appeared on time and looks great. Would definitely recommend this company.
Mr Marc Blackmore
First time I have used this business, I am pleased with my purchase. My house plaque looks stylish and unique. Good customer service. Experienced no issues. Would recommend.
Judith Geddes-Smith
Excellent communications and a quality product at a good price. Far better than the other companies who couldn’t even be bothered to reply to my messages. Great job everyone at Sign House 👍👍👍
PhilnG
As advertised - quality on two items is consistent.
Bennett
Fabulous quality and extremely fast turnaround. Very smart and feels weighty and substantial. Very impressed.
Jeremy Ward
Every thing was made very easy from choosing the materials, the size etc. You got a view of what your sign would look like and it appeared on time and looks great. Would definitely recommend this company.
Mr Marc Blackmore
First time I have used this business, I am pleased with my purchase. My house plaque looks stylish and unique. Good customer service. Experienced no issues. Would recommend.
Judith Geddes-Smith
Excellent communications and a quality product at a good price. Far better than the other companies who couldn’t even be bothered to reply to my messages. Great job everyone at Sign House 👍👍👍
PhilnG
As advertised - quality on two items is consistent.
Bennett
Fabulous quality and extremely fast turnaround. Very smart and feels weighty and substantial. Very impressed.
Jeremy Ward
Every thing was made very easy from choosing the materials, the size etc. You got a view of what your sign would look like and it appeared on time and looks great. Would definitely recommend this company.
Mr Marc Blackmore
First time I have used this business, I am pleased with my purchase. My house plaque looks stylish and unique. Good customer service. Experienced no issues. Would recommend.
Judith Geddes-Smith
Excellent communications and a quality product at a good price. Far better than the other companies who couldn’t even be bothered to reply to my messages. Great job everyone at Sign House 👍👍👍
PhilnG
As advertised - quality on two items is consistent.
Bennett
Fabulous quality and extremely fast turnaround. Very smart and feels weighty and substantial. Very impressed.
Jeremy Ward
Every thing was made very easy from choosing the materials, the size etc. You got a view of what your sign would look like and it appeared on time and looks great. Would definitely recommend this company.
Mr Marc Blackmore
First time I have used this business, I am pleased with my purchase. My house plaque looks stylish and unique. Good customer service. Experienced no issues. Would recommend.
Judith Geddes-Smith
Excellent communications and a quality product at a good price. Far better than the other companies who couldn’t even be bothered to reply to my messages. Great job everyone at Sign House 👍👍👍
PhilnG
As advertised - quality on two items is consistent.
Bennett
Fabulous quality and extremely fast turnaround. Very smart and feels weighty and substantial. Very impressed.
Jeremy Ward
Every thing was made very easy from choosing the materials, the size etc. You got a view of what your sign would look like and it appeared on time and looks great. Would definitely recommend this company.
Mr Marc Blackmore
First time I have used this business, I am pleased with my purchase. My house plaque looks stylish and unique. Good customer service. Experienced no issues. Would recommend.
Judith Geddes-Smith
Excellent communications and a quality product at a good price. Far better than the other companies who couldn’t even be bothered to reply to my messages. Great job everyone at Sign House 👍👍👍
PhilnG
As advertised - quality on two items is consistent.
Bennett
Fabulous quality and extremely fast turnaround. Very smart and feels weighty and substantial. Very impressed.
Jeremy Ward
Every thing was made very easy from choosing the materials, the size etc. You got a view of what your sign would look like and it appeared on time and looks great. Would definitely recommend this company.
Mr Marc Blackmore
First time I have used this business, I am pleased with my purchase. My house plaque looks stylish and unique. Good customer service. Experienced no issues. Would recommend.
Judith Geddes-Smith
Excellent communications and a quality product at a good price. Far better than the other companies who couldn’t even be bothered to reply to my messages. Great job everyone at Sign House 👍👍👍
PhilnG
As advertised - quality on two items is consistent.
Bennett
Fabulous quality and extremely fast turnaround. Very smart and feels weighty and substantial. Very impressed.
Jeremy Ward
Every thing was made very easy from choosing the materials, the size etc. You got a view of what your sign would look like and it appeared on time and looks great. Would definitely recommend this company.
Mr Marc Blackmore
First time I have used this business, I am pleased with my purchase. My house plaque looks stylish and unique. Good customer service. Experienced no issues. Would recommend.
Judith Geddes-Smith
Excellent communications and a quality product at a good price. Far better than the other companies who couldn’t even be bothered to reply to my messages. Great job everyone at Sign House 👍👍👍
PhilnG
As advertised - quality on two items is consistent.
Bennett
Fabulous quality and extremely fast turnaround. Very smart and feels weighty and substantial. Very impressed.
Jeremy Ward
Every thing was made very easy from choosing the materials, the size etc. You got a view of what your sign would look like and it appeared on time and looks great. Would definitely recommend this company.
Mr Marc Blackmore
First time I have used this business, I am pleased with my purchase. My house plaque looks stylish and unique. Good customer service. Experienced no issues. Would recommend.
Judith Geddes-Smith
Excellent communications and a quality product at a good price. Far better than the other companies who couldn’t even be bothered to reply to my messages. Great job everyone at Sign House 👍👍👍
PhilnG
As advertised - quality on two items is consistent.
Bennett
Fabulous quality and extremely fast turnaround. Very smart and feels weighty and substantial. Very impressed.
Jeremy Ward
Every thing was made very easy from choosing the materials, the size etc. You got a view of what your sign would look like and it appeared on time and looks great. Would definitely recommend this company.
Mr Marc Blackmore
First time I have used this business, I am pleased with my purchase. My house plaque looks stylish and unique. Good customer service. Experienced no issues. Would recommend.
Judith Geddes-Smith
Excellent communications and a quality product at a good price. Far better than the other companies who couldn’t even be bothered to reply to my messages. Great job everyone at Sign House 👍👍👍
PhilnG
As advertised - quality on two items is consistent.
Bennett
Fabulous quality and extremely fast turnaround. Very smart and feels weighty and substantial. Very impressed.
Jeremy Ward
Every thing was made very easy from choosing the materials, the size etc. You got a view of what your sign would look like and it appeared on time and looks great. Would definitely recommend this company.
Mr Marc Blackmore
© 2026, The Bespoke Sign House • Company Registration Number: 13419466 (Registered in England and Wales) • VAT Registration Number: GB422044935
Trading Address: Friezingham Farmyard, Rolvenden Layne, Cranbrook, Kent, TN17 4PU